After RayFlow has been installed, the following steps are necessary in order to use single sign-on.
•Step 2: Internet Information Services (IIS) Manager
Step 1: Web.config File
First edit the web.config file found in %InstallDir%\rayflow.
|
Be aware: Always create a backup of the file before the file is being edited! |
In order to edit the file, open it in any text editor (for example Notepad, Notepad++, WordPad, etc.).
Search for the <authentication> section. It will look as follows:
<authentication mode="Forms"> <forms loginUrl="~/Account/Login" timeout="2880" cookieless="UseCookies" /> </authentication> |
Change it as follows:
<authentication mode="Windows"> </authentication> |
Step 2: Internet Information Services (IIS) Manager
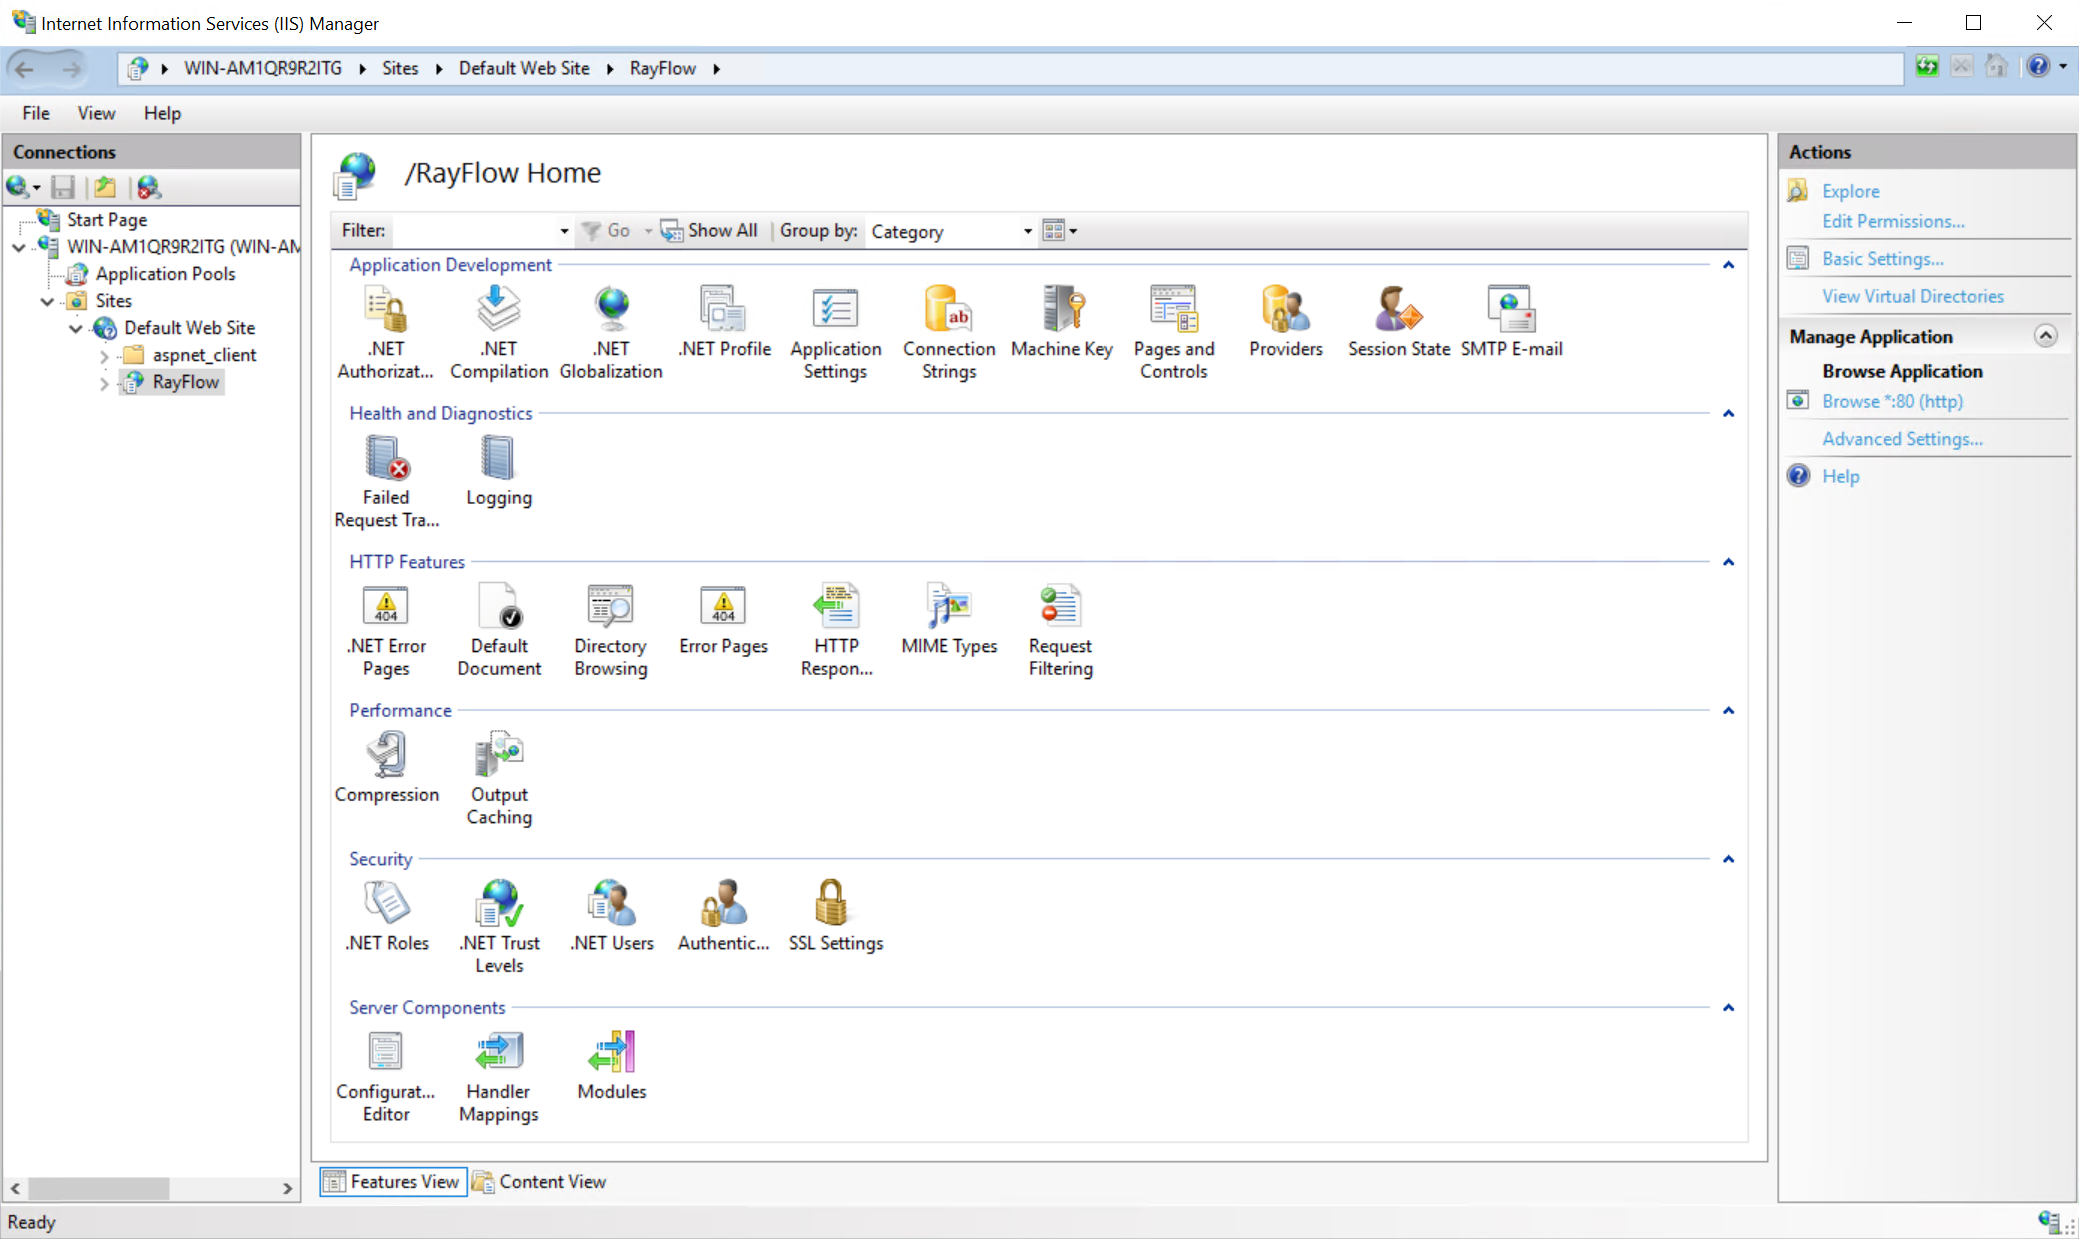
Go to the IIS Manager. If RayFlow has been installed with the default .msi settings it should be looking as shown below:

Open the Authentication settings by clicking on the Authentication button.

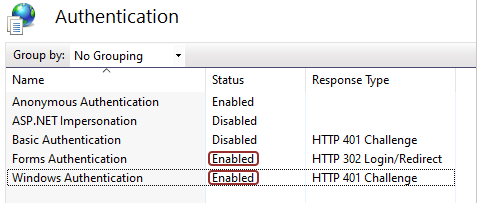
Enable the Windows authentication by selecting the Windows Authentication entry and clicking on Enabled. It should now look as shown below.

Revert to Old Login
In order to switch back to the old login page, just revert the changes made in the web.config file.
Login with Other Users
In order to log in with other users (like the default root or the default Admin account), first log in with using Windows Authentication. Then log out again. It will now be possible to log in as previously using the default web form.