Introduction
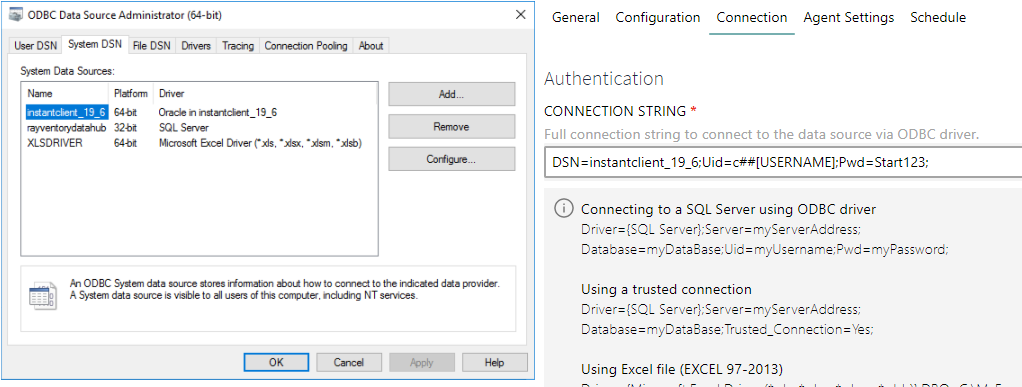
This step-by-step guide shows how to configure RayVentory Data Hub to query information from Oracle database with DSN using an ODBC Oracle Instance Client Driver.
Prerequisites
On the Target Machine
•A database user with read permission on the Oracle database is available.
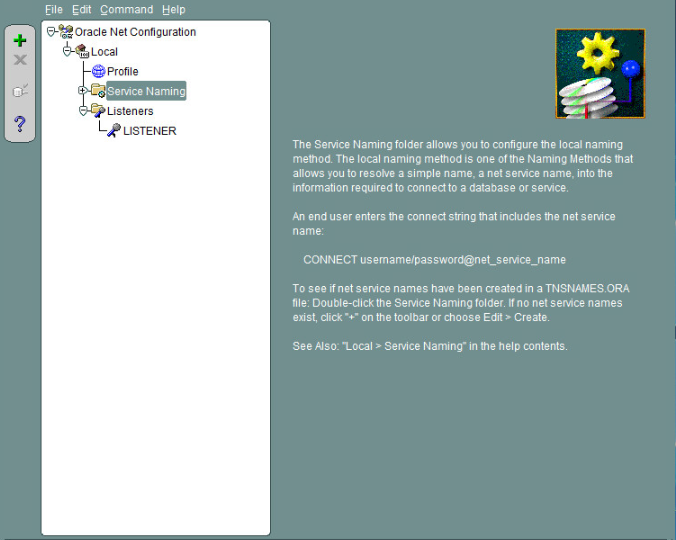
•Add a Service Naming and a Listener using the Oracle Net Manager.
oService Naming:
▪Add a Service Naming and take note of the Service Name, Protocol, Host-Name and Port. This information will be required later.
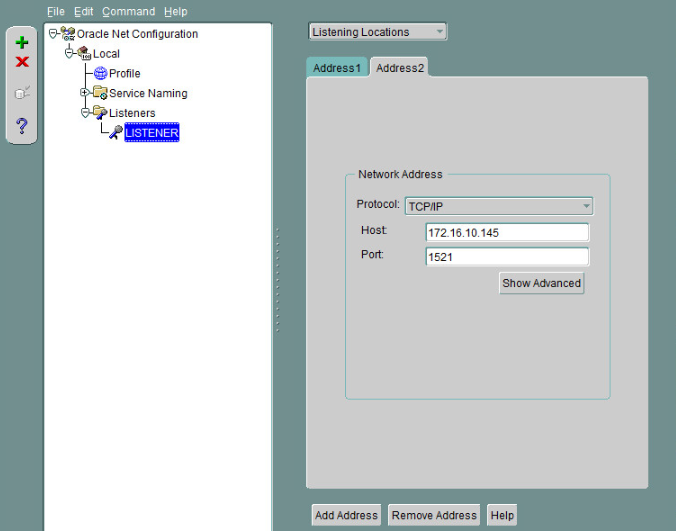
oListener:
▪Add a Listener listening on the Host-IP where the Oracle Database resides.
Configuring the Client Machine
1.Download the basic-package instantclient-basic-windows.x64-19.6.0.0.0dbru.zip
Download page: https://www.oracle.com/de/database/technologies/instant-client/winx64-64-downloads.html
2.Extract the zip file (it should contain a folder called instantclient_x_y).
3.Download the Instant Client ODBC package instantclient-odbc-windows.x64-19.6.0.0.0dbru.zip
4.Unpack it in the same directory (instantclient_x_y) as the Basic package.
5.Run odbc_install.exe from the Instant Client directory.
6.Reboot your machine when prompted.
7.Go into the instanclient_x_y folder and create a subfolder Network\Admin

8.Write the following content and save it as tnsnames.ora in the above folder:
[TNSALIAS] =
(DESCRIPTION=
(ADDRESS_LIST=
(ADDRESS=(PROTOCOL=TCP)(HOST=[HOST])(PORT=[PORT]))
)
(CONNECT_DATA=
(SERVICE_NAME=[SERVICENAME])
)
)
9.Replace...
o[TNSALIAS] with anything you like. It will be needed during the configuration of the ODBC Driver.
o[HOST] with the host of your target machine.
o[PORT] with the port of your target machine.
o[SERVICENAME] with the service name configured on your target machine using Oracle Net Manager.
10. Open the ODBC Data Source Administrator (64-bit) and select the tab System DSN
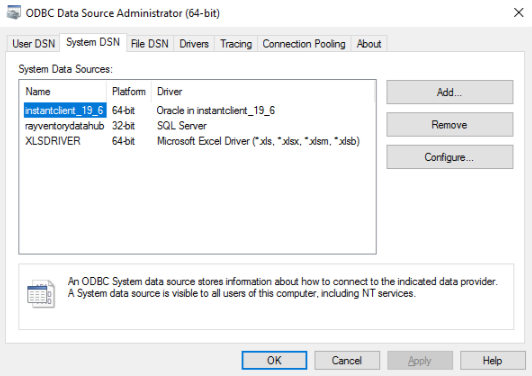
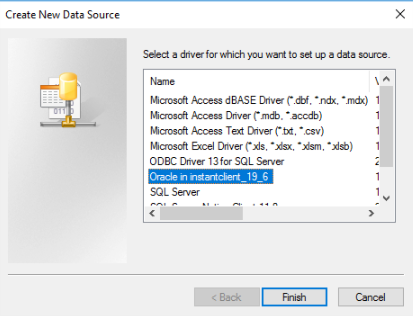
11. Click on Add… and select Oracle in instantclient_x_y. Click Finish.
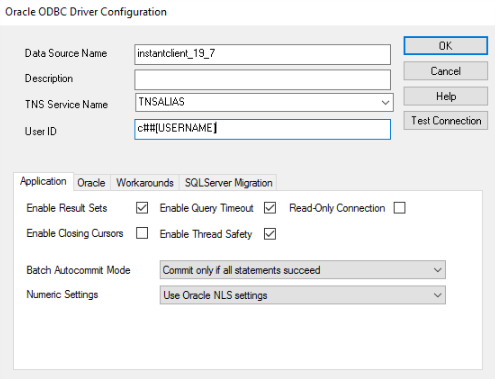
12. A new window opens called Oracle ODBC Driver Configuration.
oIn the Data Source Name field type any name you like. You’ll need it later in RayVentory Data Hub when specifying the connection string for a task.
oIn the TNS Service Name field provide the same TNS alias name you provided in step 9.
oIn the User ID field type in c##[USERNAME], where [USERNAME] must be replaced by a username that has read access on the Oracle Database.
oLeave any other setting untouched.
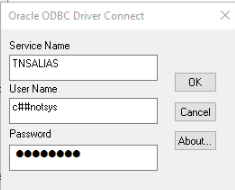
13. Click Test Connection. Provide the password of the Oracle database user.
14. If the connection was successful the following window pops up:
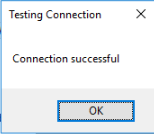
15. Click OK.
16. Remember the value of the Data Source Name and click on OK in the Oracle ODBC Driver Configuration Window.
17. Install and configure Data Hub Agent, as described in the RayVentory Data Hub Installation Guide.
Configuring Data Hub Settings
1.Sign in to RayVentory Data Hub.
2.Create a new task using ODBC as the connector type.
3.Fill in the required fields in the General, Configuration, Connection and Agent Settings tabs. In the Connection tab use the following connection string, that connects to the oracle db through DSN:
DSN=[Data Soure Name];Uid=c##[USERNAME];Pwd=******;
where [Data Source Name] is replaced by the data source name you configured within the ODBC Date Source Administrator and [USERNAME] is replaced by the username of the user with read access on the Oracle database.
