The RayQC Advanced installation resources come along as a MSI file with additional documents, such as the current Release Notes and a User Guide. Usually, these documents are delivered via FTP server as provided by our support which you can contact via our Support Panel.
Before the application is installed on a device some preparations are needed:
1.Please make sure, that you have your order number or license file at hand. Either one will be provided by your Raynet sales representative or our support team which you can contact via our Support Panel.
2.The target system needs to meet the system requirements described within the System Requirements chapter.
3.A Windows User with sufficient rights for installations has to be logged in
4.Close all dispensable applications during the setup routine execution.
5.Make sure that a running SQL server is available for connection and for the setup of the RayQC Advanced database, before installing RayQC Advanced.
|
Be aware: No SQL server is installed during the setup! Therefore ensure, that a running SQL server is available if installing RayQC Advanced.
|
Installing RayQC Advanced
Launch the RayQC Advanced setup with a double-click on the MSI file and wait for the Welcome Screen to be prepared.
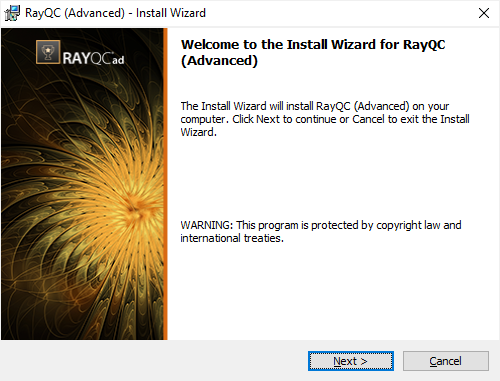
Click on the Next > button to proceed with the installation.
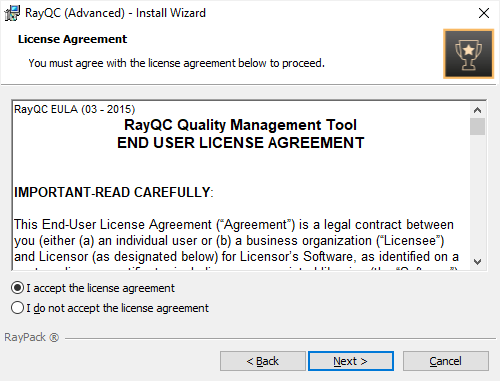
The End User License Agreement dialog appears. In order to install RayQC Advanced, the End User License Agreement has to be accepted. To proceed, read the End User License Agreement, select the I accept the license agreement option, and click on the Next > button.
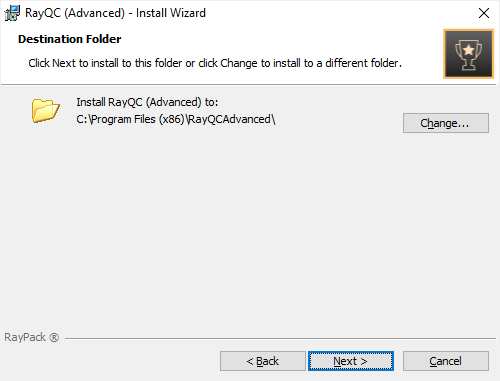
Choose the destination folder by either keeping the suggested default or by clicking on the Change... button to select another target directory.

If a custom destination folder has to be defined, use the icons in the dialog above to navigate to the desired installation directory or to create a new one. After this, click on the OK button to return to the Destination Folder dialog. The path will be updated to display the custom destination recently selected. Click the Next > button in the Destination Folder dialog to proceed.
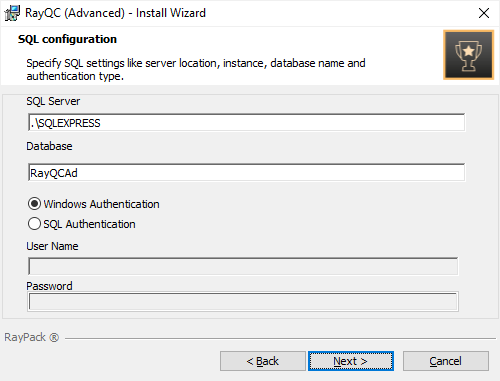
In the SQL configuration dialog the SQL server connection credentials will be set up.
SQL Server: The SQL server needs to be defined. Please specify the server together with the instance (if an instance is required). The server can be specified either by its name or by its IP address. The server must exist and must have a user which can create a database and has read and write access to the newly created database.
Database: Define a database which will be used by RayQC Advanced.
Authentication: Choose between Windows Authentication or SQL Authentication. If SQL Authentication is chosen enter the user name and password of a user which can create a database and will have read and write access to the newly created database.
Click on the Next > button in the SQL Configuration dialog to proceed. After clicking the Next > button the installer will check if the database exists. If the database does not exist a new database will be created by the installer.
|
Be aware: When using Windows Authentication, if the installing user differs from the executing user check database permissions: The user executing the installed instance of RayQC Advanced will need read and write access to the database created during the installation, though he does not need permissions to create new databases. |
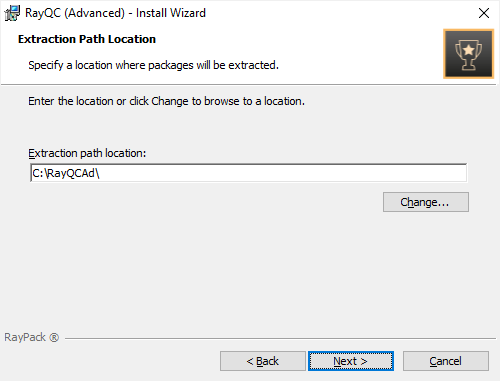
Choose a folder. RayQC Advanced will use this folder to store files and packages extracted during the import into the RayQC Advanced library.
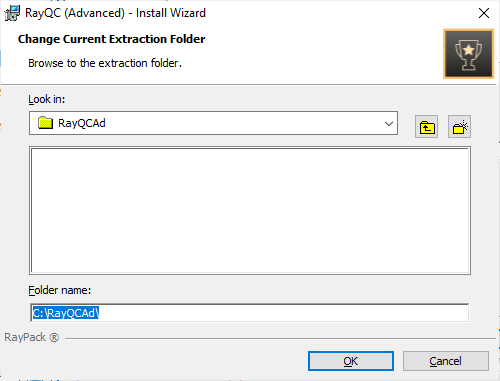
If a custom extraction folder has to be defined, use the icons in the dialog above to navigate to the desired installation directory or to create a new one. After this, click on the OK button to return to the Extraction Path Location dialog. The path will be updated to display the custom destination recently selected. Click the Next > button in the Extraction Path Location dialog to proceed.
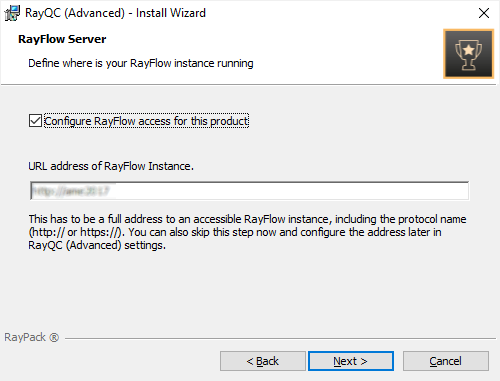
The RayFlow access for this product needs to be configured. If the Configure RayFlow access for this product checkbox is checked, the RayFlow server can be configured. The full address of the RayFlow instance that is about to be used for RayQC Advanced needs to be entered in the text field. If the Configure RayFlow access for this product checkbox is left unchecked, RayFlow access can still be configured in the Settings page of RayQC Advanced after the installation has been successfully completed.
Click the Next > button in the RayFlow Server dialog to proceed.
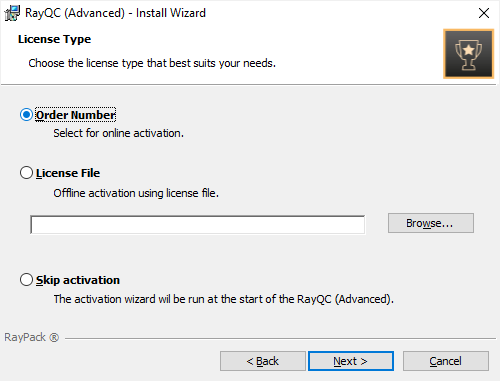
The License Type screen provides options to either activate the RayQC Advanced instance via order number and online activation service, by using an already prepared file (*.license), or to skip activation for now. If the activation is skipped, it will need to be performed later when RayQC Advanced is launched. For more information on product activation at the first launch of RayQC Advanced read this section.
To use an already existing license file, which most likely has been provided by the Raynet support team, the Browse... button has to be clicked. Use the controls of the system browser dialog to navigate to the *.license file and select it with a click on the Open button.
Click the Next > button to proceed.
If activation by order number has been selected during the previous step, the Customer Information dialog is displayed:
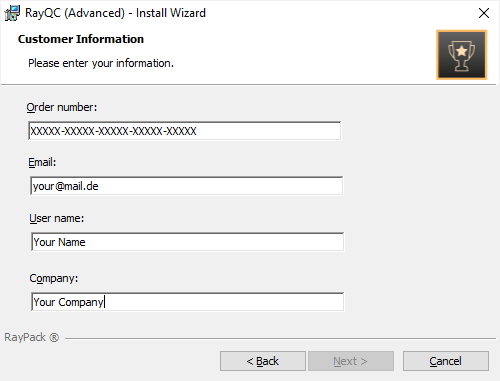
Please enter your individual RayQC Advanced Order number and provide user information, such as Email, user name, and company name. The information will be used to verify the order number during the upcoming execution procedure.
Click the Next > button to proceed.
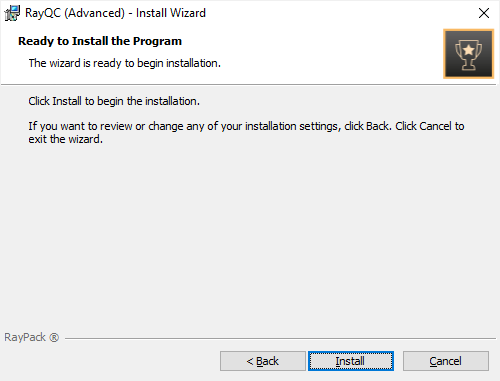
All required settings and properties are now defined and RayQC Advanced is ready to be installed. Click on the Install button to start the process.
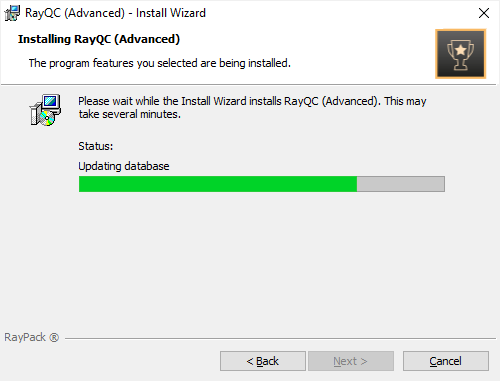
A progress indication dialog is displayed as long as the installation steps are executed.
As soon as all required measures are done, the Install Completed dialog is presented.
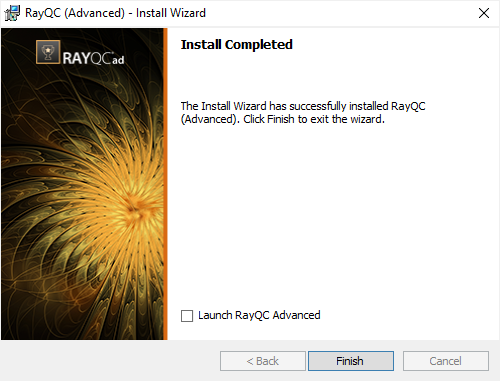
Check the Launch RayQC Advanced checkbox to launch the RayQC Advanced application after the setup has been finished. If the Open Release Notes Checkbox is checked, the Release Notes will be opened after the setup has been finished.
Click the Finish button to exit the setup.