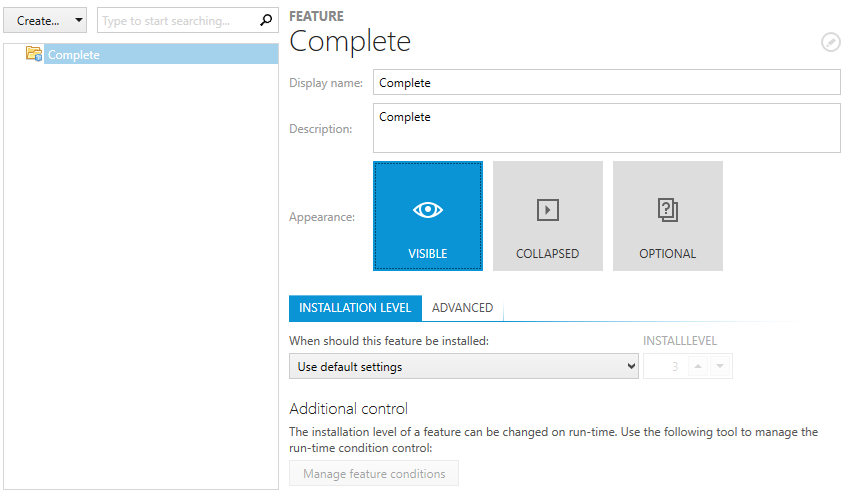
RayPack includes two views for Feature manipulation. The Features view within the Visual Designer mode allows to manage feature settings as long as they are affecting the user interaction during installation runtime. More complex background settings, such as component management are manipulated via the Advanced mode.

The main view of the Visual Designer area Features consists of the actual features and their nesting on the left. The secondary view to the right contains information about the currently selected item and allows actions to be carried out on it.
The Feature Item Context Menu
A right-click on a feature from the tree view on the left allows to directly rename or delete it by selecting the respective option from the context menu. Additionally, users may initiate the extension with a new child feature from the context menu.
By selecting Go to row there is the option to call the Installer database row within the Feature table, which actually references the currently focused feature. By doing so, the Visual Designer mode is left and the Table view of the Advanced mode is loaded with the Feature table visible inside the content area.
Since feature trees may become quite substantial, the context menu also contains options to collapse and expand all child nodes of the currently right-clicked feature item.
Feature Nesting
A valid Installer package has to contain at least one (root) feature. Additional features may be added either at the same level as the first one or added as a child feature to an existing one. The tree structure of features is arranged alphabetically by the property “Feature”, which is the displayed label of a feature within the tree view. However, it is always possible to change the default order by simply applying drag and drop and moving features (with all their child nodes) to any other location within the tree structure.
Core functionality within the Features view: