In Order to Create a Wrapper
1.In the main menu, press FILE > NEW to show the New Project backstage menu.
2.Click on Wrapper to start a new PackWrapper wizard.
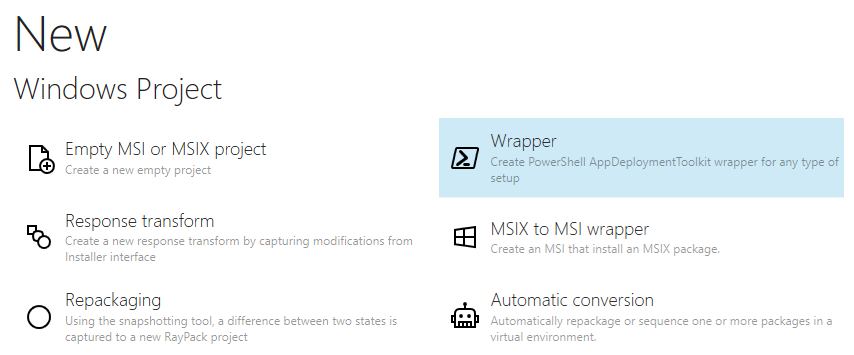
3.Follow the steps described in next sections.
Selecting Setup File
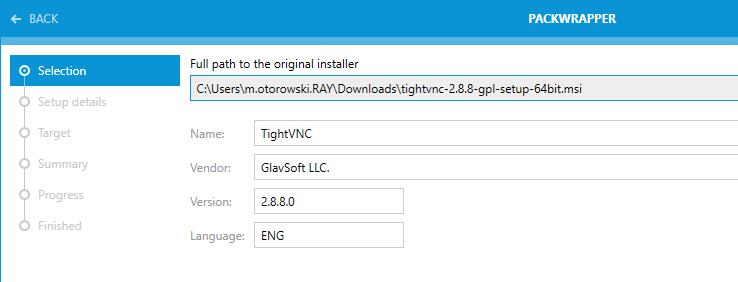
In this step, the main installation entry point has to be selected. Depending on the vendor, the package may be in a Windows Installer format (.msi), MSIX package (.msix) or any other, most often executable format (.exe). Select the full file path to the setup by pressing the Browse [...] button. After a setup is selected, its details are presented underneath.
|
Note: These values are read from the setup file that has been provided. For some executable installers, their metadata may be out-of-date or irrelevant. In this case, fix them by entering the correct values before continuing to the next page. |
If an MSI file is selected as the original installer, a selector for additional transform files will be shown underneath:
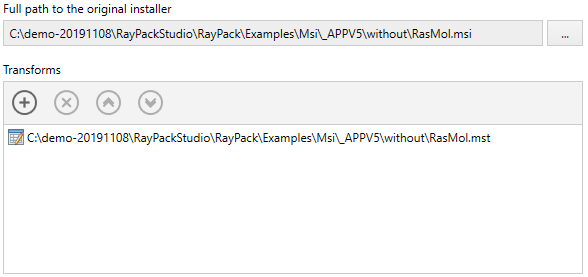
Transform files defined at this steps will be executed by the wrapper and copied to the source files folder, together with the main .msi file.
Once ready, press NEXT > to go to the configuration of the selected setup file.
Automatic Recognition of Command Line Switches
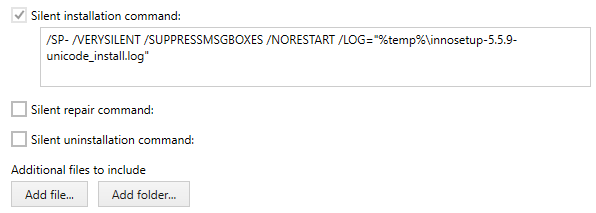
Once an executable or an MSI is selected as a setup type, RayPack tries to analyze it and create a command line that can be used to install the product silently. This functionality supports popular setups and frameworks like NSIS, InnoSetup, and many more. The recognition is executed automatically, no further input from the user is required. For example, if a selected setup has been authored in InnoSetup. the following will be generated:
Configuring the Setup
In this step, the setup is to be configured to be executed silently according to the specific requirements.
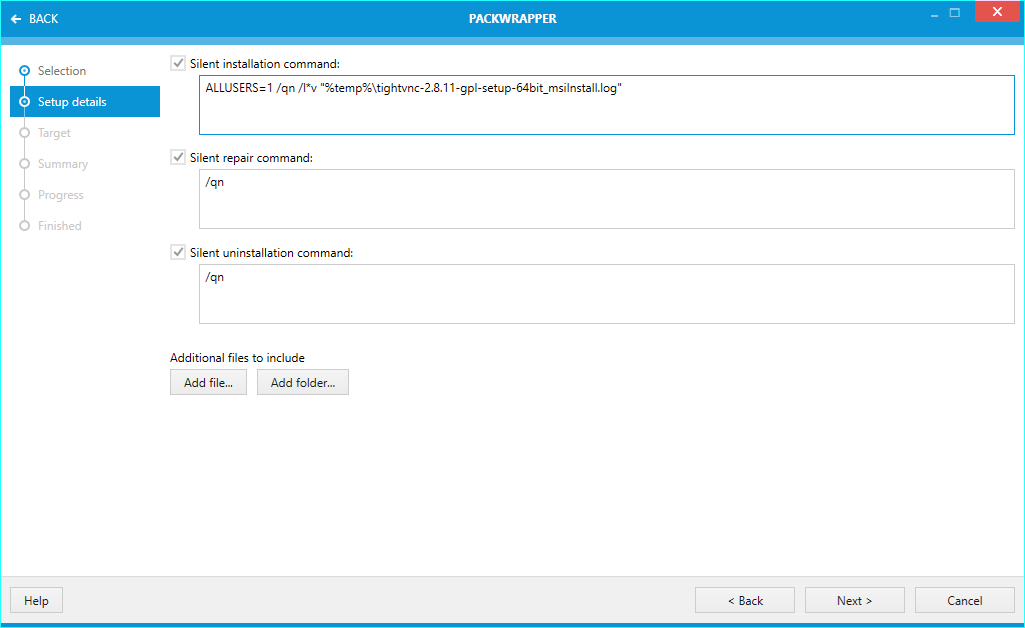
There may be small differences regarding the available options.
•For Windows Installer setups, both the installation, repair, and the uninstallation command are shown.
•For non-MSI setups, the user is able to manually write the repair and uninstallation command, either by calling the original setup with extra arguments, or by starting a completely different command (for example %programfiles%\myapp\unins.exe). For the latter, it is possible to use environment variables and PowerShell syntax (for example $env:ProgramFiles).
If the setup requires additional files (including but not limited to .cab, .inf, .ini, and other files), these can also be added by pressing the Add file... button. The list may already be prepopulated with values if RayPack detects that some files must be automatically included.
Once the configuration is ready, press NEXT > to go to the folder selection.
Target Selection
In this step, the target folder has to be configured.
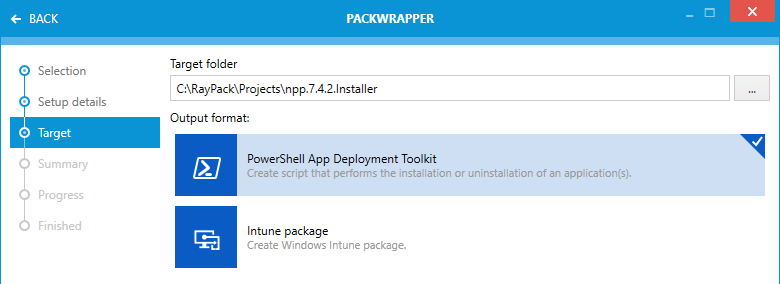
By default, the target folder is set as a combination of the main project folder and the file name without extension of the selected setup. The path can be changed by pressing the Browse [...] button or by entering the desired path into the textbox.
The Output format lets you decide about the type of the deployment:
•PowerShell AppDeploymentToolkit
Creates a classic PSADT deployment with all necessary source and toolkit files.
•Intune package
Creates an Intune (.intunewin) self-contained package.
|
Note: Some Intune functions may require extra dependencies to be present on the local machine. There may be a prompt to download them, which RayPack does automatically. Without these dependencies however the process will be aborted. |
Once the folder is configured, press Next > to go to the Summary screen and confirm the settings by pressing the Process > button.
Further Editing
Once the wizard completes, there is a setting to control whether to further edit the created wrapper. This setting is active by default and can be controlled on per-run basis with the checkbox:

Processing
As a part of the processing, RayPack does the following:
1.The selected setup file and supporting files are copied to the target folder to the /Files subfolder. Folder relations between files are preserved.
2.The PowerShell AppDeploymentToolkit bundle is copied to the target folder to the /AppDeploymentToolkit subfolder.
3.The package configuration and miscellaneous files are copied to the target folder.
All files are required for the package to work correctly.