Steps can be imported from external formats: graphic files (PNG, JPG) or from other RayEval projects.
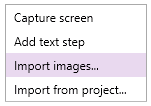
The import wizard is available from a context menu, invoked on an empty space:

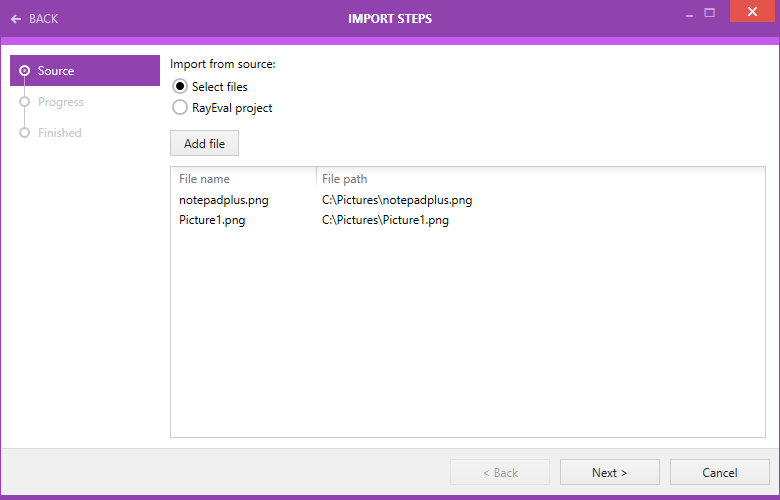
To Import Graphic Files...
The wizard is invoked by pressing the Import images... menu item from the context menu.
1.Select one or more image files to be imported

2.You can add more images by pressing the Add file button
3.Once ready, press Next > to go to perform the import process
4.The new steps will be added at the end of the currently selected sequence
5.If required, you can now reorder or move the imported steps to other tabs
To Import Steps From Another RayEval Project...
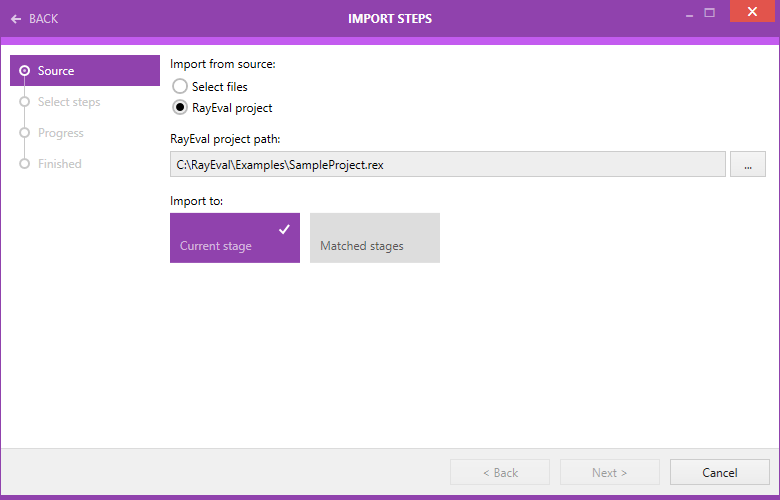
The wizard is invoked by pressing the Import from project... menu item from the context menu.
1.Select the project to be used as the import source

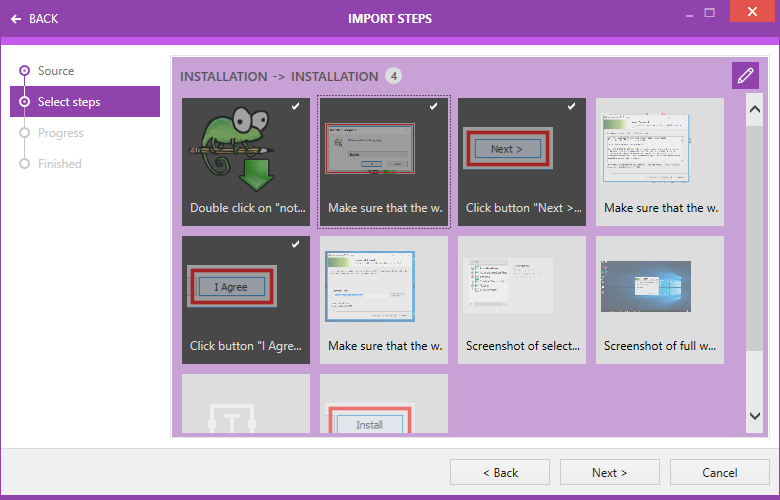
2.Select the type of the import. Current stage will look-up all steps (regardless of their parent stage) and import the selected ones to the currently selected tab. On the other hand, the Matched stages option will give more control, by grouping the steps to the matching tabs and offering the user to import to the corresponding ones.

|
Note: Empty stages are not shown in the Select Steps wizard page. Also, if Matched stages option is used, stages from the source projects that are not present in the target project will not be shown. |
3.Once ready, press Next > to perform the import
4.Depending on the option selected, the new steps will be added either at the end of the currently selected sequence, or appended to their corresponding stage
5.If required, you can now reorder or move the imported steps to other tabs