After you created and configured a new device schedule or while editing an existing one, you can also add recurring schedule events and precisely adjust their time settings.
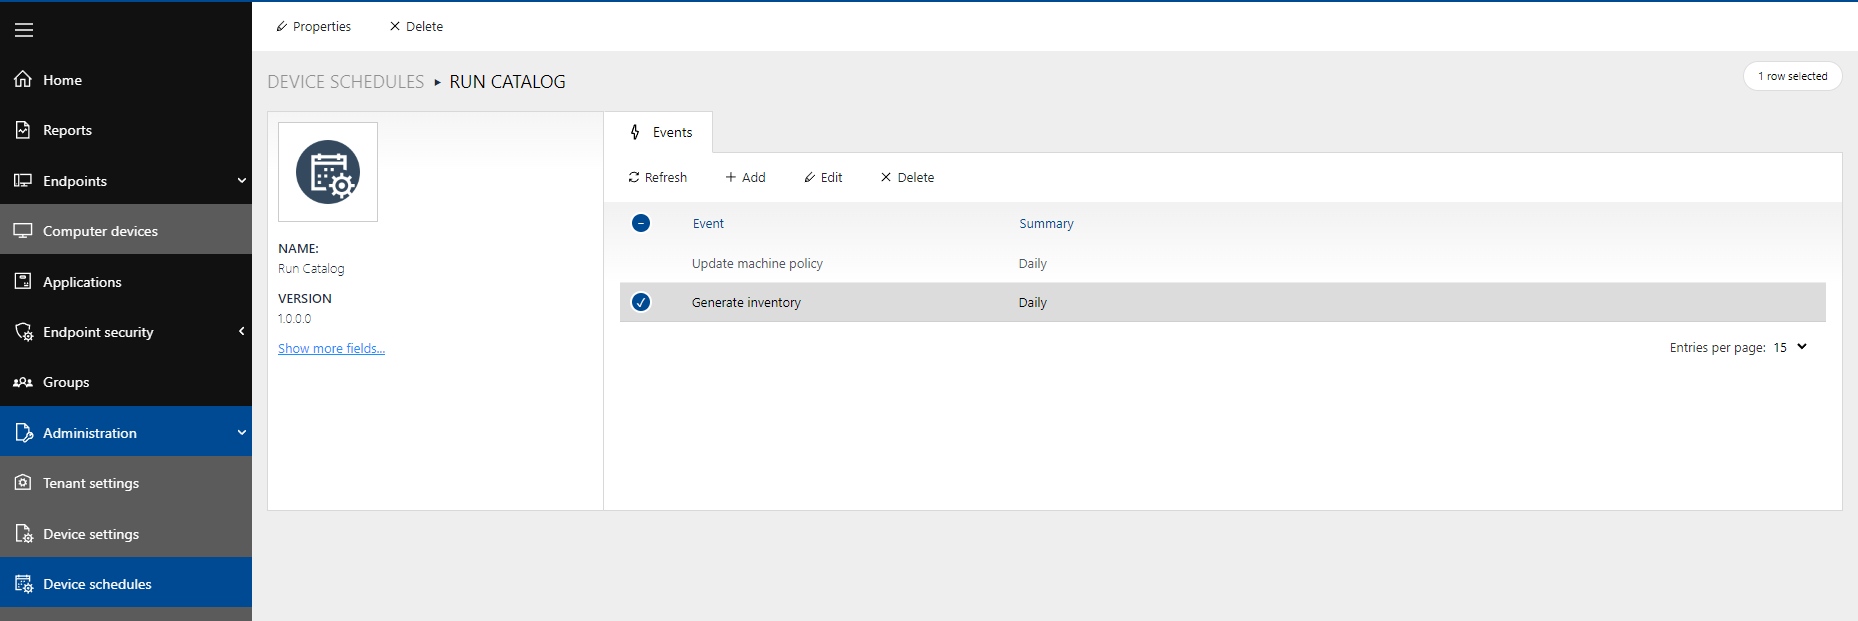
1.In order to add and schedule an event, first access your device schedules via Administration > Device Schedules in the sidebar.
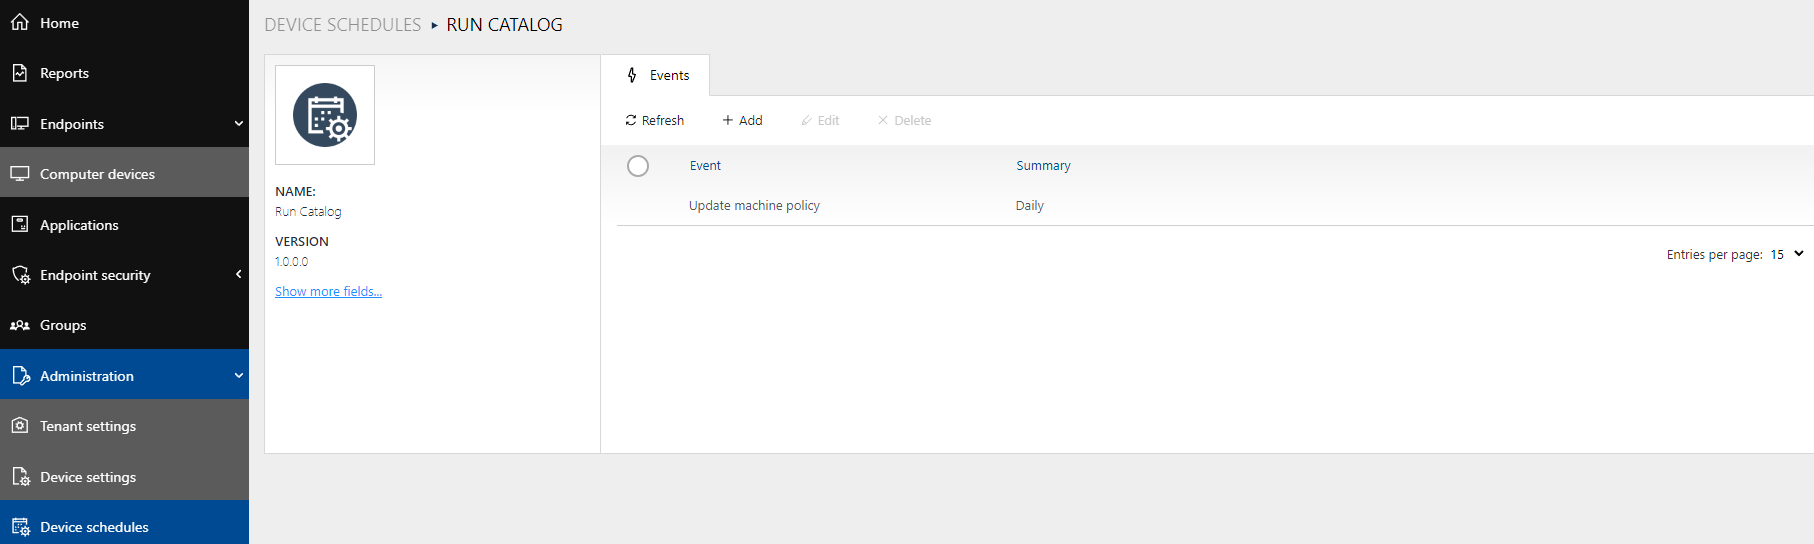
2.Activate a schedule in the device schedule list.and open it by clicking on its name.
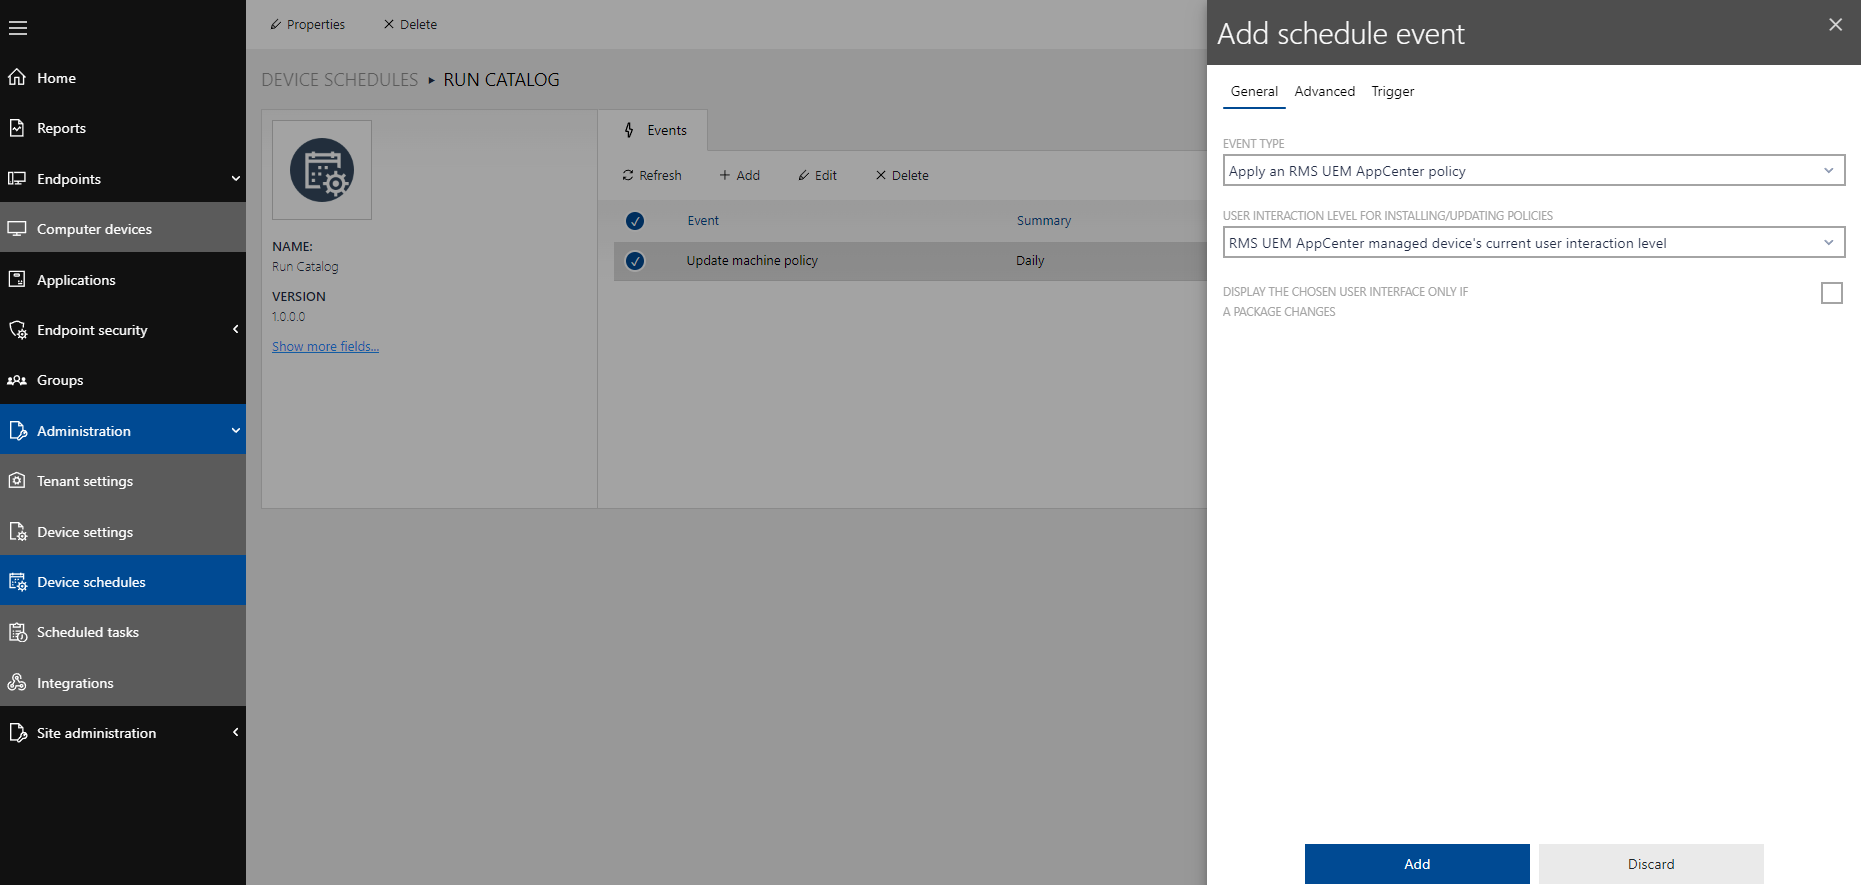
3.Click on the checkbox in the Events dialog- Then click on Add in the toolbar to open the Add schedule event.dialog. The Add schedule event dialog includes the tabs General, Advanced and Trigger.
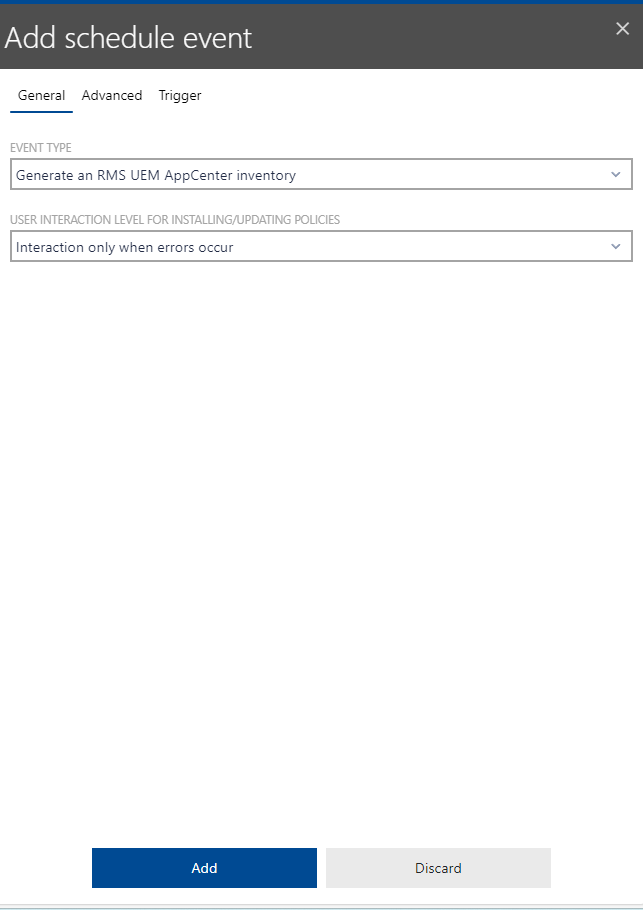
4.Adjust general event settings under the General tab.
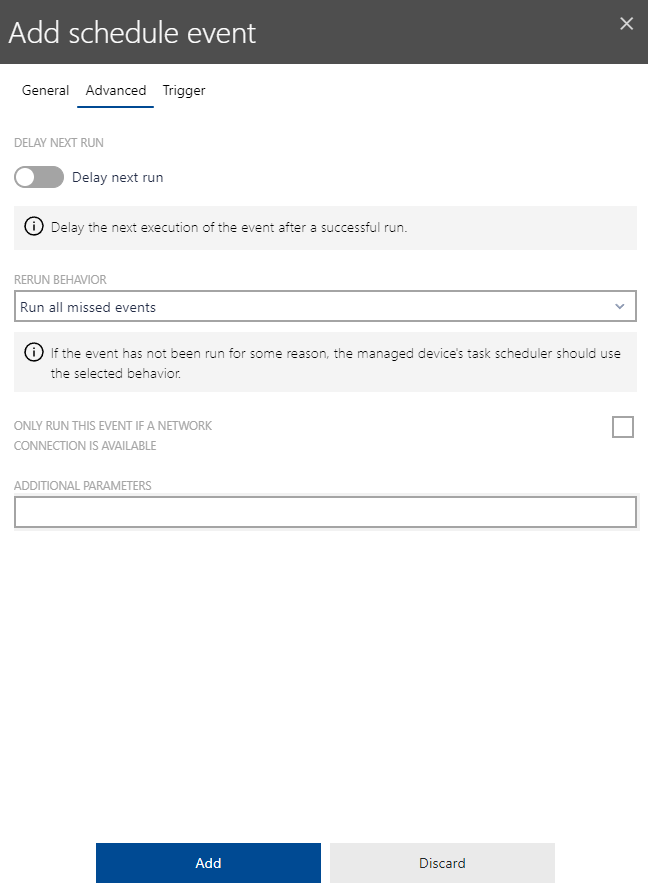
5.Select your preferred advanced settings under the Advanced tab. You can also manually add individual parameters.
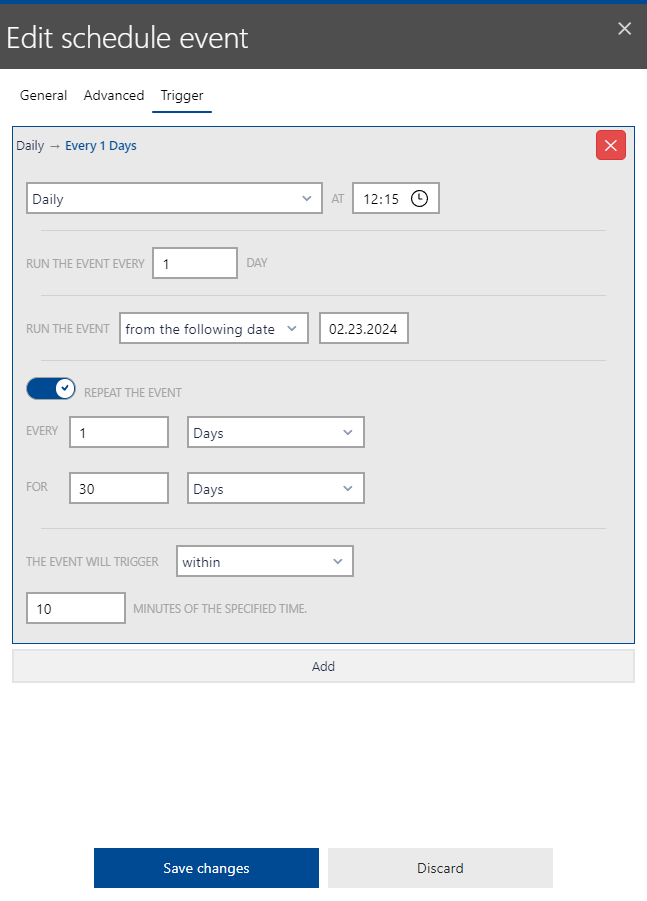
6.Add a new trigger under the Trigger tab. Schedule it and add your time settings to the event via the Add tab in the event dialog.
7.To finally save and apply your settings, click on Save changes. Otherwise, select Discard to reject your changes. In case you saved your settings, the scheduled event now shows in the Device schedules dialog.
|
Note: Under the Triggers tab, you can select between the time units Minutes, Hours and Days. Furthermore, you can precisely schedule repeated operations, enter individual time frames in which the event is supposed to be triggered.
|