You can add additional package installers for specialized package deployment scenarios. A common example: You are going to to deploy different installers on Windows 10 and Windows 11 devices. Targeting additional installers to different managed devices can be operated via the Targets tab in the Add installer dialog.
1.Select an application which you want to create an additional installer for.
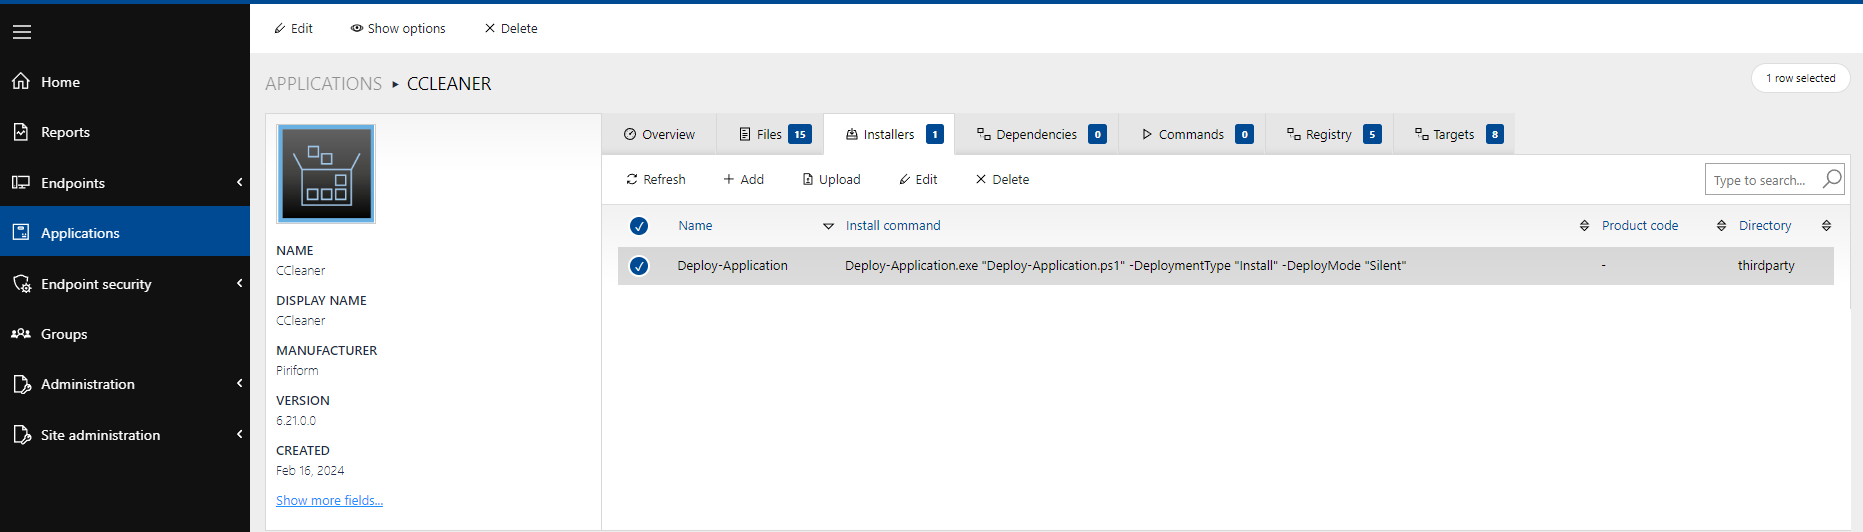
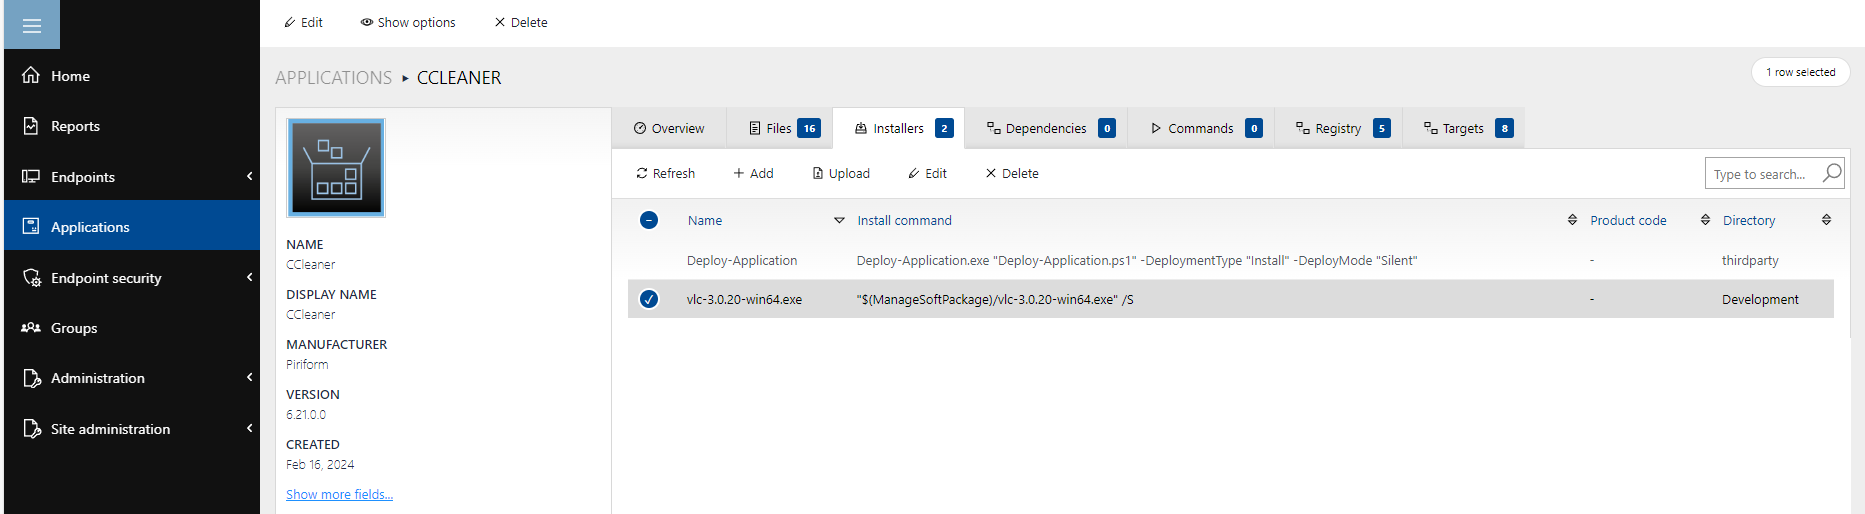
2.Open the Installers tab. Select an existing installer by ticking the installer checkbox.
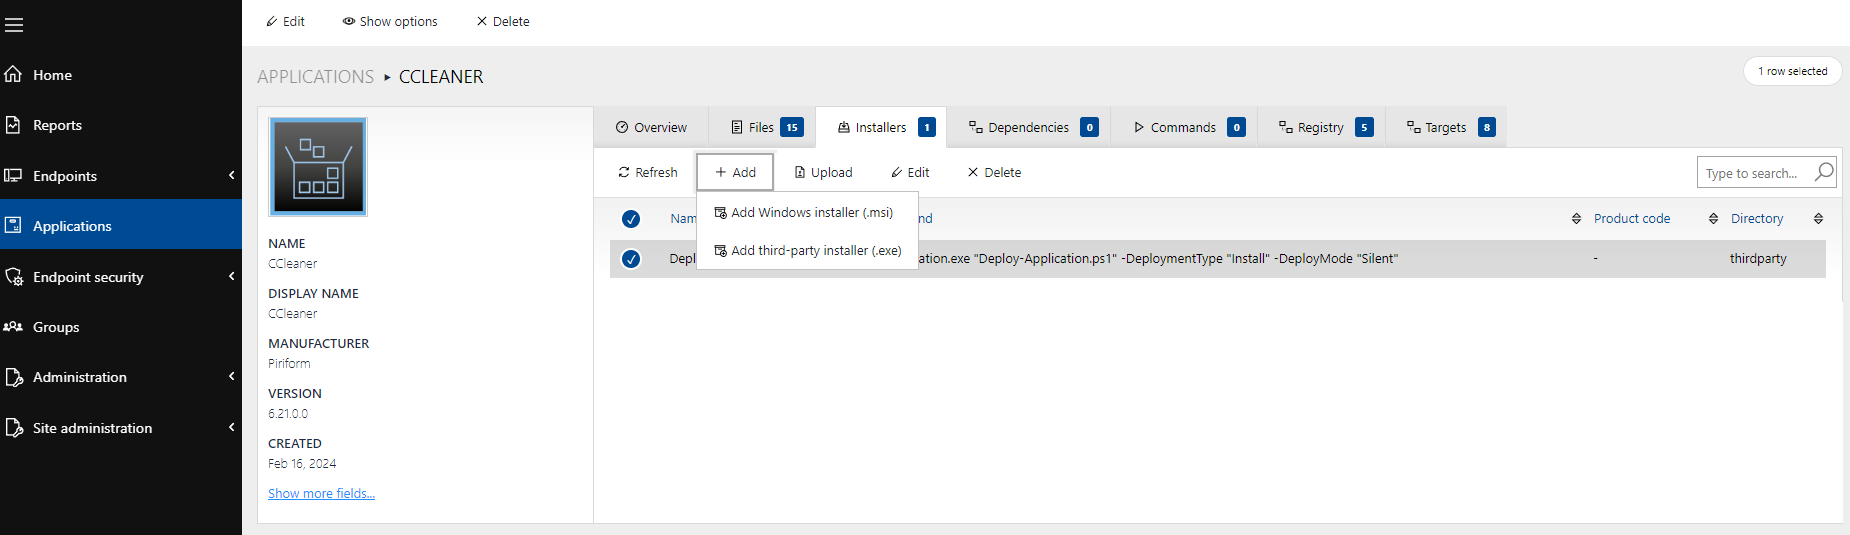
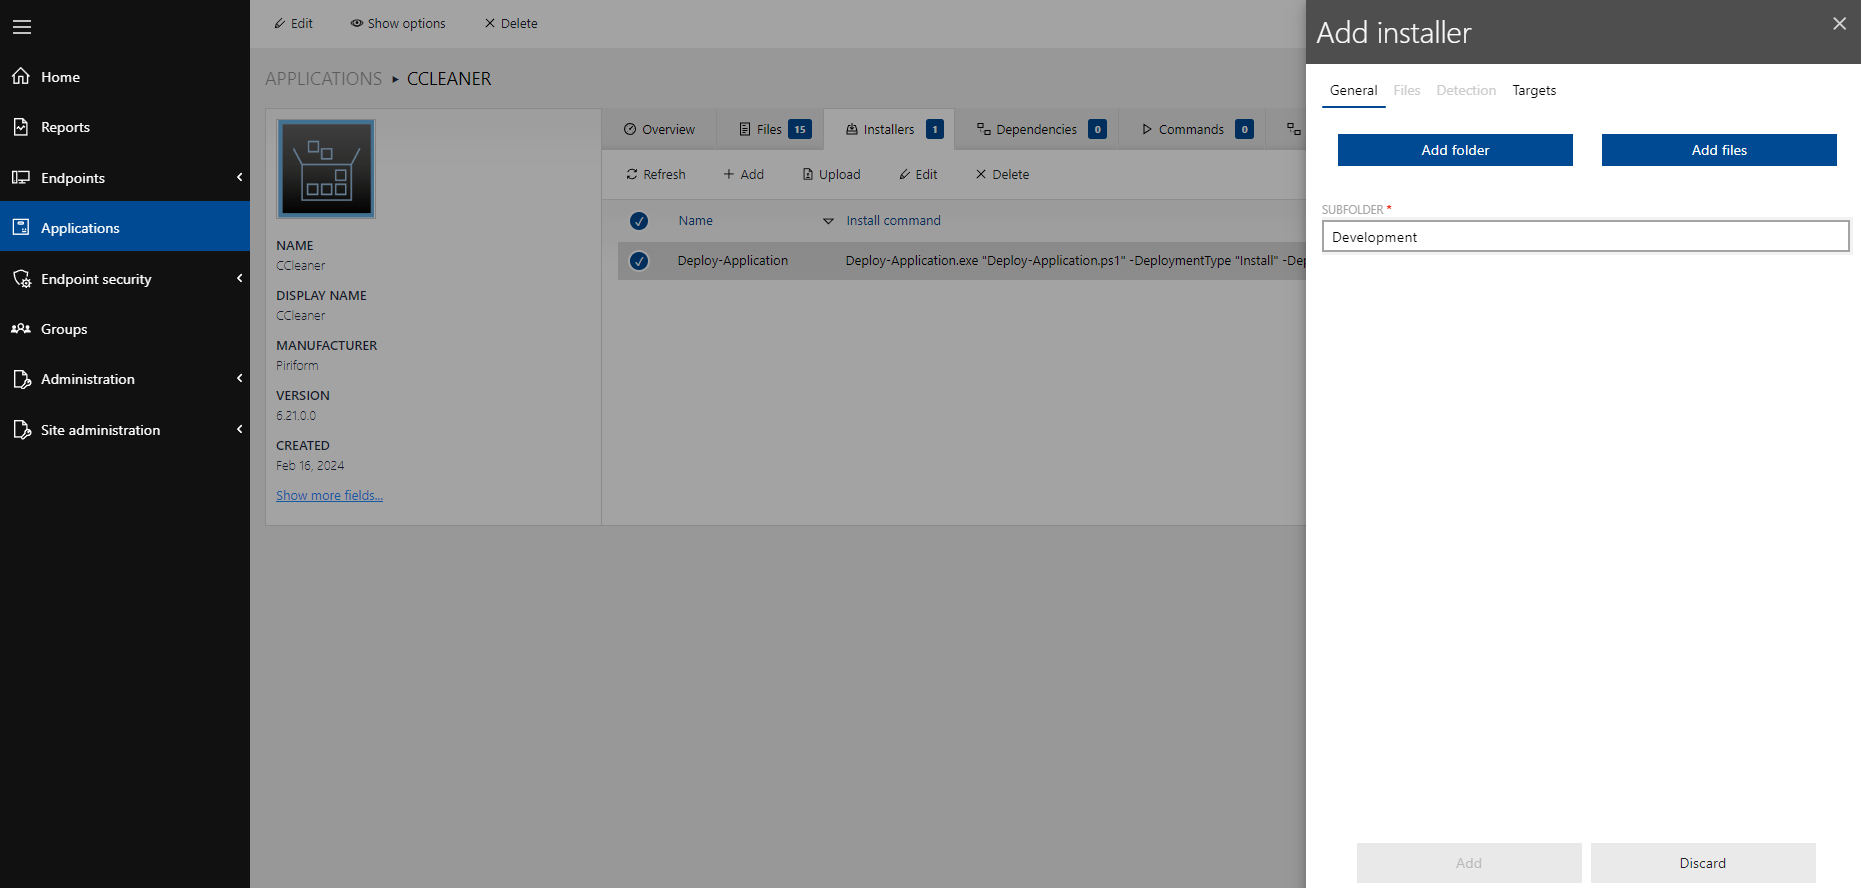
3.Click on Add in the toolbar to open the Add Installer dialog. Select your installer file format in the drop-down list.
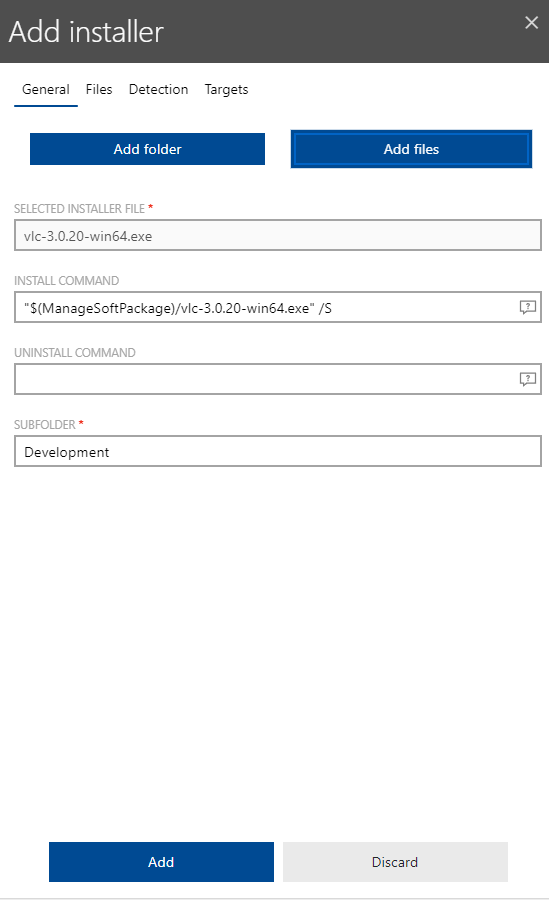
4.Add your installer folder or file and define a subfolder to define a precise deployment destination. If necessary, you can view and adjust your file and folder selections under the Files tab.
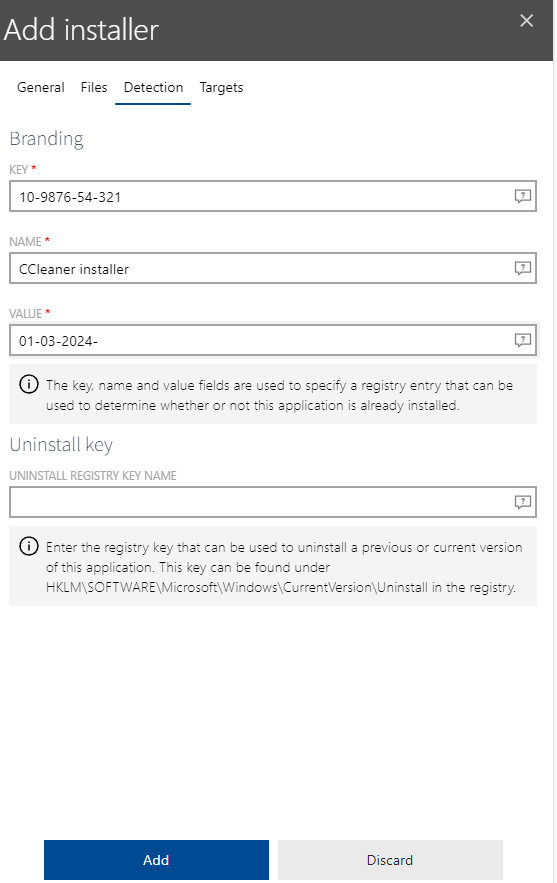
5.Fill in the mandatory fields KEY, NAME and VALUE under the Detection tab. Adding an uninstall command is optional.
6.Fill in the mandatory fields KEY, NAME and VALUE under the Detection tab. Adding an uninstall command is optional.
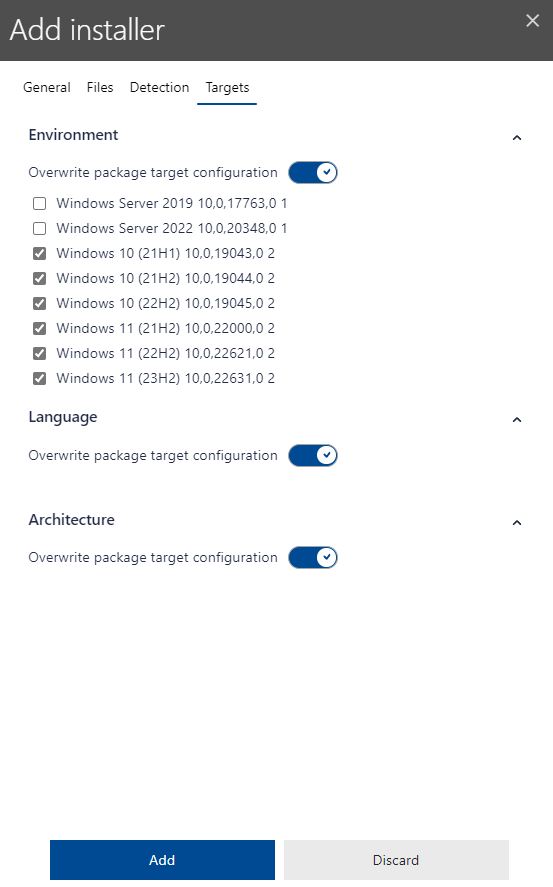
7.If required, specify your selection of target devices in your environment via the Targets tab. Then click on Add to finalize your additional installer. The additional installer now is displayed in the Installers view.If you want to reset your new configurations, click on Discard.
|
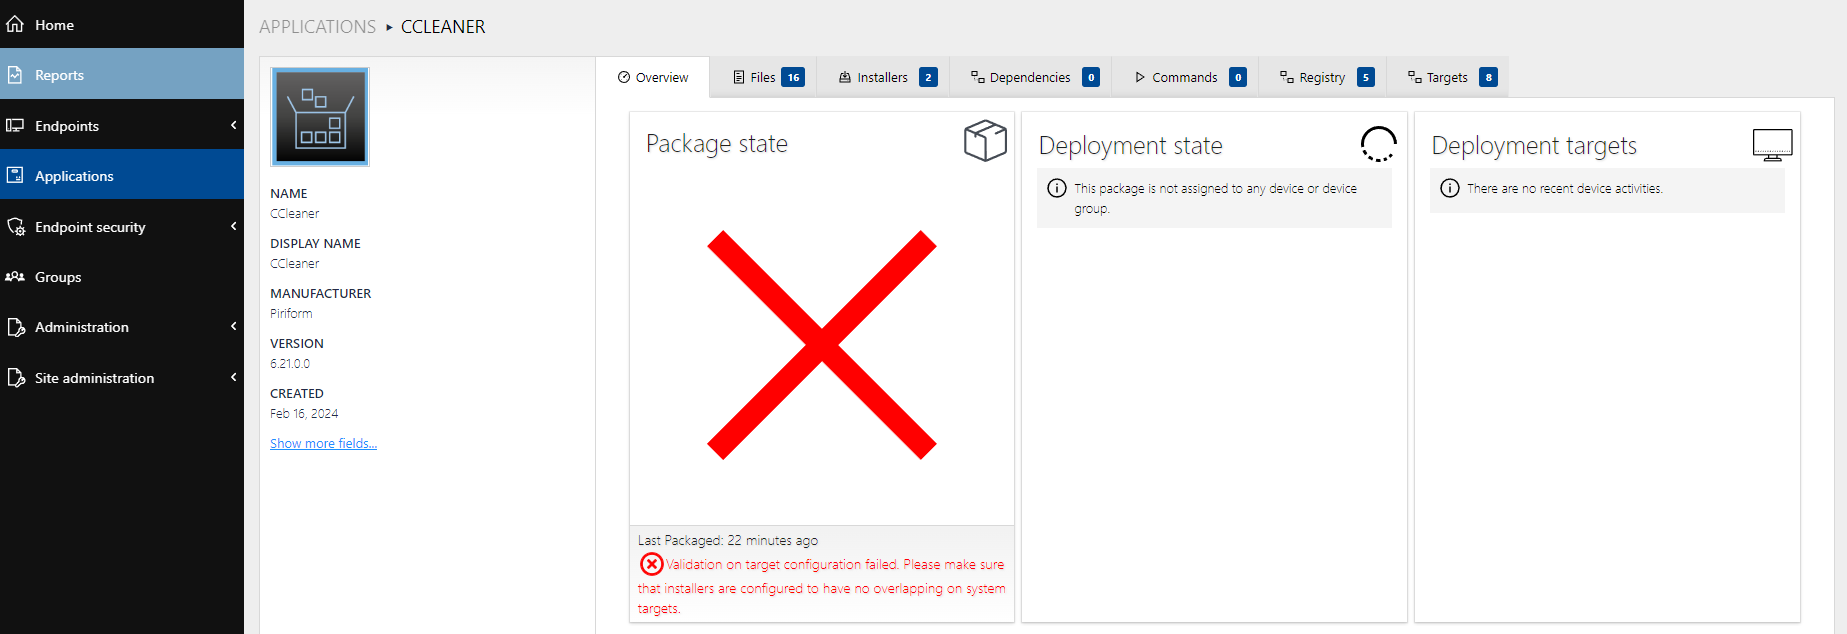
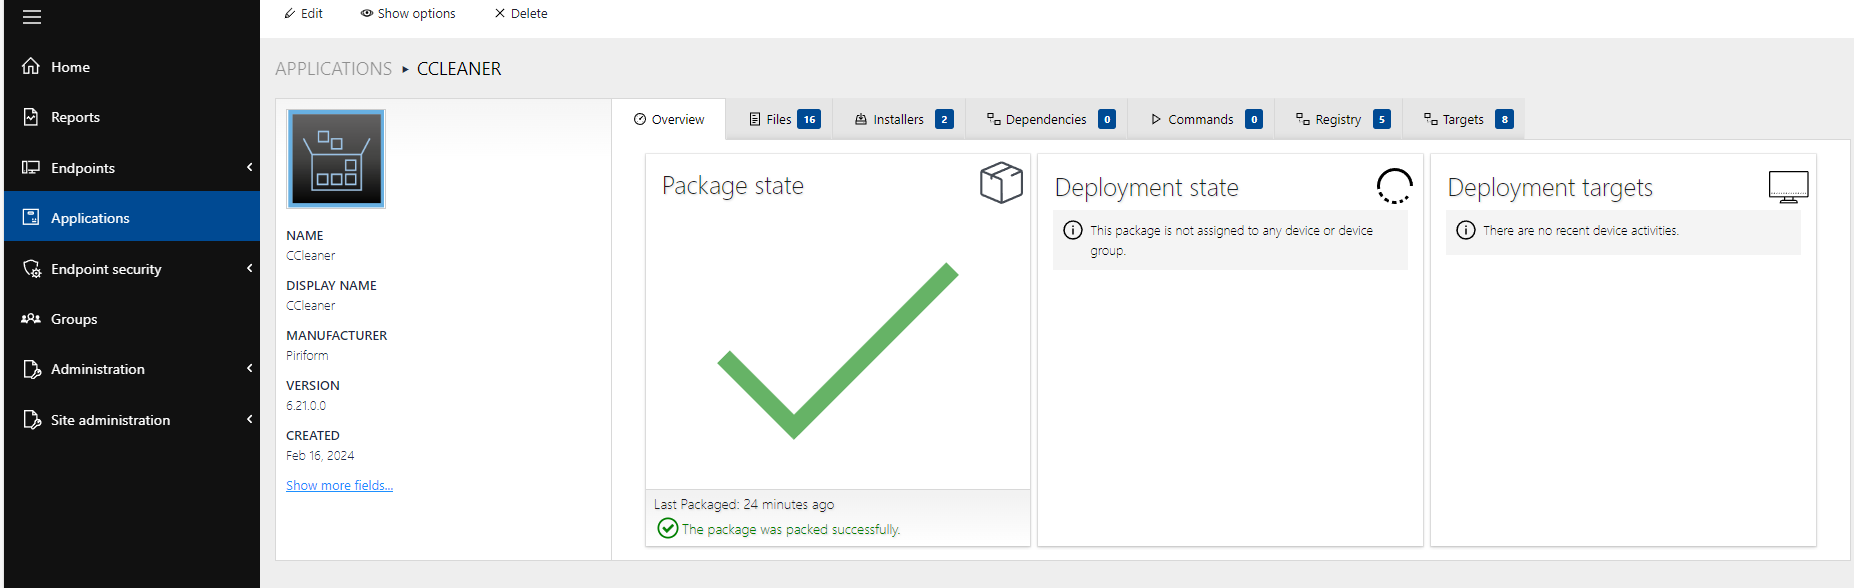
Tip: In order to use the Targets tab, you must activate Overwrite package target configuration. Also make sure that additional installers of the same package are not overlapping on your managed devices. Via the Package state in displayed in the package view, you can check if you created overlapping targets that cause installer conflicts. In case of target conflicts, adapt your settings under the Targets tab in the Add installers dialog.
|