This section describes the initial setup and configuration steps required before deploying Raynet One.
Step 1: Generate Environment Variables
In this example, an SSH connection is established to the server using:
ssh marina@<IP-address>
Before running any deployment or maintenance commands
You must be inside the repository folder (the directory that contains compose.yml, generate-env.sh, update_vhosts.sh, and other related files).
This repository does not include a default .env file. You must generate it manually.
Make sure you are in the correct directory:
ls
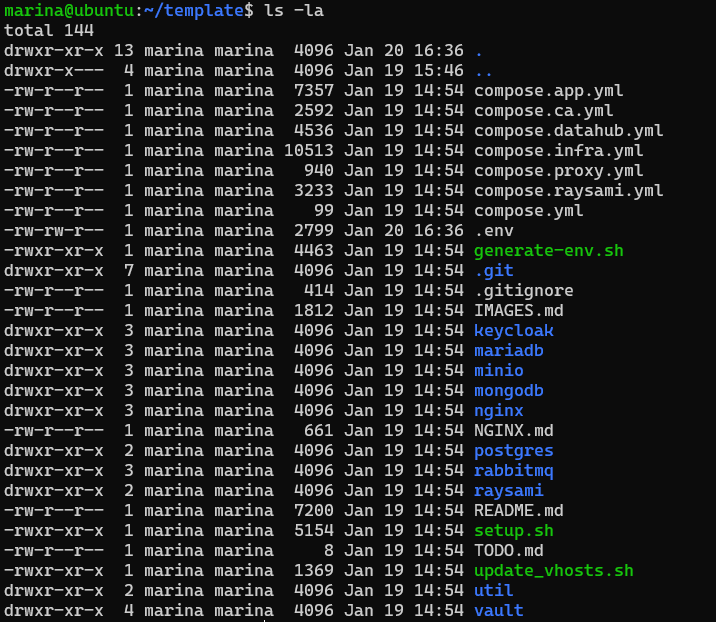
ls -la
You should see files like compose.yml, generate-env.sh, update_vhosts.sh etc.:
![]()
Important:
generate_env.sh must be available in the same directory where you run Docker commands.
Generate the .env file
After receiving the template, the .env file does not exist yet. This is intended behavior, the file is generated on demand.
To confirm that the file is missing, you can run:
ls -l .env
Expected output:
ls: cannot access '.env': No such file or directory
![]()
Now run the provided script to create the .env file with initial placeholders and secrets:
./generate-env.sh
After successful execution, the .env file should now be present in the current directory:
This creates a fresh .env file with secure, randomly generated secrets and passwords.
Important:
Treat the generated .env as highly sensitive. Restrict file permissions and storage access.
After running ./generate-env.sh:
The .env file is now present in the current directory.
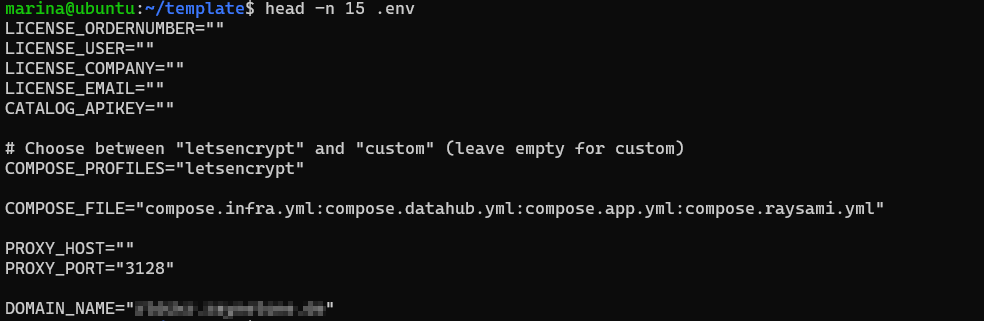
Example, first lines of a freshly generated .env
(only the beginning is shown, passwords and secrets are randomly generated and not displayed here for security reasons):
Step 2: Configure Domain
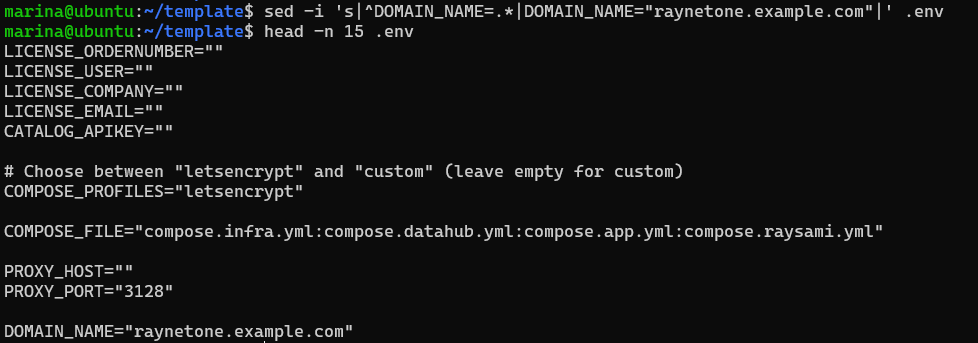
Edit the .env file and set the target domain. You can change the DOMAIN_NAME in any text editor or via terminal with a command like this:
DOMAIN_NAME=<your target domain> (e.g., raynetone.example.com)
Step 3: Update Nginx vhost Configurations
The Nginx vhost files in nginx/vhost.d/ are dynamically generated based on the value of DOMAIN_NAME in your .env file.
Prerequisites:
•.env file exists and contains a valid DOMAIN_NAME (e.g. DOMAIN_NAME=raynetone.example.com or your own domain).
•DOMAIN_NAME is set correctly
Quick Check:
grep DOMAIN_NAME .env
Regenerate vhost files:
Run this after every change to DOMAIN_NAME in .env file:
./update_vhosts.sh
Verify the result:
Check for domain specific files:
ls nginx/vhost.d/*<your-domain>*
Expected output (example with DOMAIN_NAME=raynetone.example.com):
nginx/vhost.d/raynetone-backend.raynetone.example.com
nginx/vhost.d/raynetone-datahub.raynetone.example.com
nginx/vhost.d/raynetone-keycloak.raynetone.example.com
If you see files matching this pattern, the vhost update was successful.