A new transformation can be added by clicking the + Add button located at the top of the screen in the Transformations screen. The Add Transformation dialog will open directly.
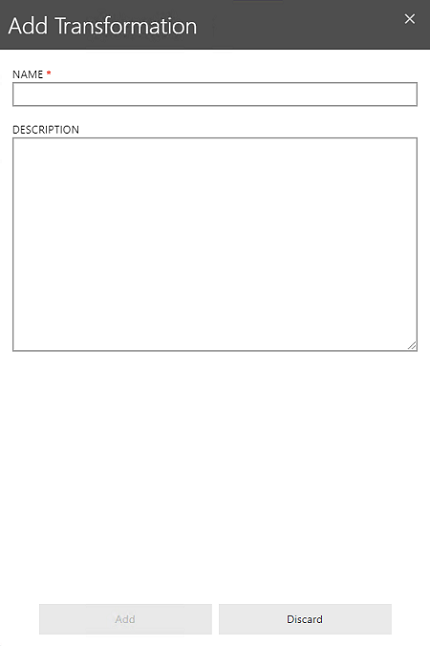
Enter a name for the new transformation into the NAME field and enter a short description for the transformation into the DESCRIPTION field (the description is optional). Click on the + Add button to create the empty transformation. Now add the necessary transformation steps and custom macros as described in the chapter Creating and Editing Transformation Steps and the chapter Adding Custom Macros to Transformations.
Import a Transformation
A transformation can be imported from the details page of an existing transformation. To open the import dialog, navigate to the details page of the transformation and click the Import button in the top action bar. The Transformation Import dialog will be opened.
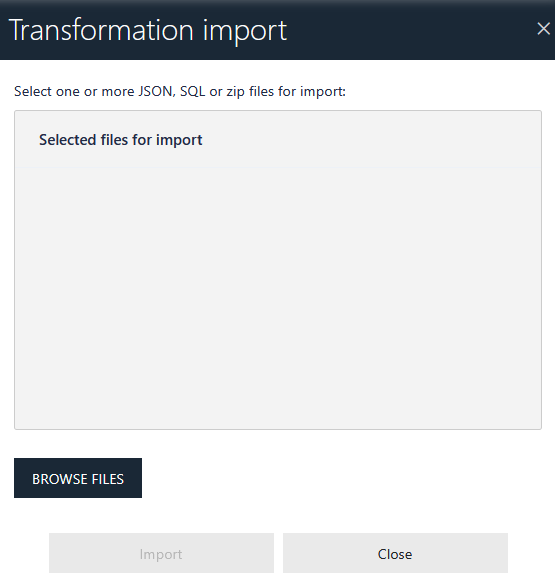
The Transformation Import dialog can be used to import transformation data into the current transformation. The following file formats are supported:
•A .json file containing the transformation script
•A .sql file containing SQL macros to be used by the transformation
•A .zip archive containing both transformation script and SQL macro files
Click the BROWSE FILE(S) button to select the file to import. When the file has been added, click the Import button to apply the import. The imported data can be used to fully replace the existing transformation or to append new steps to it.