PowerShell connector enables configuring custom or complex tasks, which can be automated by using one or more PowerShell commands. Because PowerShell can also be used to start any executable, this connector can also be used to query the data from various system tools and other CLI-based interfaces.
|
Understand the risk: PowerShell code that you write is executed with the permissions of the service user that the agent is running. The code can import other modules and execute all commands from modules in scope. This may be a potential security consideration as anyone having access to the administration of the tasks can use this feature to remotely execute the code on the agent machine. |
In order to create a task that fetches the data with PowerShell connector:
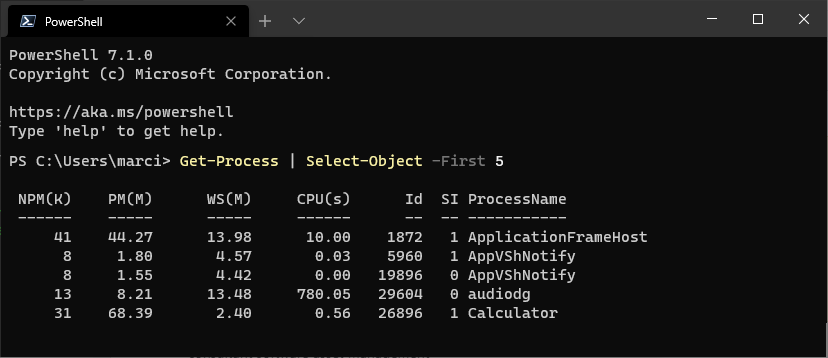
1.Write the content of your script and test it locally with PowerShell 7 (or later). The following example will print first 5 processes running on the machine:
|
Note: For testing, piping the results to command lets like Format-Table or Format-List is acceptable. However, when using from Raynet One Data Hub it is important that the objects are returned to the output (and not their formatted output). This is why in the final script that is executed by Raynet One Data Hub you should avoid using extra formatting. |
2.The script should simply output the desired results. Make sure that you do not include output that you do not want. For example, many command lets will print to the output if the results of their execution is not assigned to a variable. The simplest way to ensure that everything is well-prepared is to run the script and verify that there are no unnecessary objects, like in the example below.
3.If required, you can import external modules with Import-Module. Bear in mind, that the module must be available on the agent machine which will later run the script.
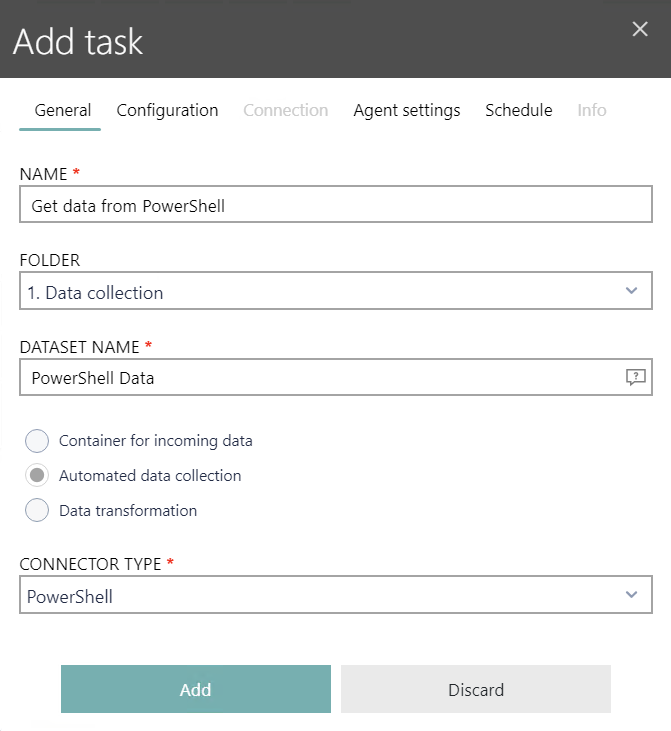
4.Once the complete script is ready (including all required import statements and writing the results to the output) you should create a new task of type PowerShell and put your script there:
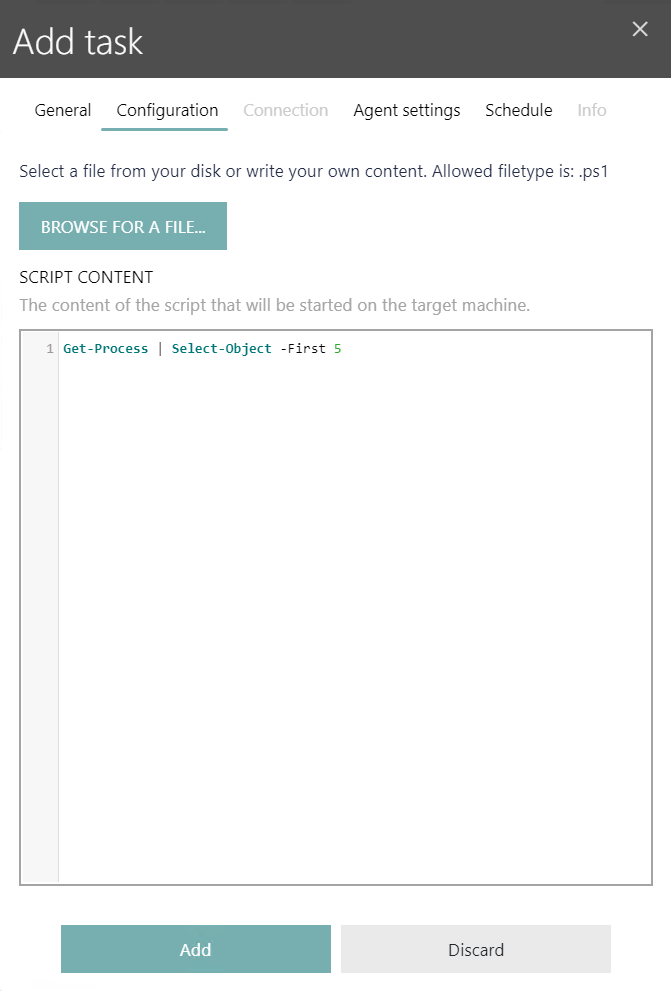
5.In the Configuration tab, enter the content of your script.
|
Note: Raynet One Data Hub has a limited syntax-highlighting support, but otherwise the debugging or formatting options are limited. You can use your favorite IDE (for example Visual Studio Code) to author and debug the script before you put its content in the product configuration. |
6.Configure the rest of options as required, and finally start the task.
Working with Multiple Tables
By default, all returned objects are written to the same task. To work with multiple tables, use the custom command let Set-DataHubTableName which is available in your PowerShell session. You should use this command to inform the collector that a new table is about to begin, with a name being passed as the only argument. For example, the following gets processes and packages and writes them to two different data sets:
Set-DataHubTableName "Processes"
Get-Process | Select-Object -Property Name
Set-DataHubTableName "Packages"
Get-AppxPackage -Publisher *Microsoft*
Get-AppxPackage -Publisher *Raynet*
If your PowerShell task uses data set name PowerShell, then as a result the following will be collected by the PowerShell connector:
•Table PowerShell.Processes with the names of currently running processes.
•Table PowerShell.Packages with the list of packages from Microsoft and Raynet, with all properties returned by the command let.
This also demonstrates that subsequent calls are grouped and injected into the most recent table.