This section contains a step-by-step description on how to setup a data transformation.
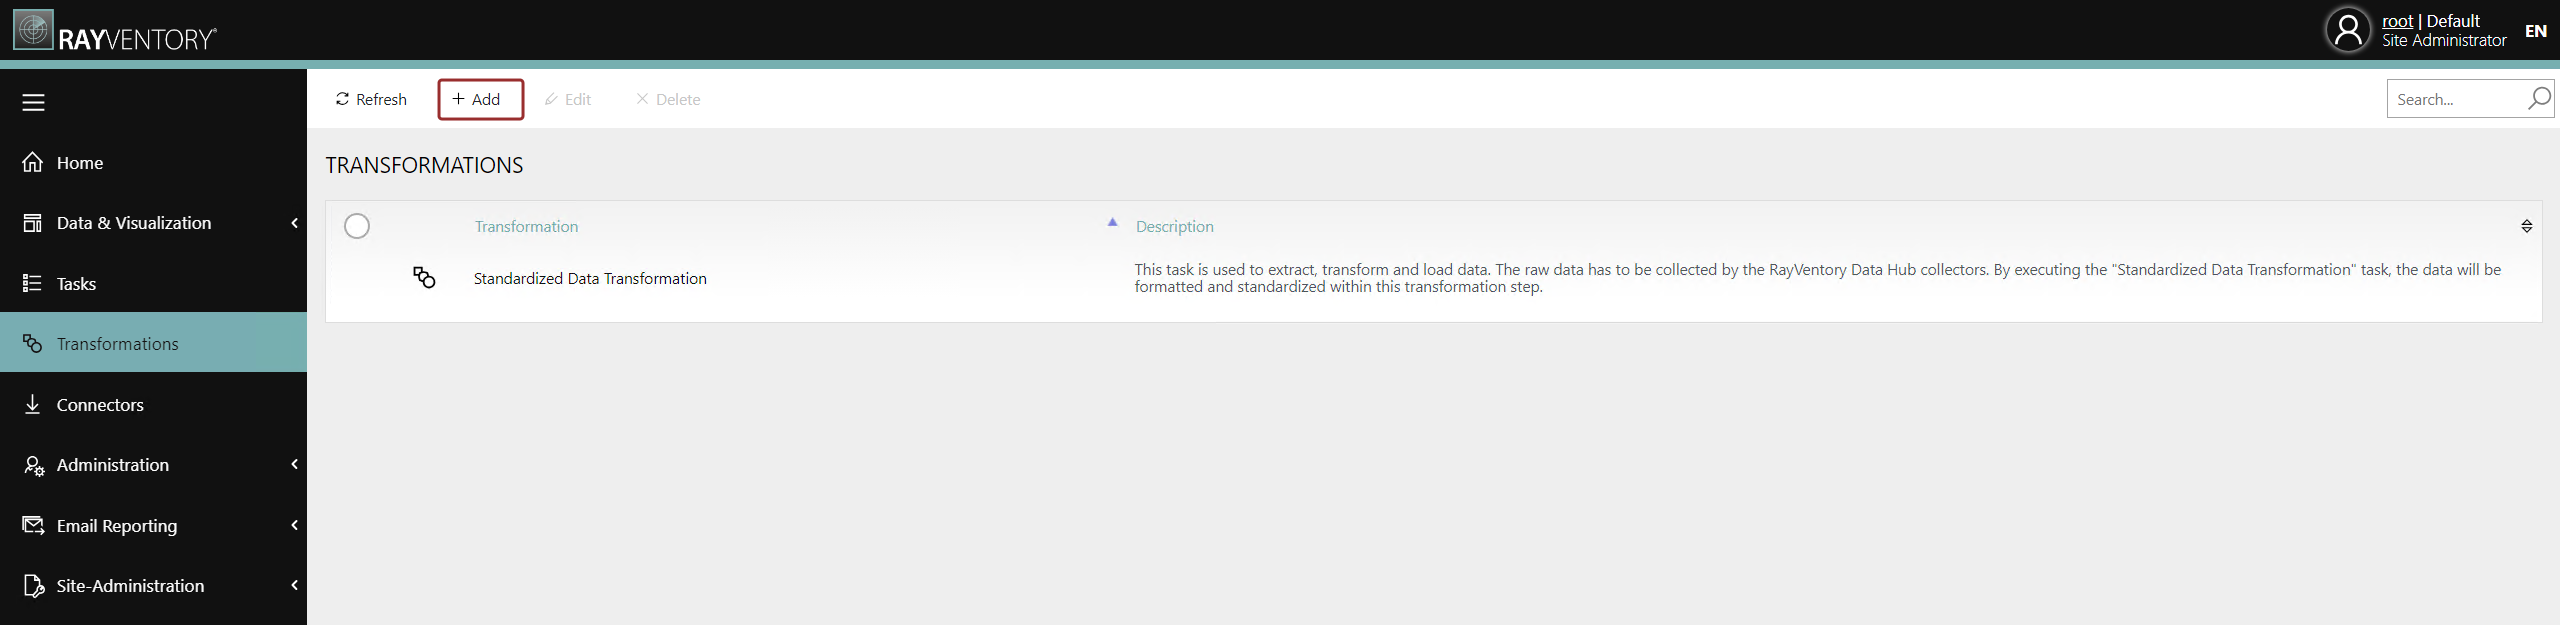
In order to create the new transformation go to the Transformations page and click on the Add button located in the top left corner of the Transformations page. This will open a context menu.
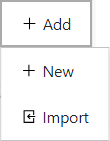
From the context menu, select the Add option to create the transformation. The Add transformation dialogue will be opened.
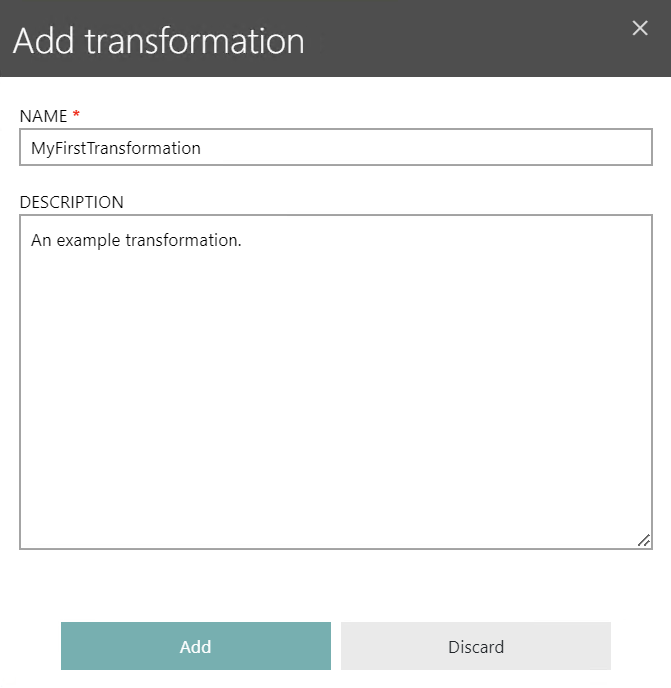
Enter a name for the transformation in the NAME field. It is also recommended to add a description for the transformation into the DESCRIPTION field. After entering the information, click on the Add button to create the transformation.
After the new but still empty transformation has been created, you will automatically be forwarded to the Transformation details page for the transformation.
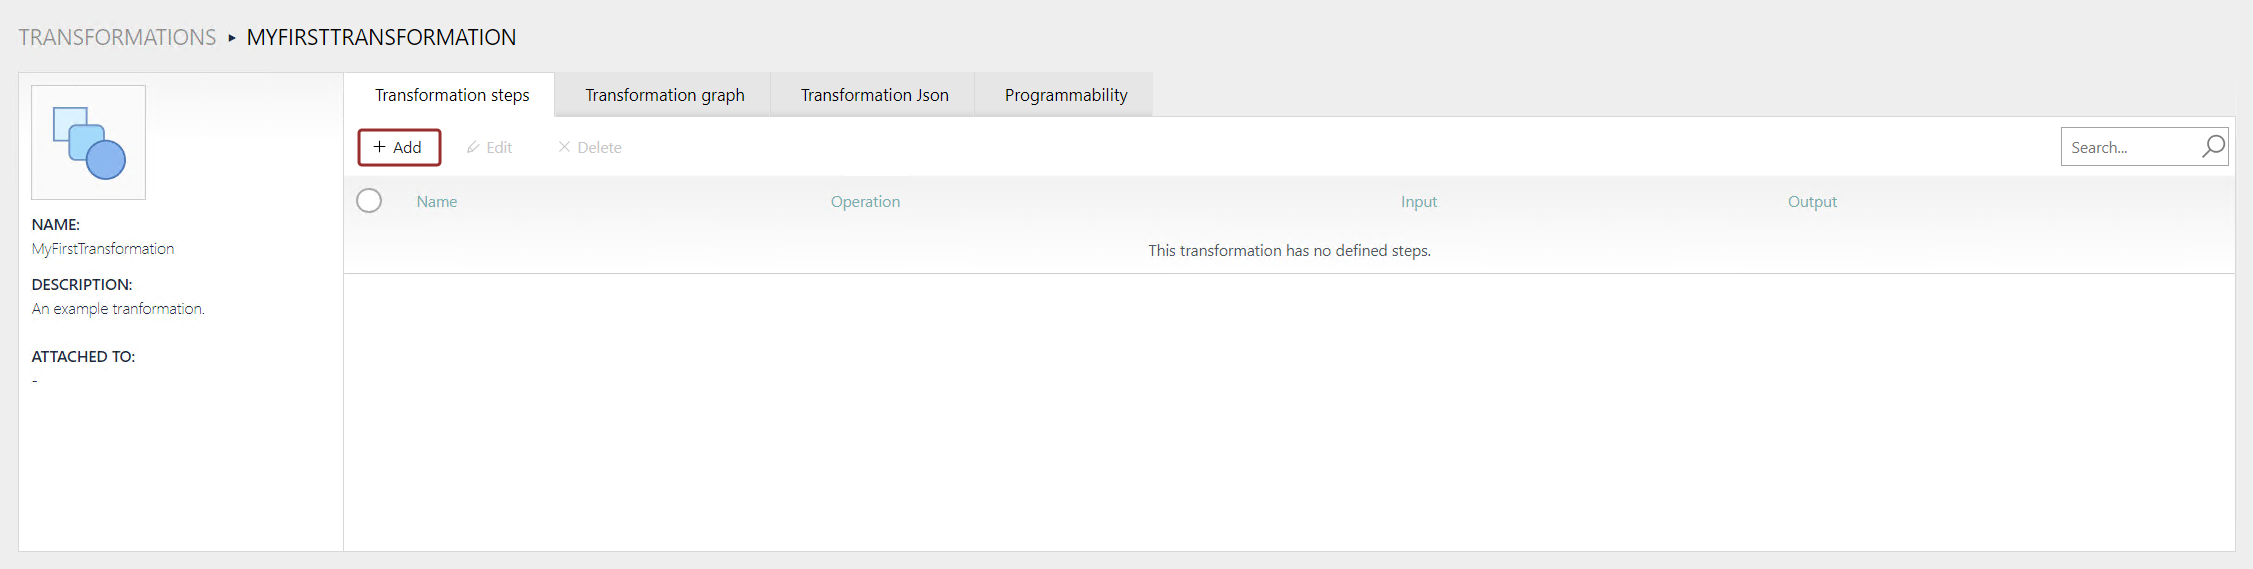
In the Transformation steps tab of the still empty transformation, click on the Add button located in the top left corner of the tab to create the first transformation step for the transformation.
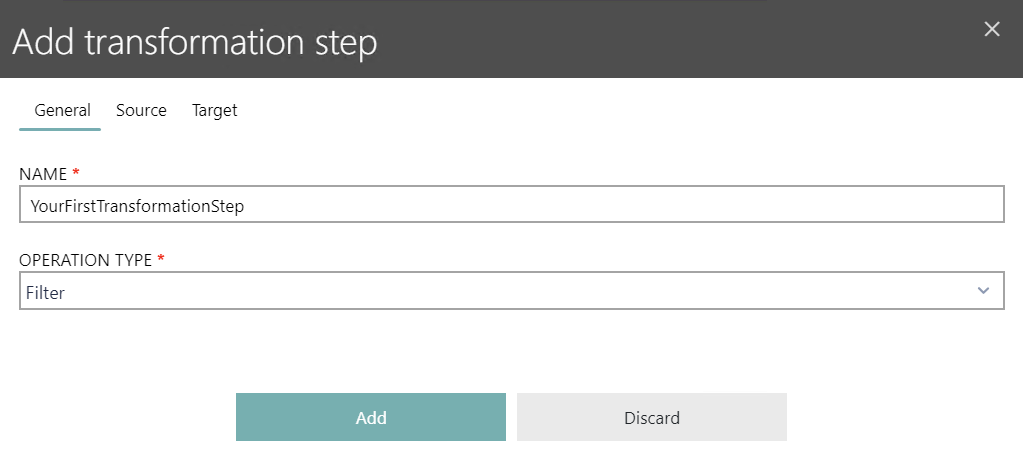
In the General tab, enter the name for the transformation step into the NAME field. Then select the type of the transformation from the OPERATION TYPE dropdown menu.
More information about the operation types supported by Raynet One Data Hub can be found in the Transformations > Creating and Editing Transformation Steps > Source chapter.
The content of the Source tab will depend on the OPERATION TYPE that has been selected. For this example, we will use Filter as operation type for the step. After the operation type has been selected, go to the Source tab.
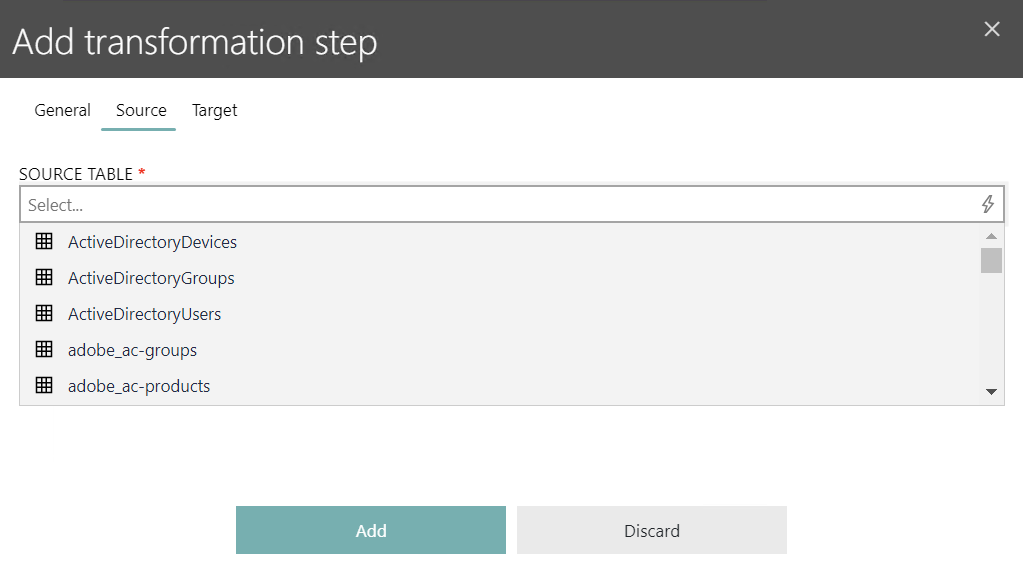
In the Source tab, first select at least one table in the SOURCE TABLE field. All available tables will be listed for selection. Lower down the number of listed tables by typing part of the table name into the field.
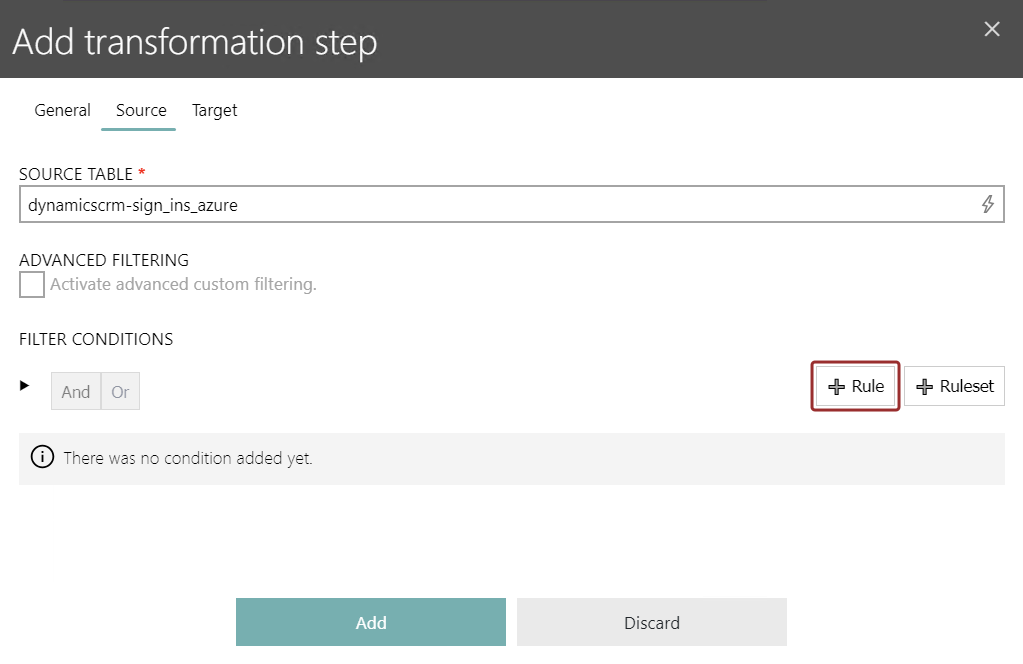
Now click on the Rule button in order to add at least one rule that will be used for the filter.
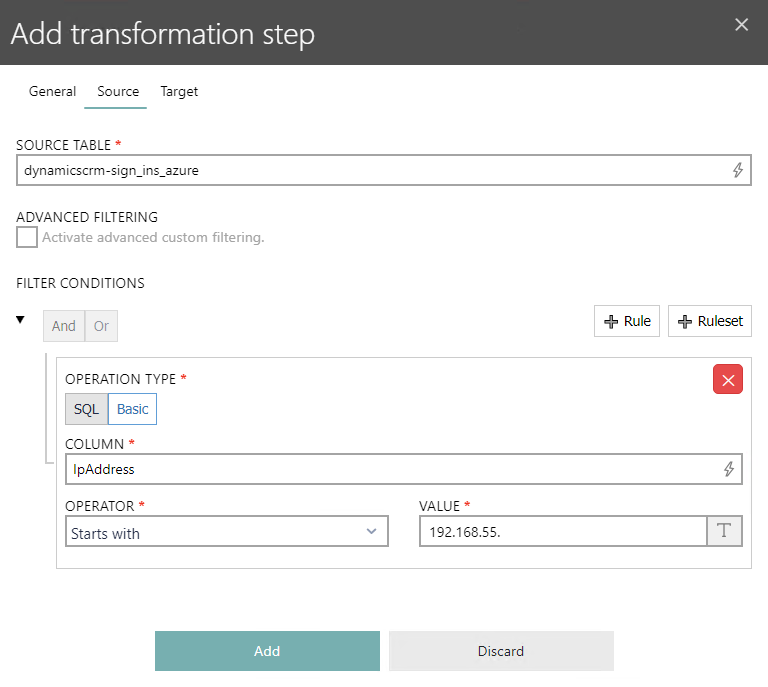
It is possible to select either SQL or Basic as the OPERATION TYPE for the new rule. In this case, Basic has been selected. In the COLUMN field, choose one of the columns of the selected table(s). Than select an OPERATOR from the dropdown menu as well as a VALUE.
|
Be aware: |
After everything has been configured, go to the Target tab.
In the Target tab, it is possible to define the table to which the result of the transformation step should be saved.
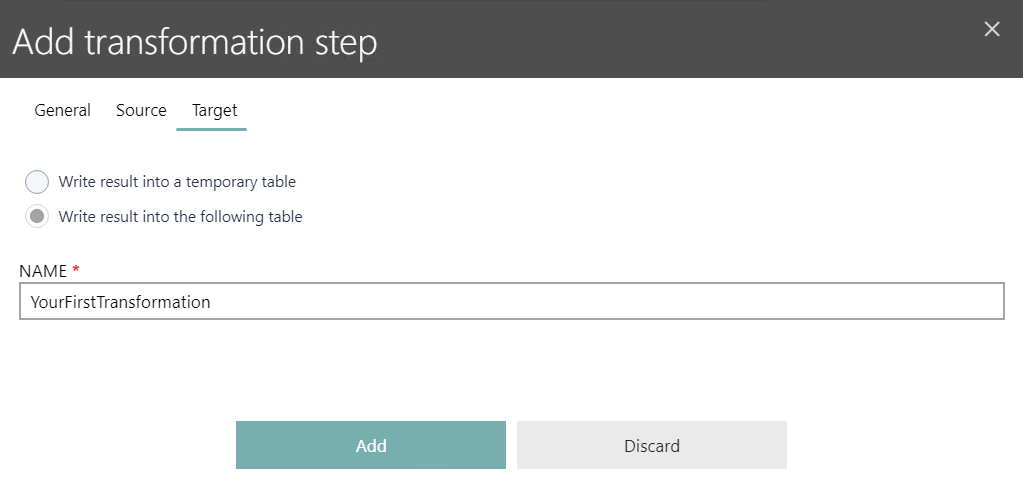
The information can be written to a temporary table which will be deleted, after the transformation has been finished. It is also possible to write the results to a table that will be created permanently. In this case, the name of the table needs to be defined in the NAME field.
Click on the Add button to create the transformation step.
More information about transformations can be found in the Transformations chapter.