Users that are assigned to groups whose role is either Administrator or Data Administrator always have read and write access to all reports and dashboards. Users who are assigned to a group or groups whose role is User only have read or write access to a report or dashboard if the permissions is explicitly given.
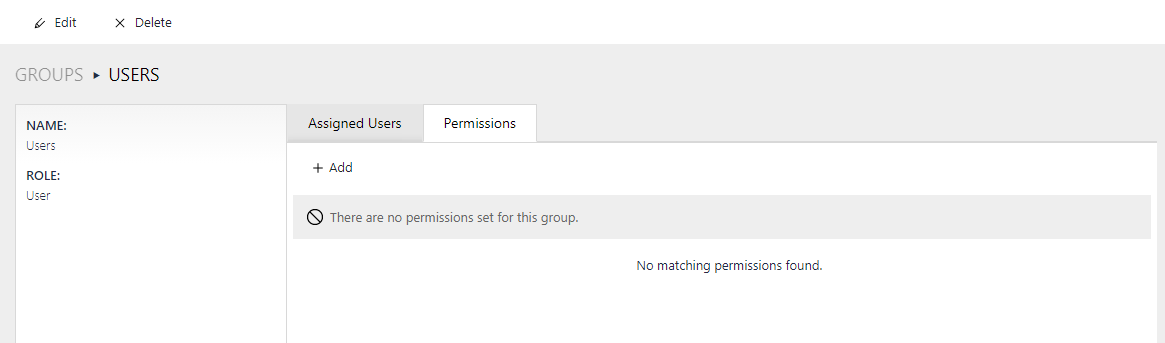
To grant a group of users with the User role access to specific reports and dashboards, first navigate to the group detail view of the group. Note that only the user with an Administrator role is allowed to view and edit groups. Next, open the Permissions-tab by selecting it from the tab selection box.
![]()
Click the button to the top left. A side panel opens to the right, showing a form to create a new permission.
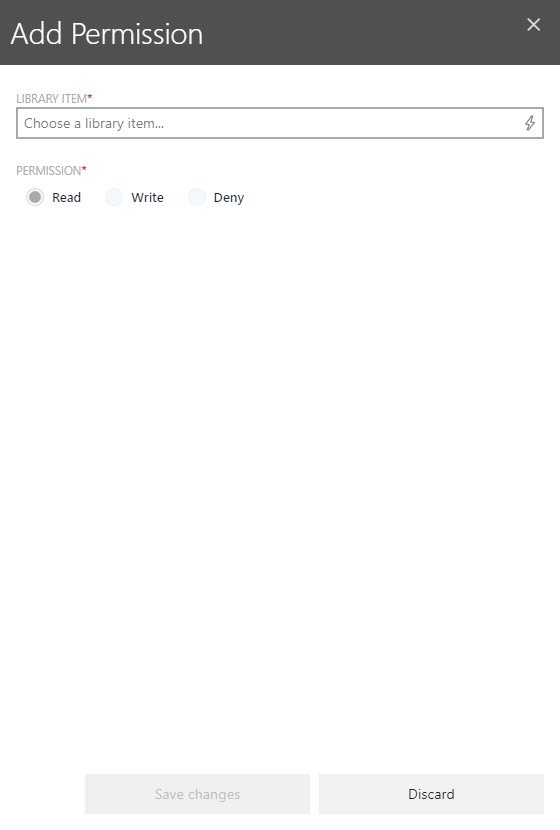
Fill in the required fields:
•Library Item – Select a library item you want to grant access to. This can be either a Section, Report or Dashboard.
•Permission – Specify if the users of this group have read or write access. Selecting deny will explicitly deny the access to the selected library item.
•Inheritance – When selecting a section, the optional checkbox inheritance is shown. Checking this checkbox implies that all child elements (including sections and their child elements recursively) of the section will inherit the permission selected for that section.
|
Note: It is still possible to set specific permissions for the child elements of this section. A permission set explicitly always has priority over the inheritance. |
Confirm the inputs by clicking on the button "Save changes" at the bottom. If the user is successfully created, a green pop-up notification is displayed in the top right corner.
If any error occurs, e.g. not all mandatory fields were filled, a red toast notification is shown with further information. Furthermore, any invalid input field is marked with a red border and displays a short error message below the input field.