This topic explains how to bind the newly created dashboard item to data source fields to visualize data.
Create Binding
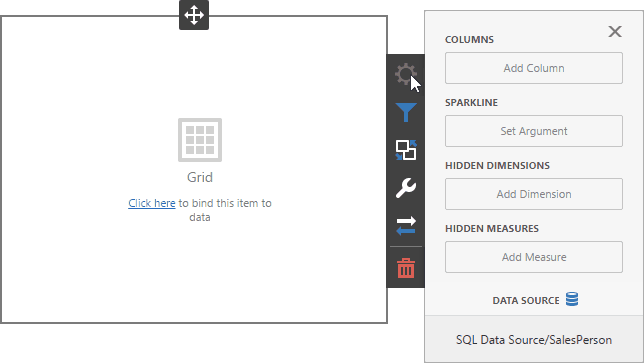
Invoke the Binding menu. The image below displays a Grid dashboard item that is bound to an SQL Data Source | Sales Person query:
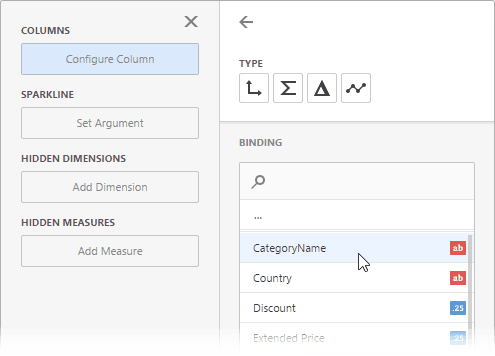
Click a placeholder and select the data source field to bind a dashboard item to data:
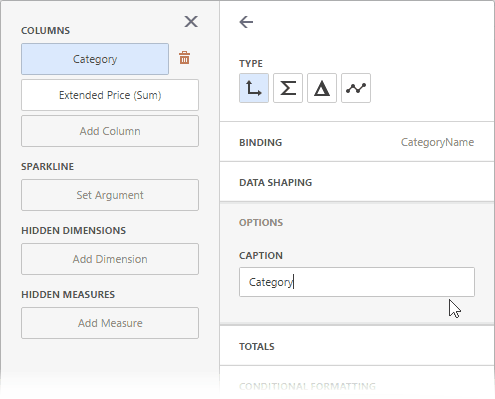
To rename the data item's caption, go to the data item's Options section:
|
Tip: For information on how to bind a specific dashboard item to data, see the corresponding Providing Data help topic: dashboard item settings. |
Modify Binding
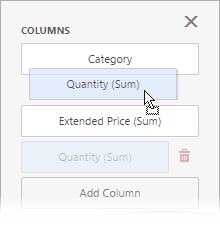
You can use drag-and-drop to change the data binding order:
Clear Binding
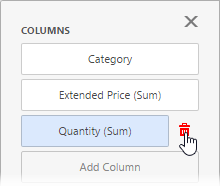
To remove the data item, select it and click the Remove ( ) button next to this data item.
Specify a Data Source
A dashboard can have several data sources. To change the default data source (or a query / data member ), go to the dashboard item's Binding menu and click the Data Source button.
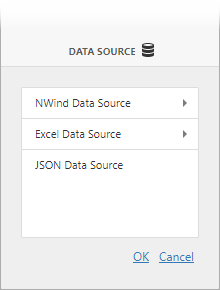
In the invoked section, change the data source (query / data member) and click OK.
When you change the dashboard item's data source, data items try to display data from the same column of the new data source. If such a column does not exist, you get the red color indication for this data item. Select a new data source field for this data item.