Imagine an IT landscape in which everyone has administrator access to every device and service. Everyone is allowed to change any device configuration at their own will with no group coordination. Due to the distributed nature of change and responsibility it is difficult to maintain order under such conditions. Adding or removing information is subject to race conditions: The first one to add the inventory script is the one who decides its content. Removing a device which another user has selected in his wizard for device inventory will cause his job to fail. The current state of your IT landscape could be in turmoil.
To help you maintain a well structured experience, unlike the example above, you can define users with scopes of privilege, setting boundaries between activities. Keycloak empowers you to put your IT hierarchy vision into practice.
Supported user roles
We distinguish between the administrator and the user. Each of these privilege levels is represented by a Keycloak user role. While users can be assigned multiple roles, the stronger access rights take precedence.
The RnoAdministrator role grants full access to the web interface. Users with said role can add new entities (devices, networks, credentials, ...) into the system, or remove existing ones. They can change the configuration of Raynet One itself, tailoring the system to corporate needs. They can view running jobs, stop them at will. It should be granted to a limited set of actors who best coordinate actions in unison.
The RnoUser role grants viewing rights to IT landscape information. It prohibits the viewing of Raynet One system configuration. The inability to perform changes makes this role safe to grant to employees who simply require insights. Users with this role cannot view running jobs.
Furthermore, in version 1.1 u4 (1.1.3035.29), the RnoDataManager role inherits the viewing privileges of the RnoUser role. In addition to that, users of that role can edit corporate device information assignable by platform users only.
Users who have none of the supported roles assigned are considered guests in the web interface. Guests are not permitted to view or edit information.
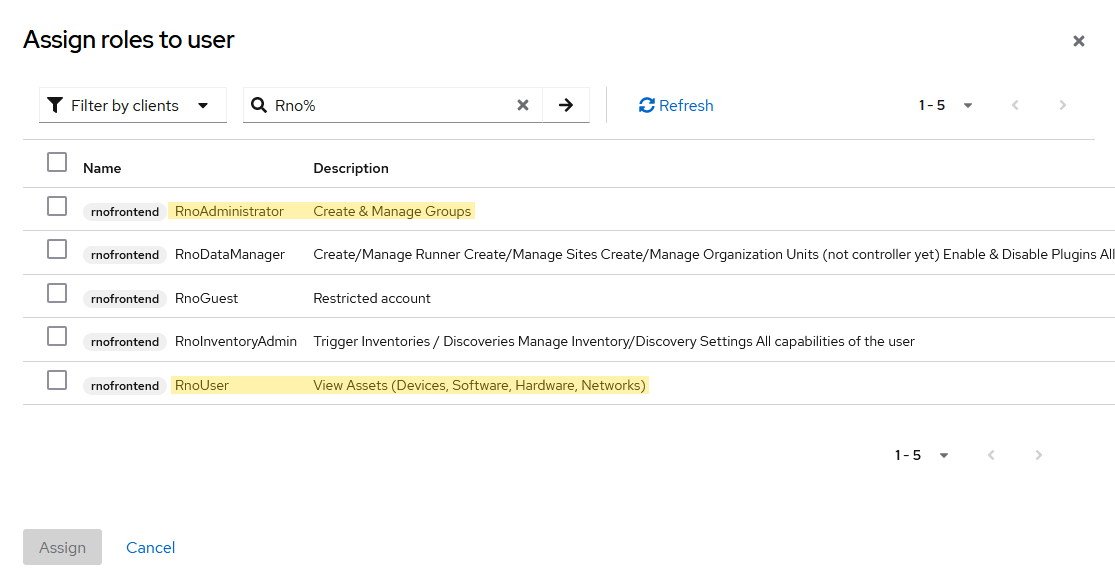
Assignable user roles provided by the rnofrontend Keycloak client. The option to filter by clients is important. Search by the wildcard Rno% to list the available effective roles easily. Do not mind the presence of additional yet undocumented roles.
|
Note: |
Adding new Keycloak users
Follow these steps to define new users who can log-in to the web interface.
1.Open the Keycloak Administration Console in your web browser.
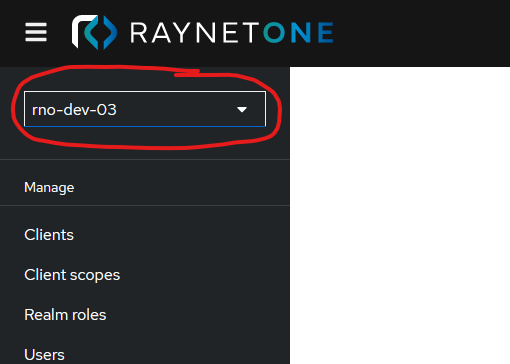
2.Switch to the respective Raynet One Realm using the combo-box around the top left.
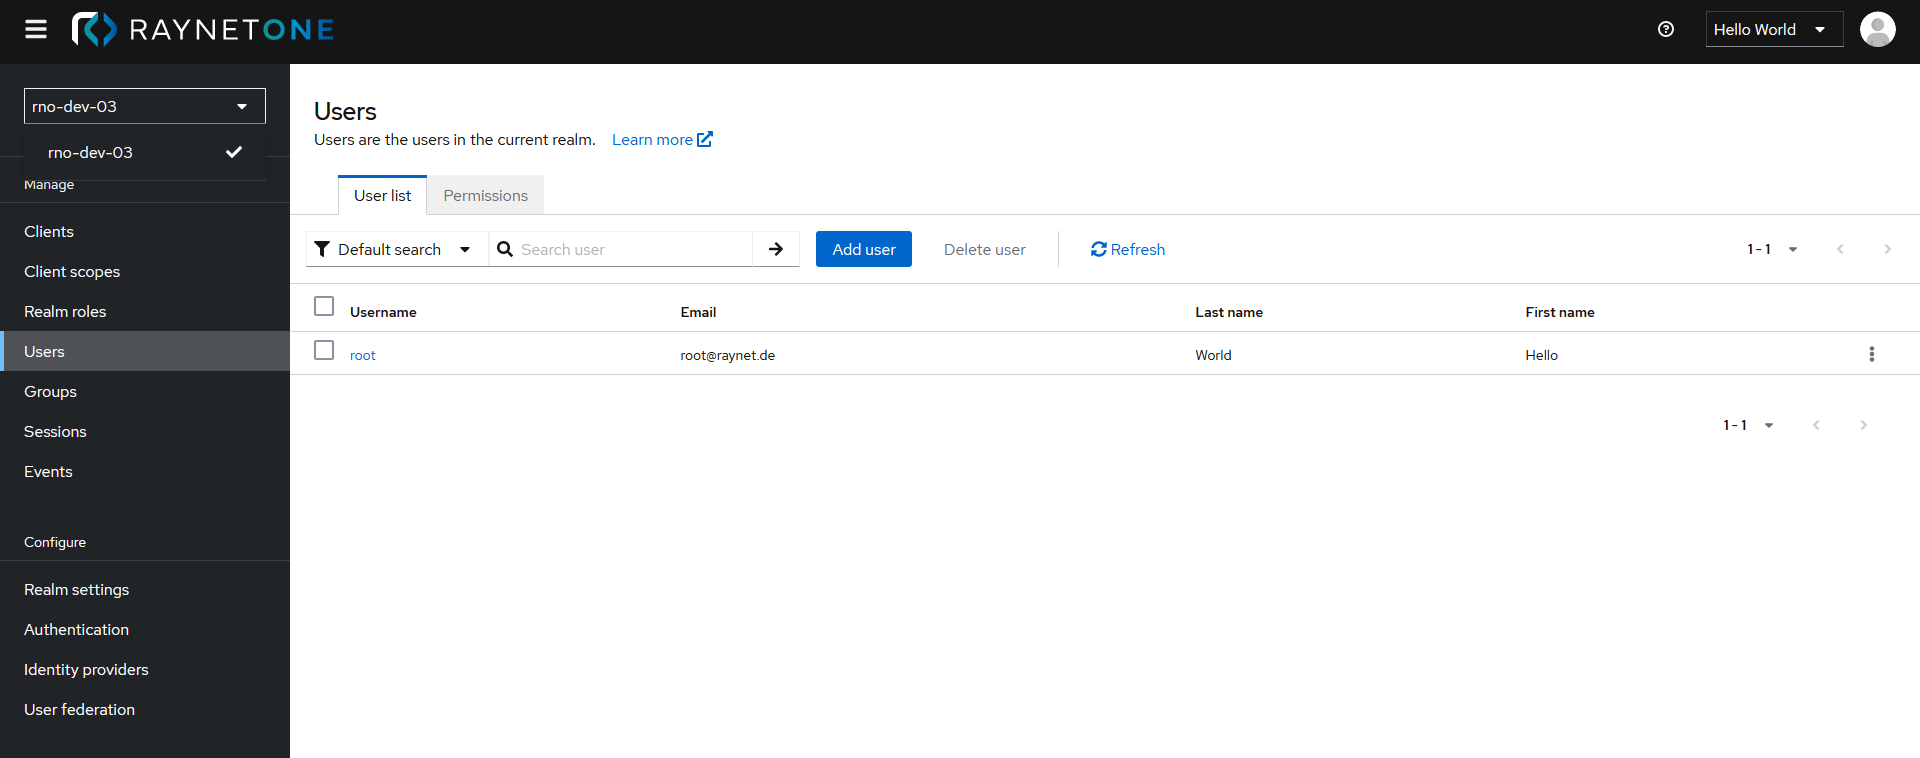
3.Click on the Users navigation menu item. It opens the list of all user accounts associated with the web interface. You should represent your IT access hierarchy in this list.
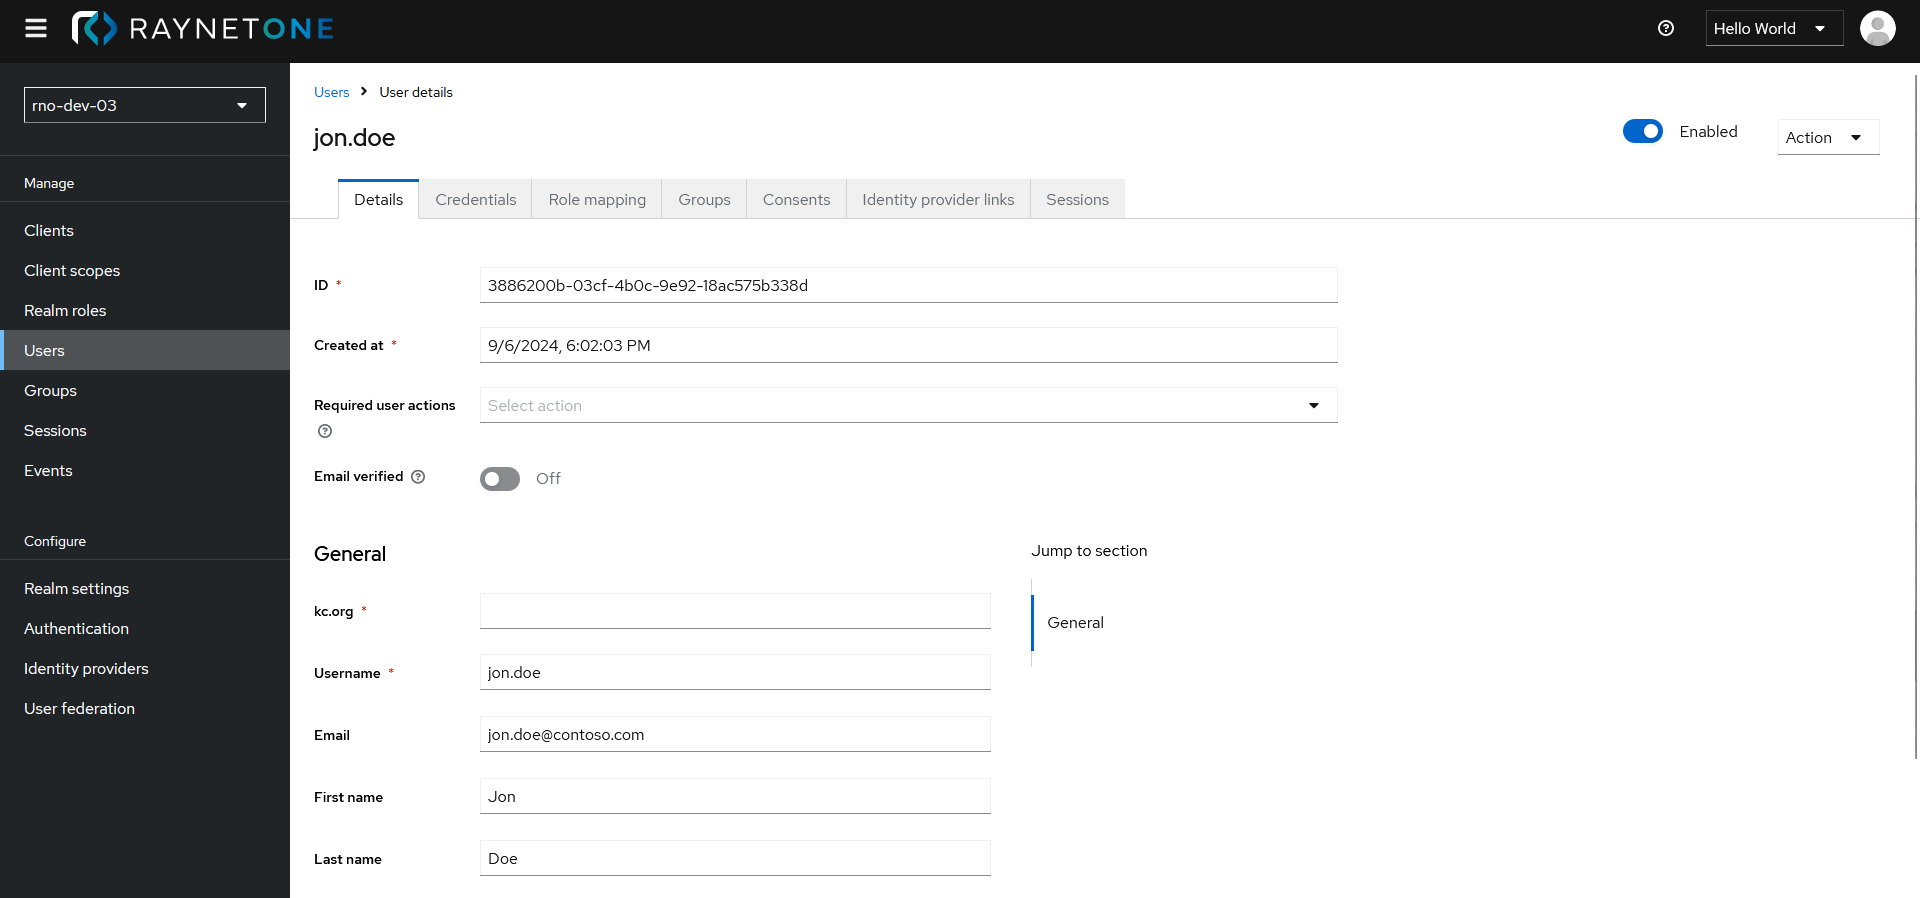
4.Click on the Add user button. You are presented with a form about fundamental user properties. Choose a fitting username for each of your users. You should follow the guidelines or expectations set by your corporation. The email is used in an optional user verification feature of Keycloak itself.
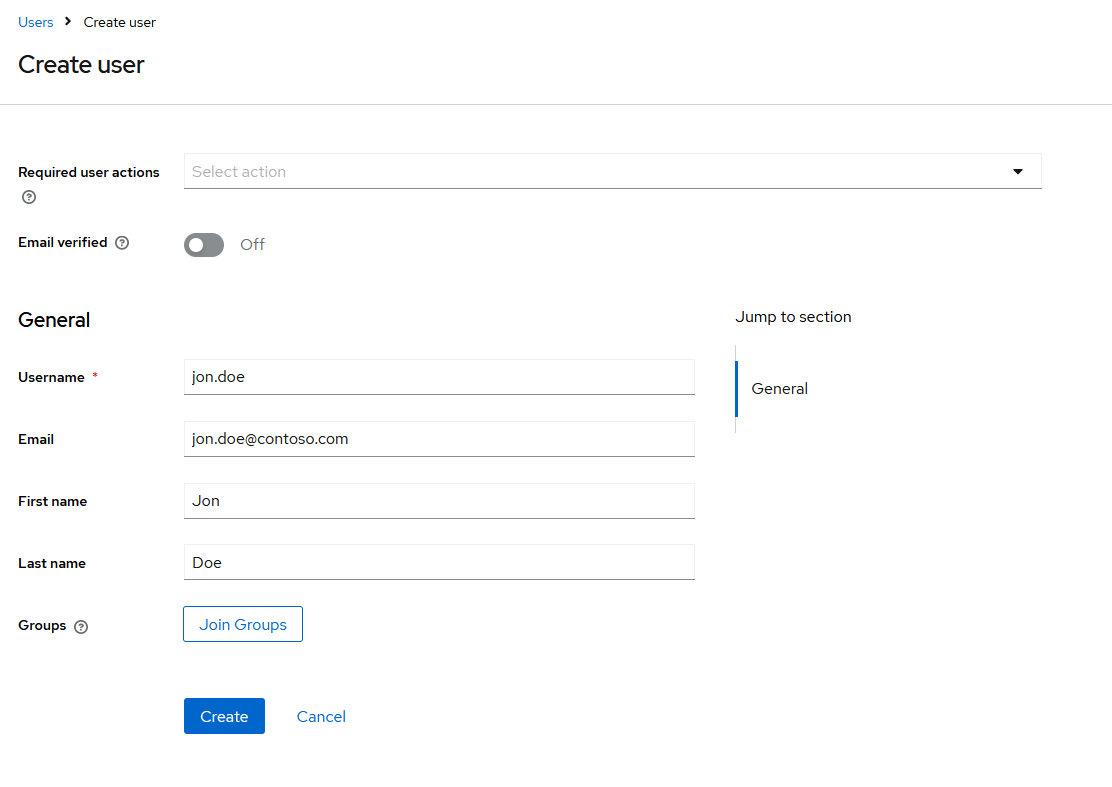
5.After filling in the details of the user, click on the Create button. You are redirected to the detailed view of the user's properties. The new user is added to the system, but there is no password assigned to him, disallowing his log-in.
6.Click on the Credentials tab to open the view where can assign a password to the new user.
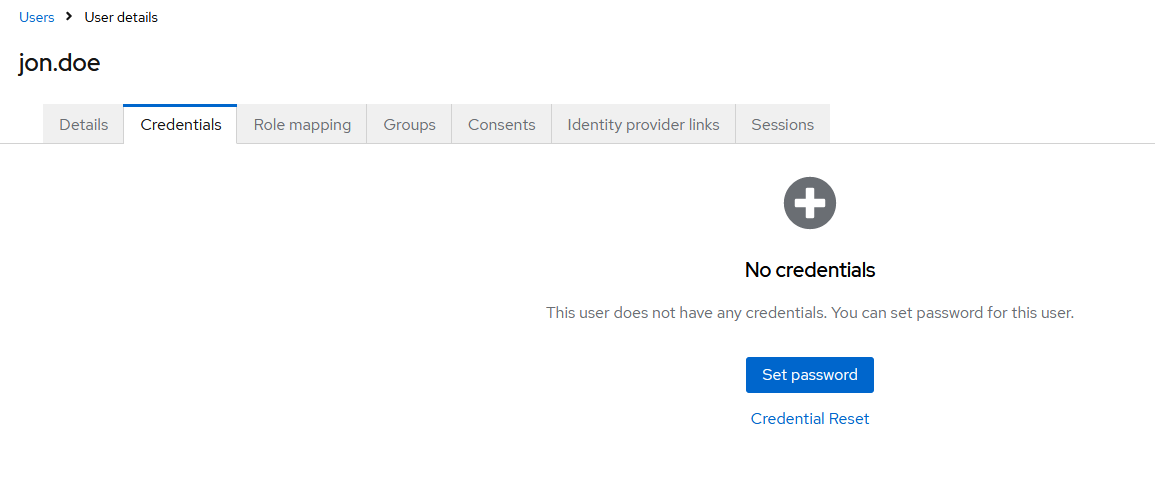
7.Click on the Set password button. A new sub-view opens in which you can set the desired password. For security reasons, it is recommended to set a random and long sequence of characters as initial password. The user should be prompted to change the password to his liking upon first log-in. This is achieved by the enabled Temporary option.
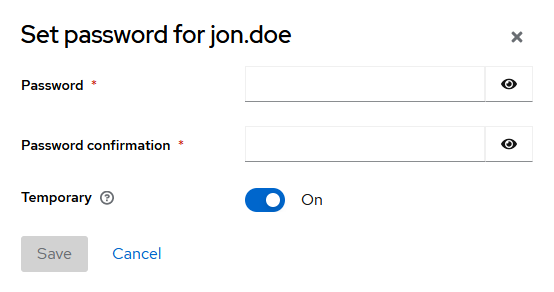
8.Click on the Save button after filling in the password details. The sub-view disappears and you are presented with the view on the Credentials again.
Next, click on the Role mapping tab used to assign roles.
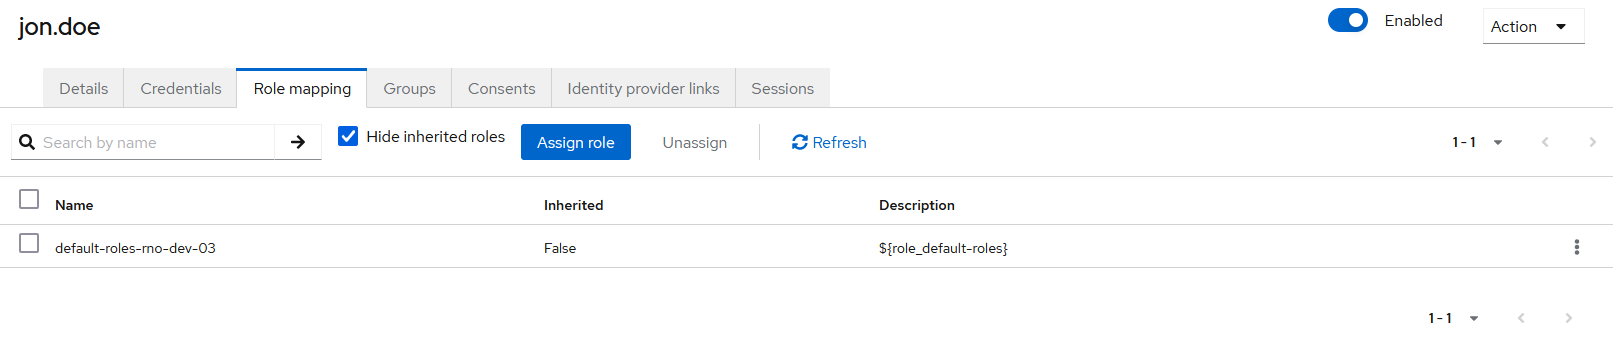
By default, there is no role assigned to a new user. Thus, each new user is a guest. Promote the user by assigning some of the supported Raynet One roles to him!
9.Click on the Assign role button. You are presented with the familiar view from the beginning of this chapter ("Assign roles to user"). Once you are done selecting the roles according to your rights assignment plan, click on the Assign button below.
10.Share the new user credentials with the person who the Realm user should belong to.
Synchronizing Users and Groups with Keycloak
After creating or modifying users and groups in Keycloak, you may need to synchronize these changes with Raynet One. The platform provides a convenient synchronization button that imports the latest user and group information from Keycloak into the application.
When to Use Synchronization
Synchronization is necessary in the following scenarios:
•After creating new users in Keycloak
•After modifying user roles or permissions in Keycloak
•After creating or modifying user groups in Keycloak
•After removing users or groups from Keycloak
•When you need to ensure Raynet One reflects the current state of Keycloak
Synchronizing Users
To synchronize user information from Keycloak:
1.Navigate to the Configuration workspace in the sidebar menu
2.Click on Users to open the users list view
3.Locate the Synchronize with Keycloak button in the toolbar
4.Click the button to initiate the synchronization process
The synchronization process imports all users from Keycloak, including their roles and permissions. Any changes made in Keycloak will be reflected in the Raynet One user list.
Synchronizing User Groups
To synchronize user group information from Keycloak:
1.Navigate to the Configuration workspace in the sidebar menu
2.Click on User groups to open the user groups list view
3.Locate the Synchronize with Keycloak button in the toolbar
4.Click the button to initiate the synchronization process
The synchronization process imports all user groups from Keycloak, including group memberships and hierarchy. Any changes made to groups in Keycloak will be reflected in the Raynet One user groups list.
|
Note: |
What Happens During Synchronization
When you trigger a synchronization:
•New users or groups created in Keycloak are added to Raynet One
•Modified users or groups have their information updated (roles, permissions, group memberships)
•Deleted users or groups are removed from Raynet One
•Role assignments are synchronized to ensure users have the correct permissions
The synchronization process is typically completed within a few seconds, depending on the number of users and groups in your Keycloak realm. Once complete, the updated user and group lists are immediately available in Raynet One.
|
Tip: |