First things first: This chapter mainly applies to users who normally have RayVentory Scan Engine (RVSE) running in their IT landscape. Via RVIA services, you can connect Raynet One with the web server which the RayVentory Inventory Agent (RVIA) usually connects with in order to deliver all available data. In Raynet One , however, this connection is established via a built-in plugin running in the background of the platform. Relying on RVIA services is optional. However, if you want or need to use this function, here's how it works.
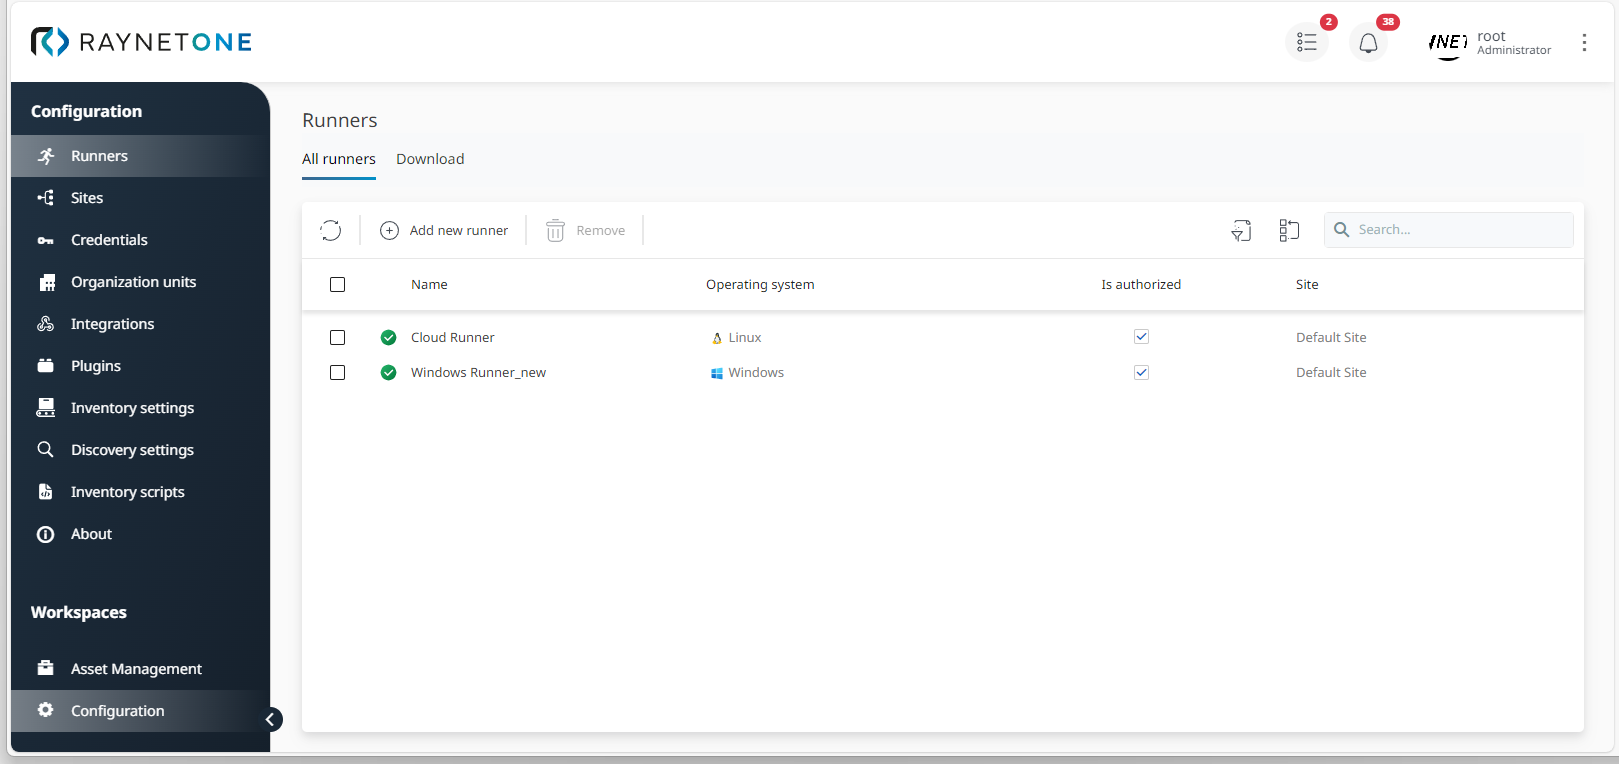
1.Navigate to the Runners view- It is located in the Sidebar menu in the Configuration workspace. Then click on a runner of your choice to open its details view.
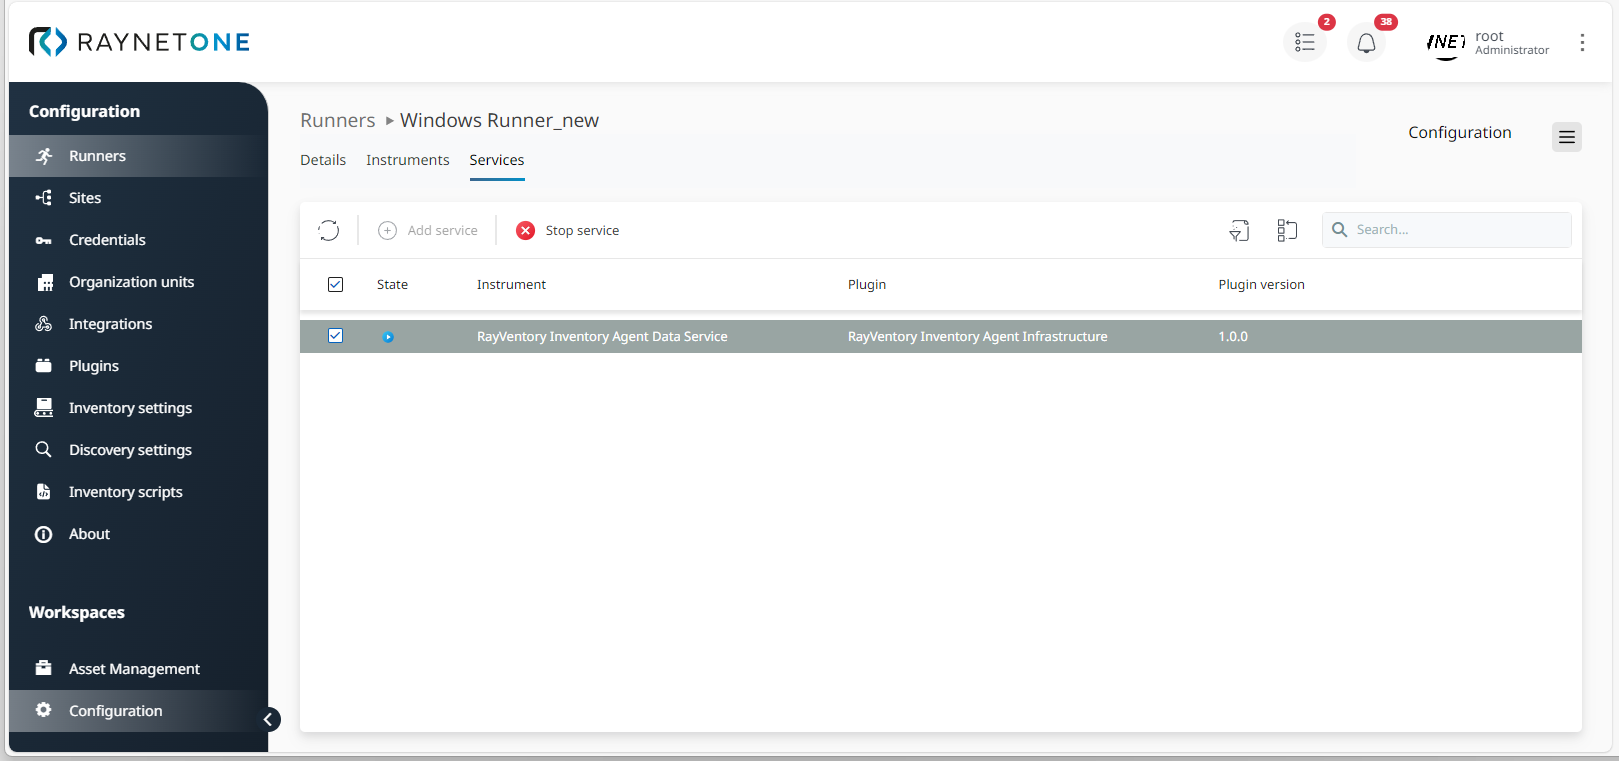
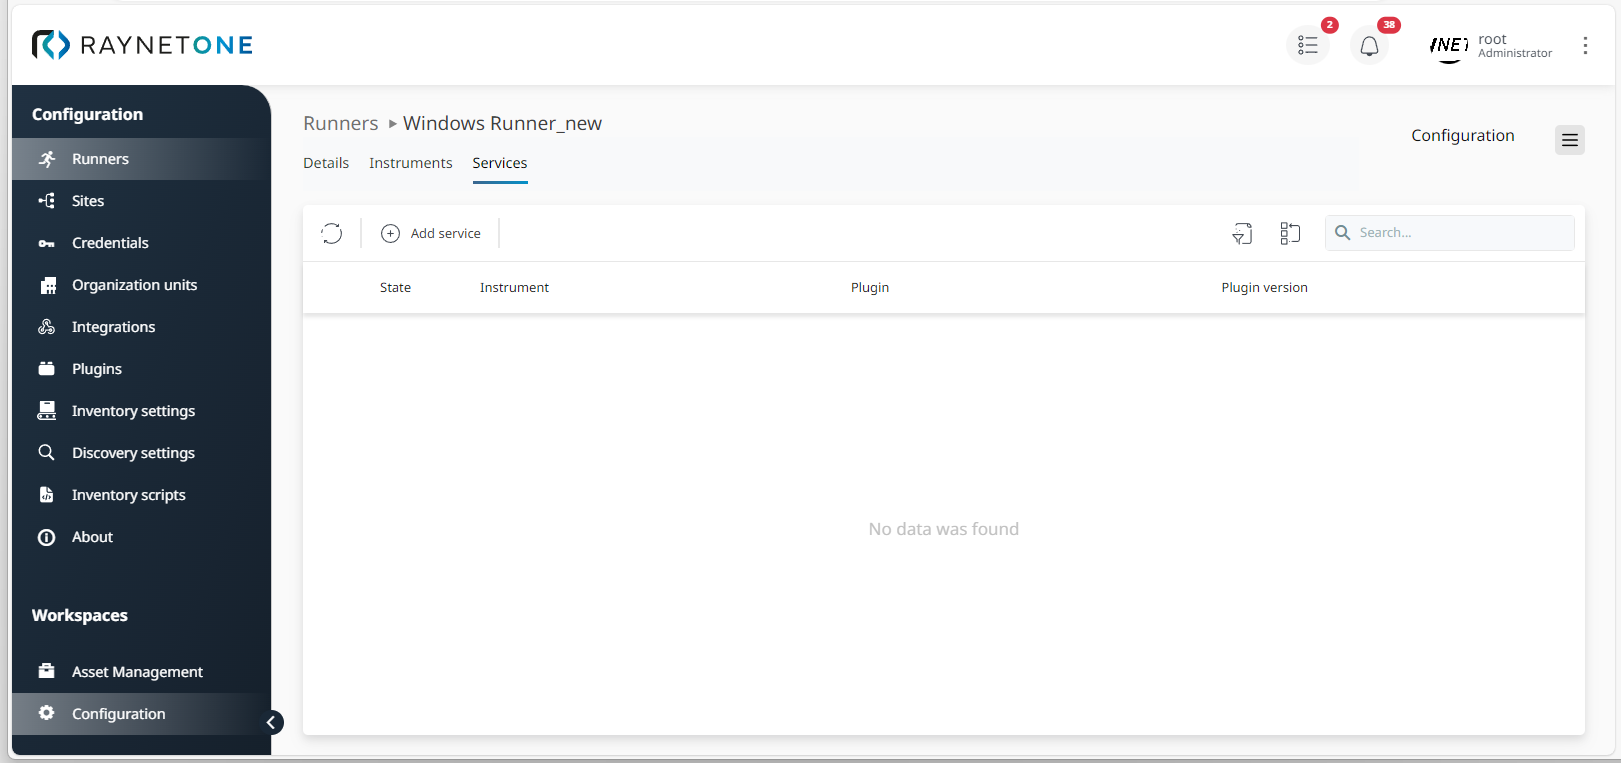
2.In the runner's details view, select the Services option. Under Services, click on Add service to open the Add runner service wizard.

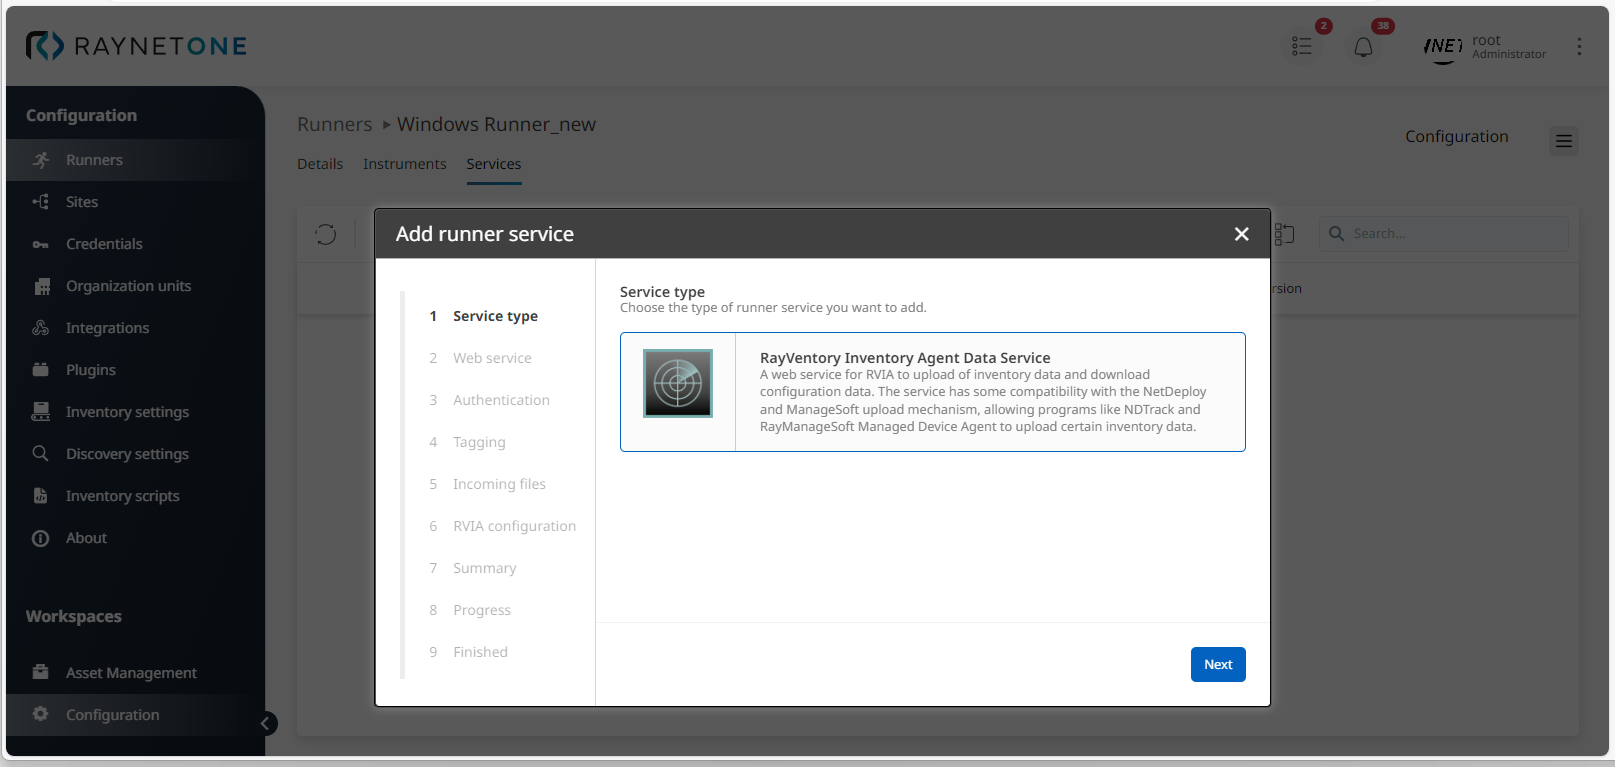
3.Select an available service under Service type and proceed via Next.
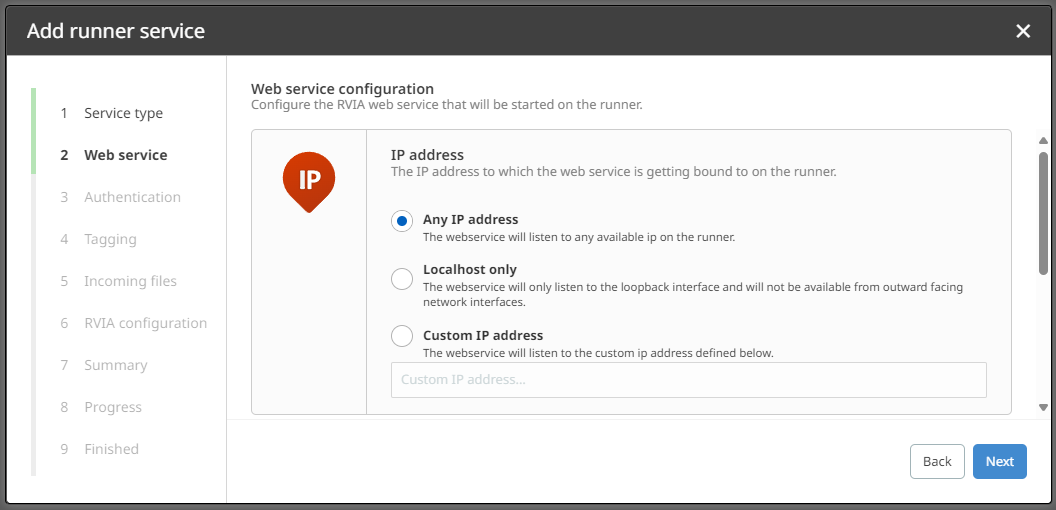
4.Under Web service configuration , select or enter an IP address which you want to access the web service with.
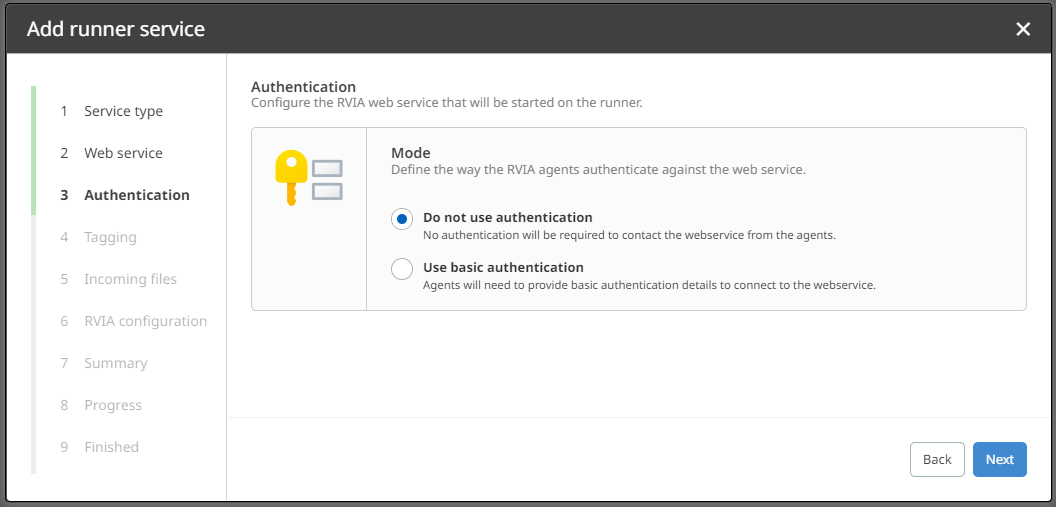
5.Determine your authentication settings under Authentication.
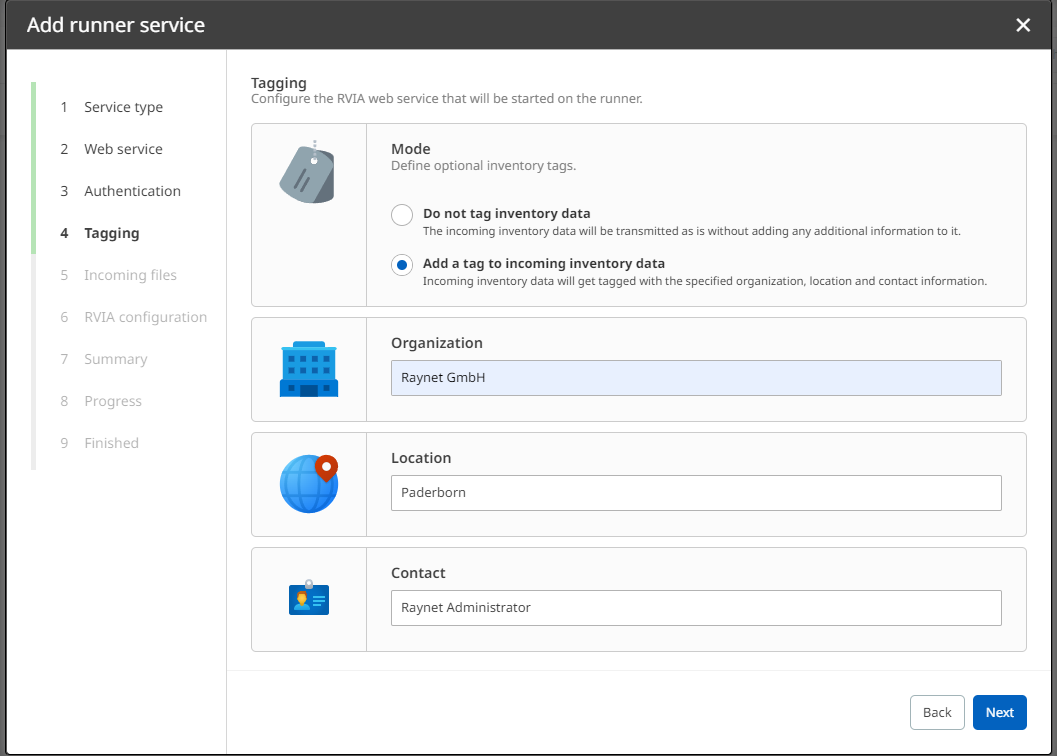
6.In the Tagging dialog, define a tagging mode for incoming inventory data under Mode. Also enter an organization for RVIA services (mandatory), a location (optional) and contact data (optional).
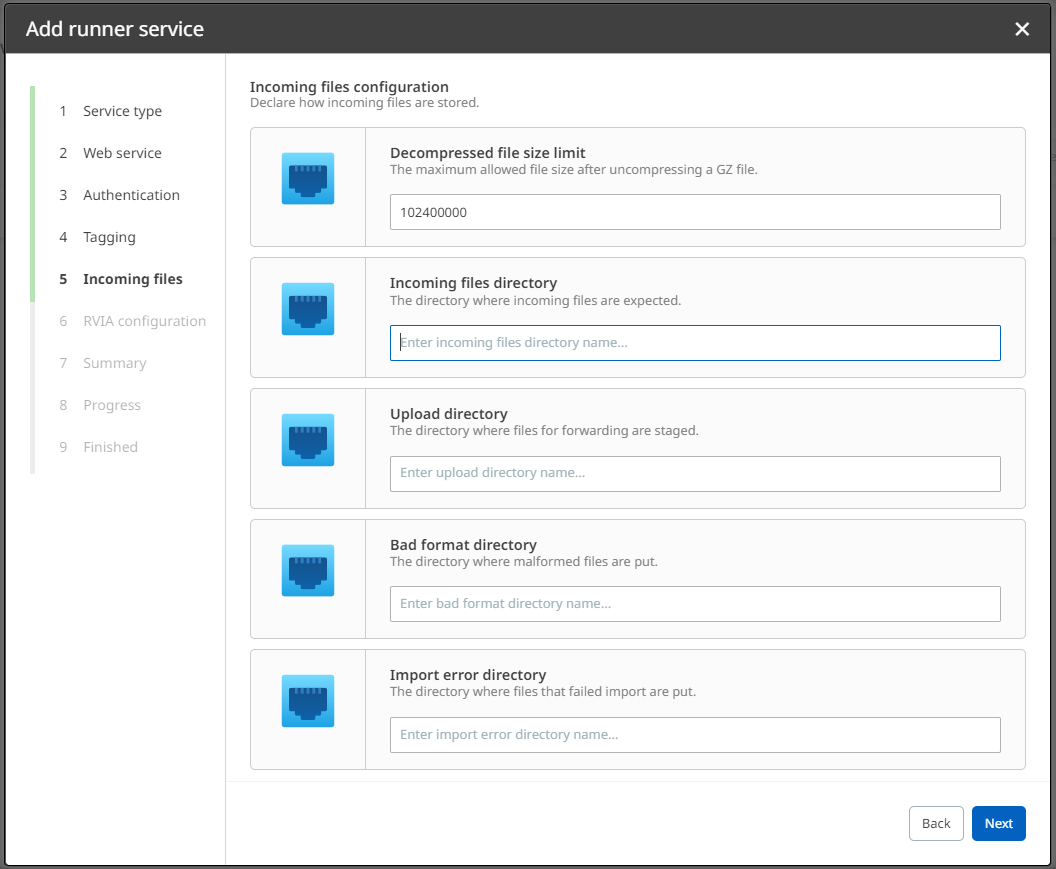
7.Under Incoming files configuration, define a Decompressed file size limit (mandatory) and other relevant storage directories (optional, but recommended for larger environments).
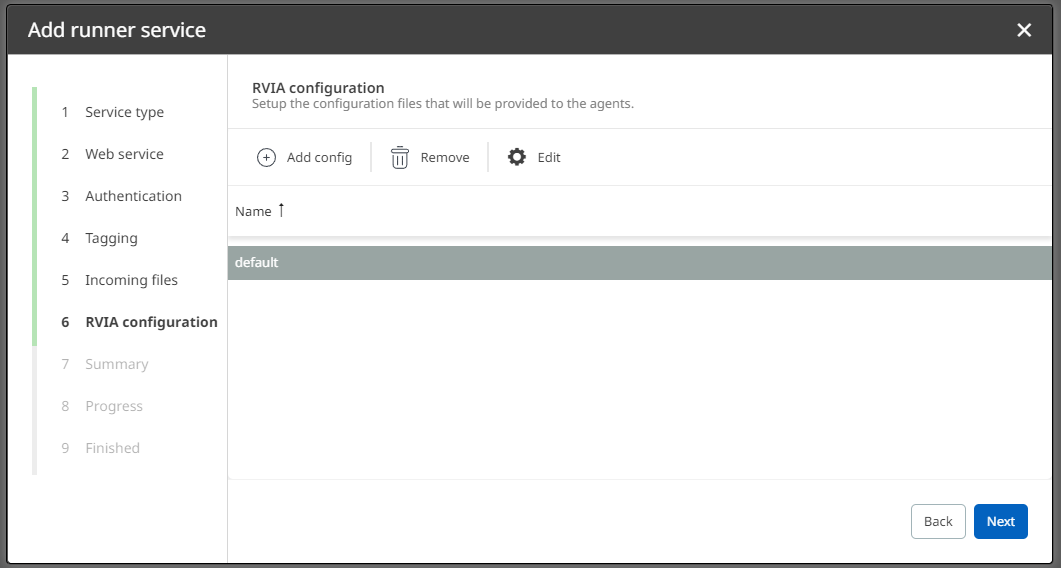
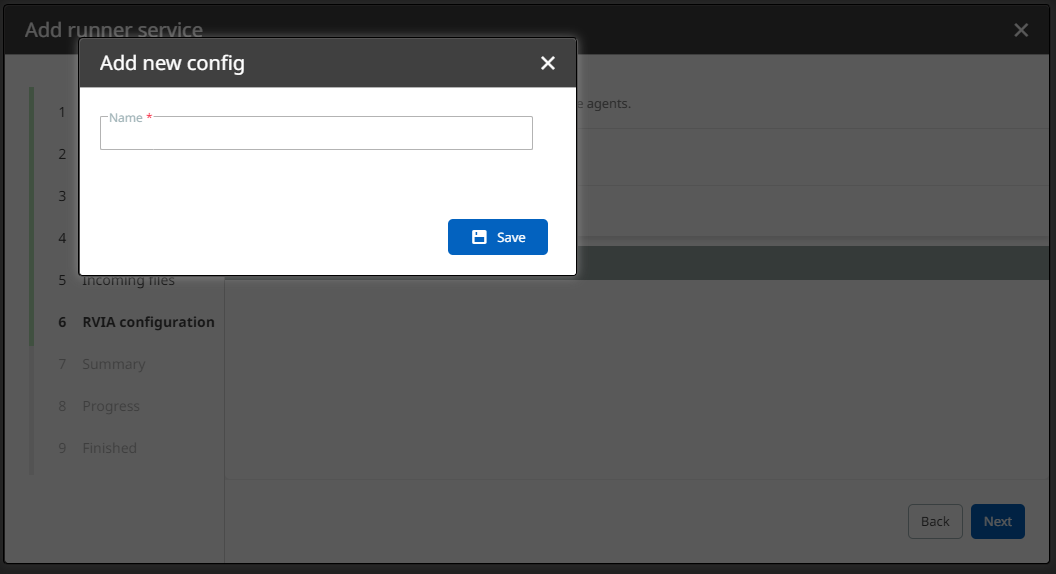
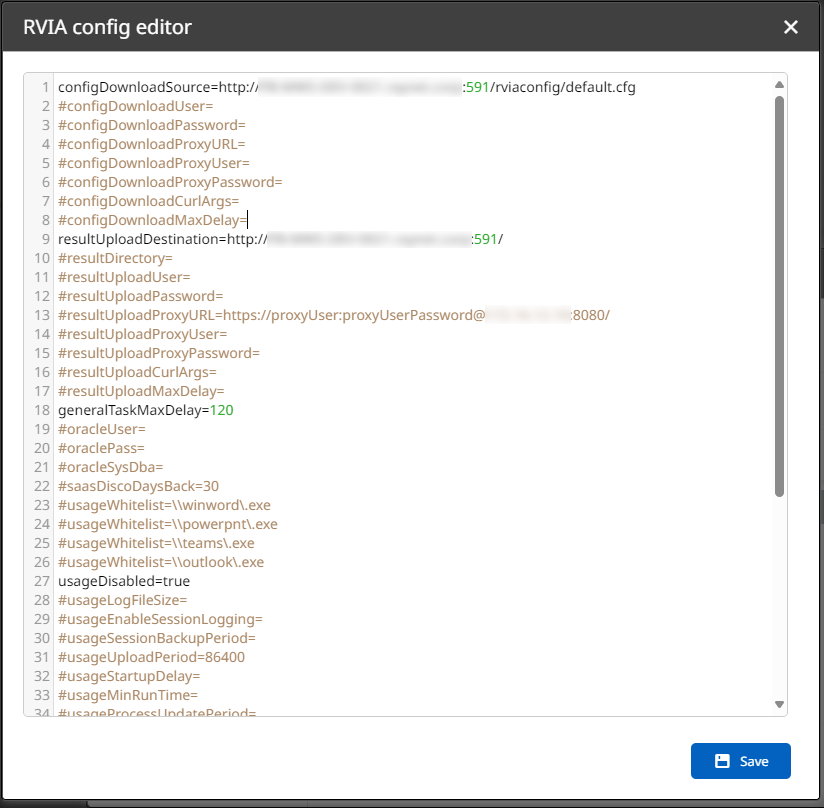
8.Adapt your RVIA configuration. In this example, it will be a default configuration. Otherwise, you can also add an individual configuration via Add config, remove specific configurations and edit a configuration script in an editor.
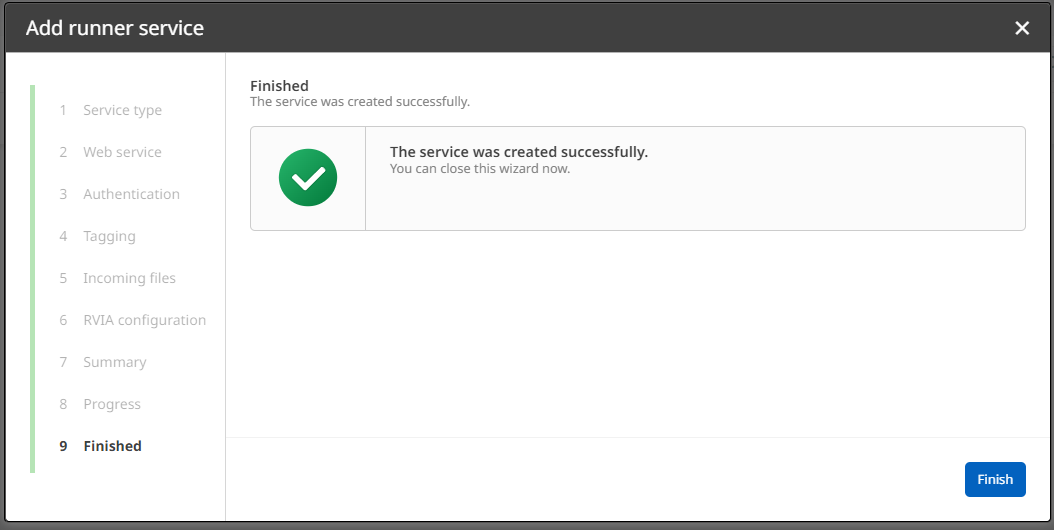
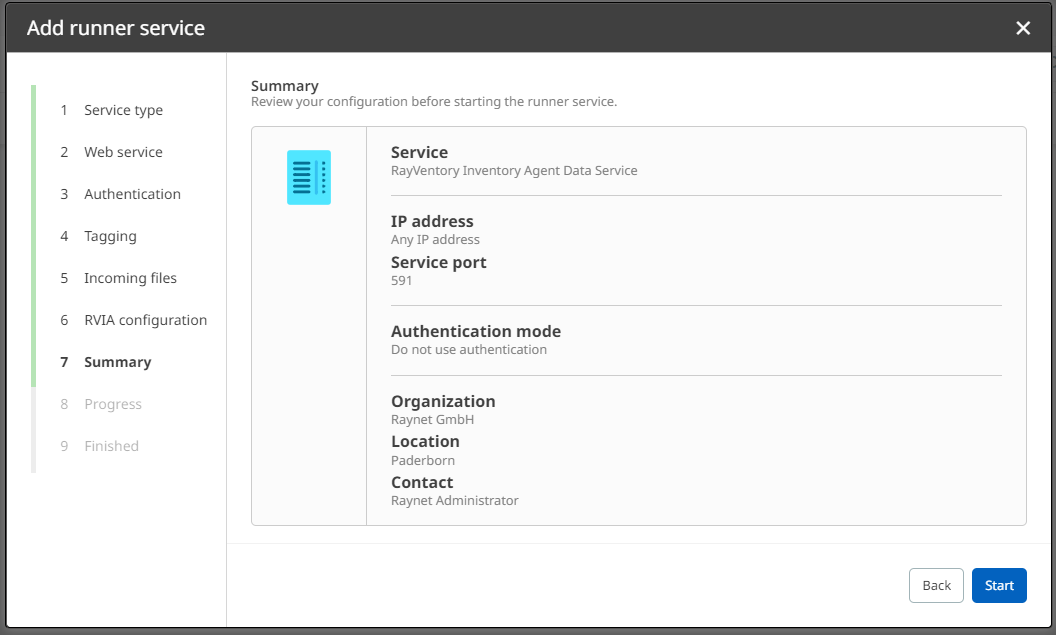
9.Check your new configurations in the Summary dialog. If they are correct, confirm them via Start. Otherwise, you can always go back in the process.
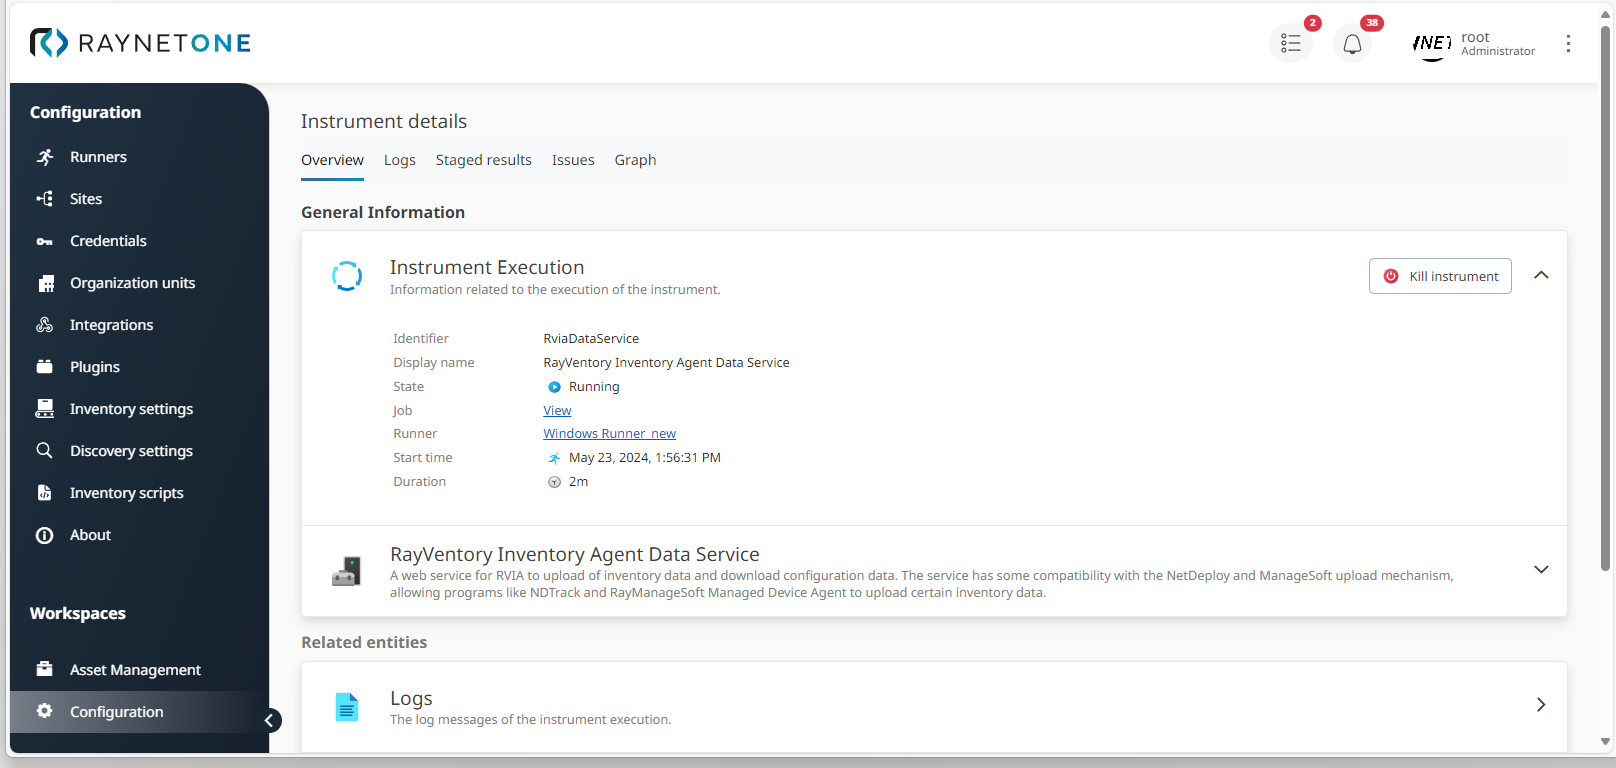
10.Finalize the process by clicking on Finish. The RVIA data service is now available in your runner's details view under Services. As usual, you can also view the service's specifications at this point.