The SLA Editor in RayFlow is basically a scheduling tool that allows a user to define different schedule types for the tasks within a project. This helps in ordering of the tasks and prioritizing them for resource allocation. Furthermore, the SLA Editor offers a configuration platform for the Service Level Agreement (SLA) computation. This feature can be accessed by clicking on Management in the functional navigation bar. SLA type is one of the default properties of a task and a user needs to select the SLA type while creating a new task.

The defined SLA type is shown as one of the task property within phases.

SLA Configuration
The homepage of SLA provides a dual-platform to view and edit the configuration related to the selected SLA. A list of defined SLAs is shown on the left side of the page under SLA section. When a user selects a SLA from this list, related configurations are shown in the Configuration section on the right. The configuration section is divided into two tabs: COUNTING SETTINGS and EVENTS.

Under the Configuration section a user can edit/change the SLA computation criteria for the selected SLA. To finalize and save the changes a user needs to click upon the checkmark icon (the checkmark icon will be green if changes have been made), which is available beneath the Configuration section. A user can discard those changes by clicking upon the X icon (X icon will be red if changes have been made), which will consequently restore the original event state of the SLA.
In the COUNTING SETTINGS tab you can set which status should be considered for which phase.
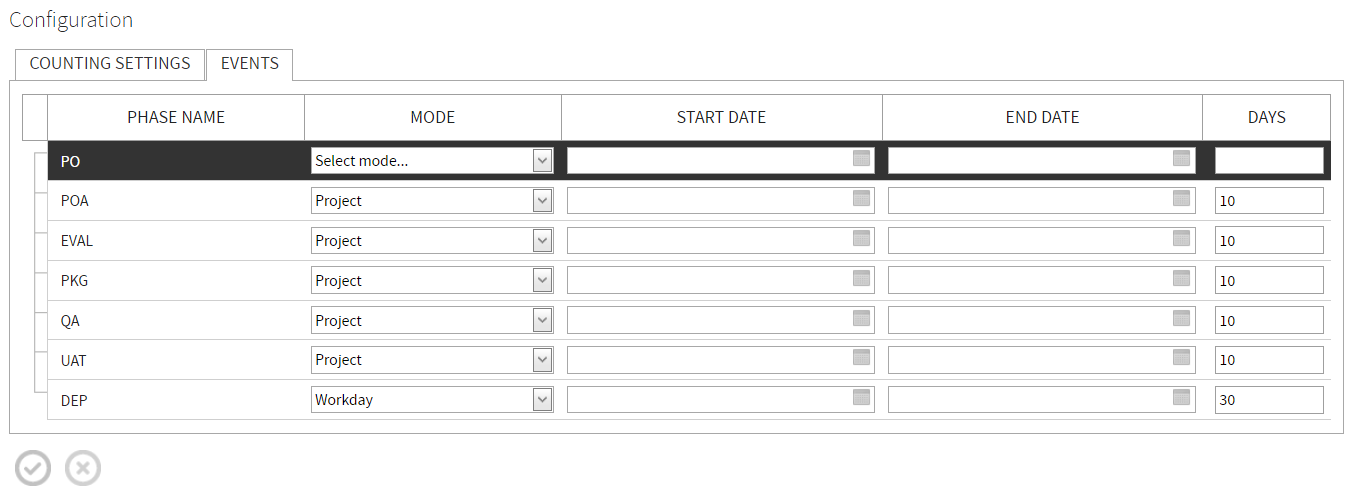
In the EVENTS tab you can set the actual time for the SLAs.

Working with the SLA Section
Creating a SLA
To create a new schedule:
1.Go to the SLA page.
2.Click upon the  button.
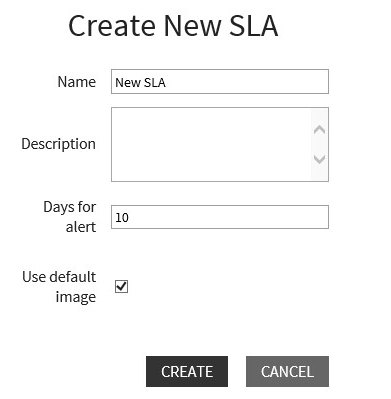
The SLA Settings page is now available.

3.Specify a name for the SLA. A user can choose to receive visual alerts related to the SLA by specifying number of days in the Days for alert field.
4.You can add a description for you SLA in the Description field.
5.Click on the Create button to save the changes.
6.Select the newly created SLA on the SLA page. Specify the phases and statuses under the Counting Settings tab and the events under the Events tab after selecting the SLA.
7.An event can be of following three types: Workdays, Date, Projectdays.
Date: Each phase needs a start and end date. SLA calculation is based on the number of days between the start and end dates, excluding the weekends.
Workday: Each phase needs to have a day’s value. SLA calculation is based on the WorkingHours basic configuration property, excluding hours outside of that period as well as weekends. The value of this property is expected to be in the format hh:mm-hh:mm, i.e., 08:00-18:00. This defines the beginning and the end of a workday.
Weekends are excluded from the calculation. Any time a package spends in a phase which is not in the working hours is also excluded, i.e., a package enters a status at 7:00 and leaves it at 10:00, the SLA time for this action will only be 2h.
Project: The total project days should be divided into X # days per phase. SLA calculation is similar to that used by the Workday mode. However, project days are accumulated throughout the workflow. E.g., you have a SLA configuration with project days, 3 phases with 5 project days each. A package goes through the phases and spends one full day in each phase. In phase 1 5 days are allowed until the SLA is violated, in phase 2 it is 9 days (+4 days left from phase 1) and in phase 3 it is 13 days (+4 days left from phase 2).
If the selected event type is Workdays or Projectdays, then specify the number of work days or project days for respective cases. If the selected mode is Date then use the calendar to select start and end date.
8.Click on the checkmark icon to save the changes made.
Duplicating an SLA
To duplicate an SLA, select the SLA which you want to clone on the SLAs page. After selecting the SLA click upon the Duplicate icon  . This will open the new SLA in the SLA Settings page with Counting settings from the duplicated SLA. Click on the Copy button to finalize the creation.
Delete an SLA
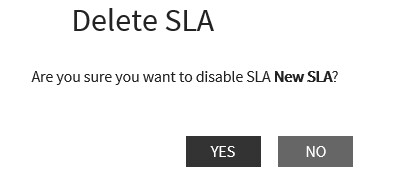
To delete an SLA, simply select the SLA from the SLAs section and then click on the  button. A warning is shown.

Click on the Yes button to confirm the deletion.