The appointments feature in RayFlow allows a user to schedule activities with respect to a task existing within a particular phase. This feature can either be accessed via the vertical navigation bar or by clicking upon the appointments tile in the main content section of the home page.
Setting up an Appointment
There are two ways to setup an appointment in relation to a task
Setting up an Appointment Directly from a Task
An appointment related to a task can be created by clicking on the watch icon (shown in the image below). This icon is available for each of the task in all phases.

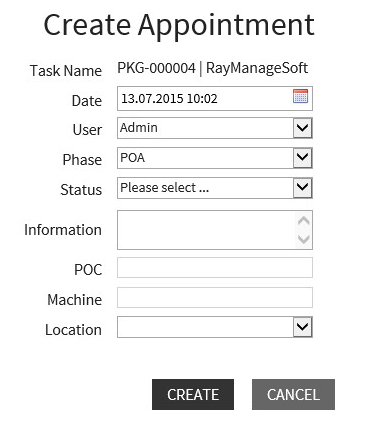
After pressing the icon, a view to create a new appointment is displayed.

Create an Appointment Interface
In this view, you select the date and time for the appointment as well as for which user, phase, or status this appointment applies to. A short note has to be filled in the Information field, which can subsequently be found in the vertical navigation menu. Now the date/time of the appointment needs to be defined.
In the datafield POC (person of contact) the name of the person with whom the appointment scheduled (for example the „Application Owner“) should be filled in.
Once all data is filled in, the button CREATE needs to be clicked to create a new appointment.
As soon as an appointment is scheduled, the Appointment icon in the task view is changed to  to show that there is a new appointment, if there has been no appointment before. The symbol will be orange, if there are already appointments for this task.
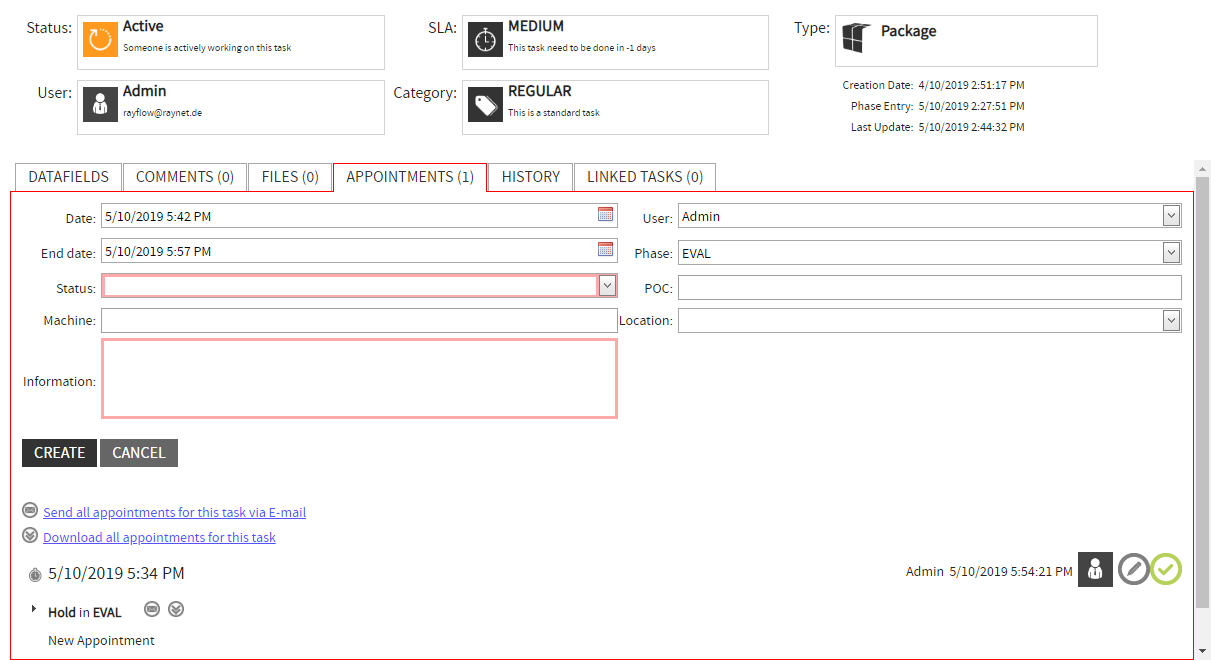
The second way to set up an appointment is to select a task and go to the “Appointments” tab.
The steps are the same as before.

Appointments Tab