If files need to be up- or downloaded, open a task and click the FILES tab. The number in brackets next to the tab name shows how many files have already been uploaded to the task.
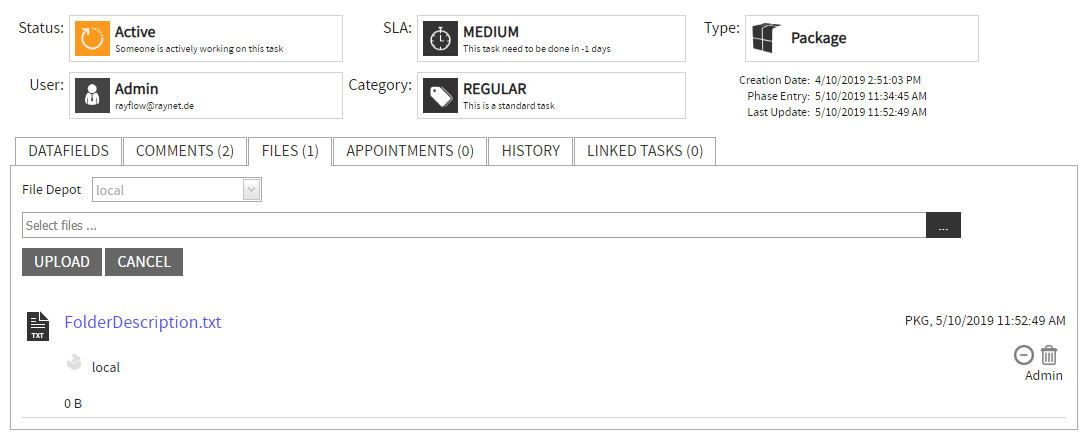
To upload a file simply click on the input row Select files... or on the Browse [...] button at the end of the row. An explorer view opens where you can select the file or files you want to upload. Just select the file or files and click on Open. The selected file will be shown in the Select files... row. If more than one file is selected the text x files are selected for upload is shown instead.

After clicking UPLOAD, the file or files will be uploaded and added to the list in chronological order with date, time and uploader name, last uploaded file first.
To download the uploaded file again, simply right-click the name of the file and select Save target as...
|
Note: In order to be able to download a file, the user at least needs downloading rights in the phase where the files has been uploaded and at least view rights in the phase where he is trying to download the file. |
Uploading and downloading files through the File icon
A user can directly upload a file to a task through the File icon. To achieve this, click on the File icon, which is available next to each of the task in the phase view.

Clicking on the File icon will open the Files dialog:
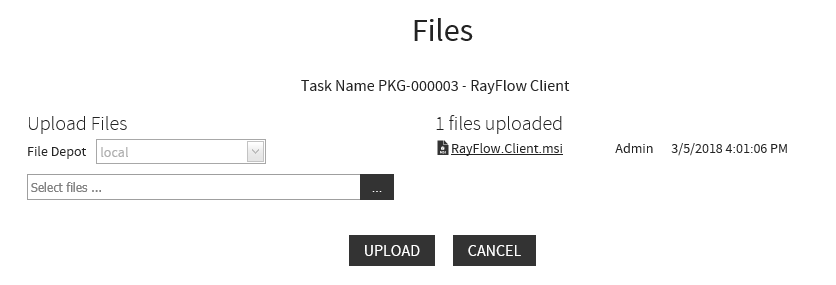
Click on the File selection icon, this will open the file explorer. Navigate to the target file to be uploaded and then click Open button after selecting it. After selecting the file, click on the Upload button. This will upload the file to the task. Additionally, to download an uploaded file from the task, click on the File icon and then click on the file, which is shown on the Files dialog.
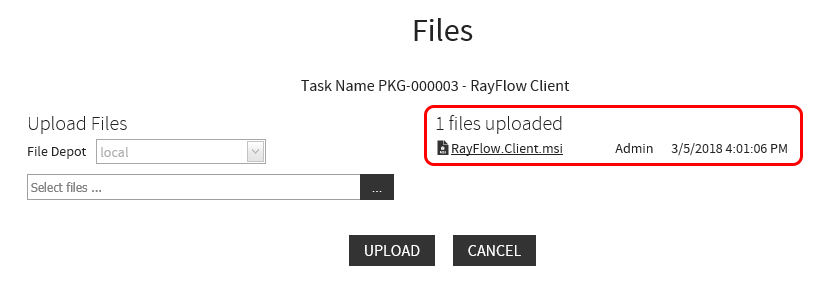
If a file is visible, it can always be downloaded. If a file is visible or not is determined by the phase where it has been uploaded. If the phase is hidden, the file will be hidden in all phases thereafter. If the phase is download, the phase is hidden but the file will be visible. If the phase is visible, the file will be visible. To upload files, edit rights for the current phase are needed.
Hide an Uploaded File
Uploaded files can be found by using the hide-button.

|
Note: This button is only available to privileged users and only privileged users can restore a file! |
After clicking on the hide-button a Remove File dialog is opened.
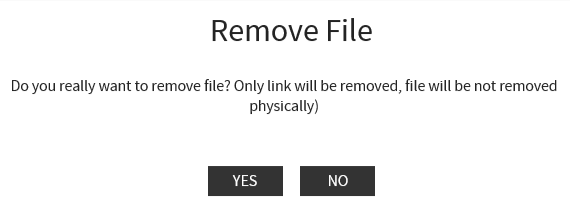
Using this option, only the link to the file will be removed, but the file itself will not be removed from the disk. Clicking on the YES button will remove the link, clicking on the NO button will abort the action.
Delete an Uploaded File
Uploaded files can be found by using the delete-button.

|
Note: This button is only available to privileged users! |
After clicking on the hide-button a Remove File From Disk dialog is opened.
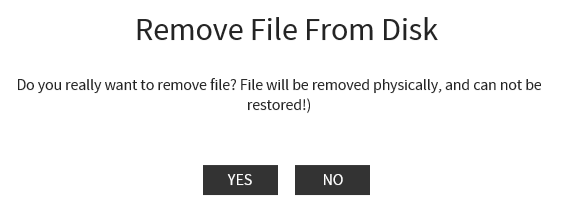
Using this option, the file will be removed from the disk and it will not be possible to restore the file. Clicking on the YES button will remove the file, clicking on the NO button will abort the action.