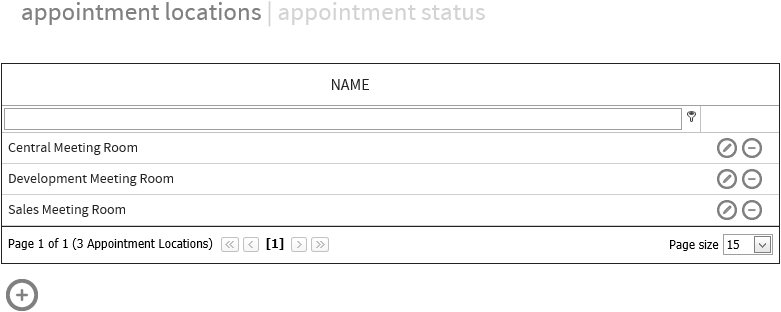
While creating a new appointment a user needs to specify location and status of that appointment. These properties are of type drop-down menu and a user can define options for them using the Appointment page of RayFlow Configuration section.
More information on how to create a new appointment can be found under the Appointments section of Typical User Workflows chapter of this document.
Appointment Location
As part of appointment location, a user can define custom locations for the scheduled appointment to take place.
Create a New Appointment Location
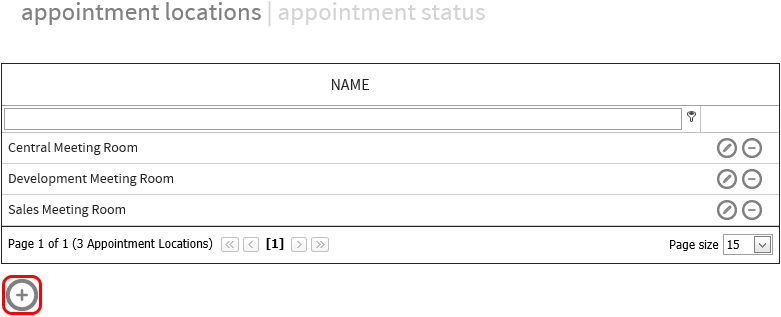
To create a new appointment, click on the Create new appointment location icon. This icon is shown both under the appointment locations list and next to each of the existing location options.
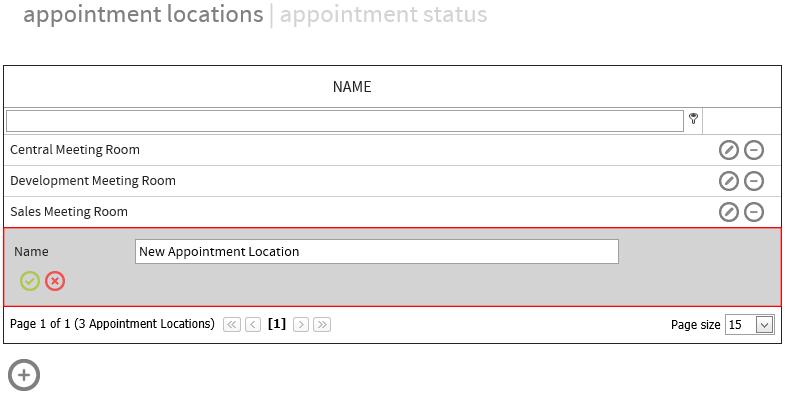
When clicked upon, a new appointment location is shown in edit mode. Specify a name for the new appointment location and then click on the Save icon. Contrarily, to discard the changes, click on the Cancel icon.
Edit an Existing Appointment Location
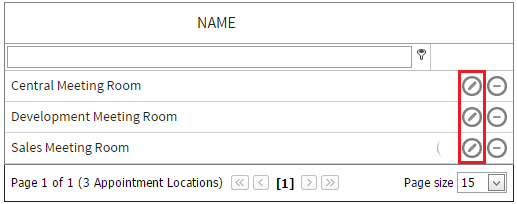
A user can edit and change the name of an appointment location by clicking on the Edit Appointment Location icon. This icon is present next to each of the appointment locations in the list.
Delete an Existing Appointment Location
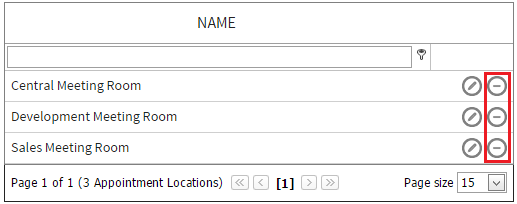
To delete an existing appointment location, click on the Delete Appointment Location icon. This icon is present next to each of the appointment locations in the list.
Search for an Appointment Location
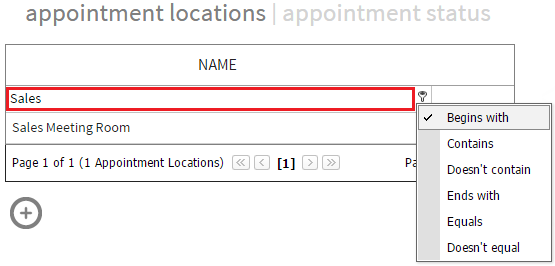
A user can search for a location from the list by providing a search keyword in the search field. Additionally, a user can specify the search criteria by clicking on the key icon. This icon is available just next to the search field.
Appointment Status
Appointment status section of the Appointment configuration page allows a user to create and manage status options for appointment.
Create a new appointment status
To create a new status option, click on the Create new appointment status icon. This icon is shown both at the bottom of the appointment status list and next to each of the existing options.
When clicked upon, a new appointment status is shown in edit mode. Specify following properties for the new status and then click on the Save icon.
•Name: Name of the appointment status
•Order: Order in which the status is shown with respect to other status options
•Visible: This option defines if an appointment is handled as an active (visible) appointment or a finished appointment.

To discard the changes made, click on the Cancel icon.
Edit an Existing Appointment Status
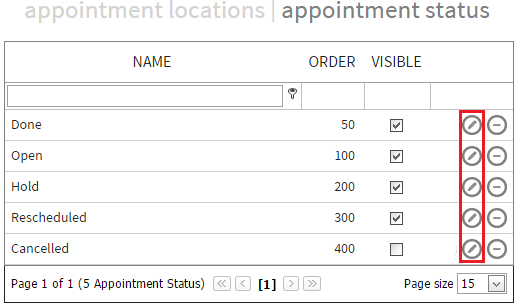
A user can edit and change the name of an appointment status by clicking on the Edit Appointment Status icon. This icon is present next to each of the appointment status in the list.
Delete an Existing Appointment Status
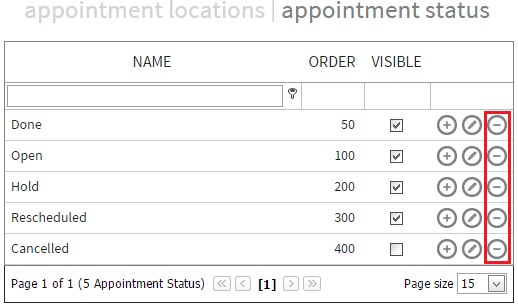
To delete an existing appointment status, click on the Delete Appointment status icon. This icon is present next to each of the appointment status in the list.
Search for an Appointment Status
A user can search for a status from the list by providing a search keyword in the search field. Additionally, a user can specify the search criteria by clicking on the key icon. This icon is available just next to the search field.
